| 1989 Master Cylinder Conversion |
Subject: 1989 Master Cylinder Conversion by Matatk on 2012/4/7 21:01:10 Some of you may recall the problem with my master cylinder. Common problem, actually, but I wasn't happy with the replacement options. No rebuild kits, no new m/cs, questionable quality rebuilts. http://www.corvetteguruforum.com/modu ... id=139526#forumpost139526 -=Jeff=- put me on the the camaro/f-body swap since it is cheap and almost bolt on. I liked that idea. I also mentioned I'd be doing the swap here: http://www.corvetteguruforum.com/modu ... id=139526#forumpost139526 Well, I finally got a chance to do this yesterday. Here's the rundown: 1) You will need a master cylinder from a 1998-2002 f-body. I think mine came from a 2000 or 2002 WS6. 2) You will need a 3/16" spacer to fit between the new m/c and the booster (I got mine from forum member -=Jeff=- who had a friend who made them a few years back) 3) You will need to reflare the brake lines since they are different sized nuts. There are adapters available but it's not practical, I'll explain later. 4) You will need to bleed the m/c and system. Here is the problem: 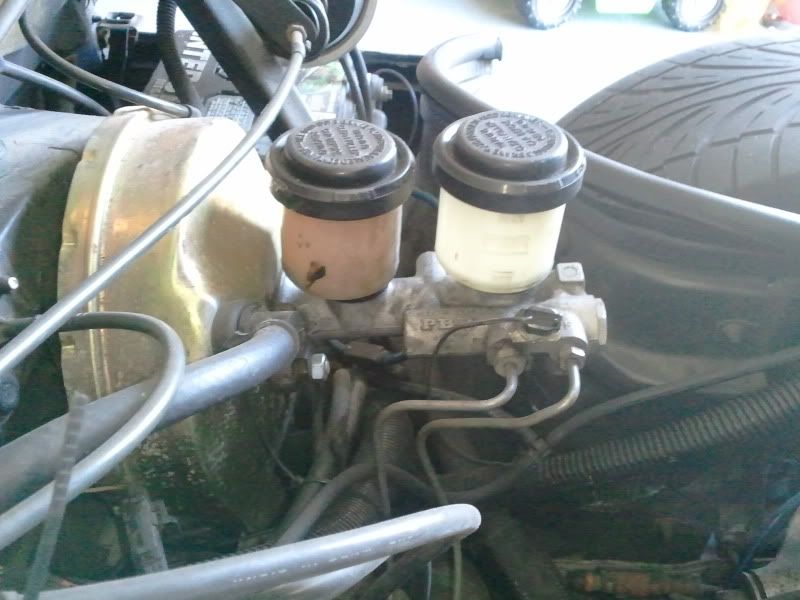 Used F-body replacement m/c: 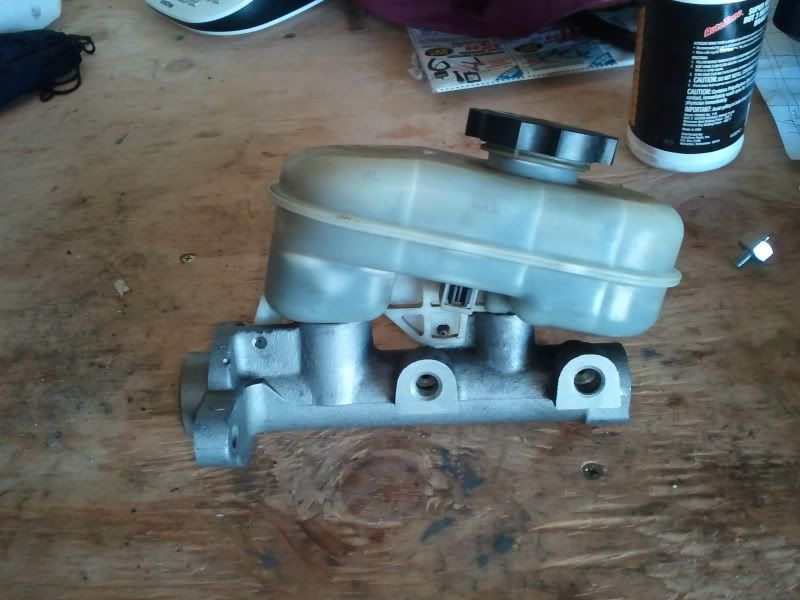 Here I have the lines disconnected and the corvette m/c removed: 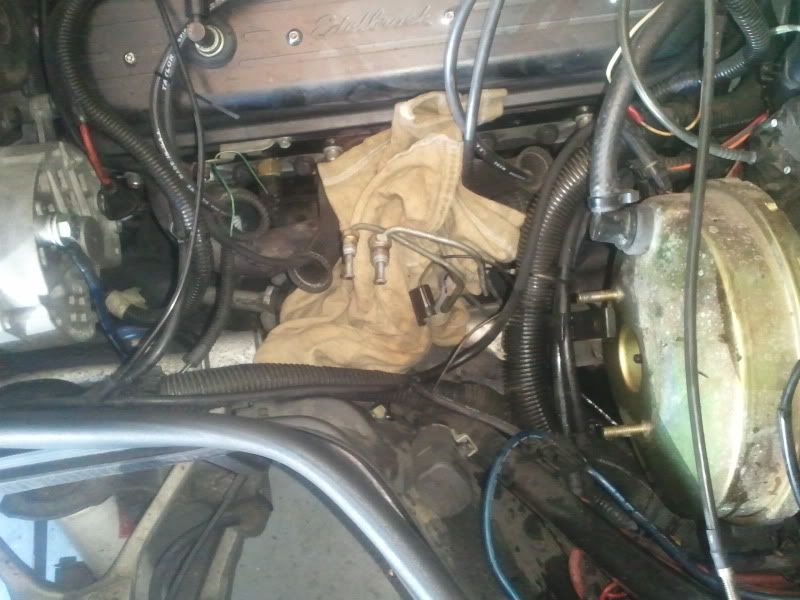 The brake line nuts for the master cylinders are different sizes. They are both ISO (metric) bubble flares. The corvette m/c is: front: M10 x 1 rear: M12 x 1 The F-body is: front: M12 x 1 rear: M11 x 1.5 (a very odd size) I found an adapter or two that I thought might work, but m11x1.5 is an odd size and the adapter for that was $25 alone. Plus, you would have to use an additional adapter before it so it would be a total of two adapters in line on the rear and one on the front. I decided to cut them off and flare them myself. I bought a bubble flare tool online for maybe $25 shipped. Practice making the flares on some extra 3/16" tubing before you do this. I cut the old line as close to the flare as I could with a dremel: 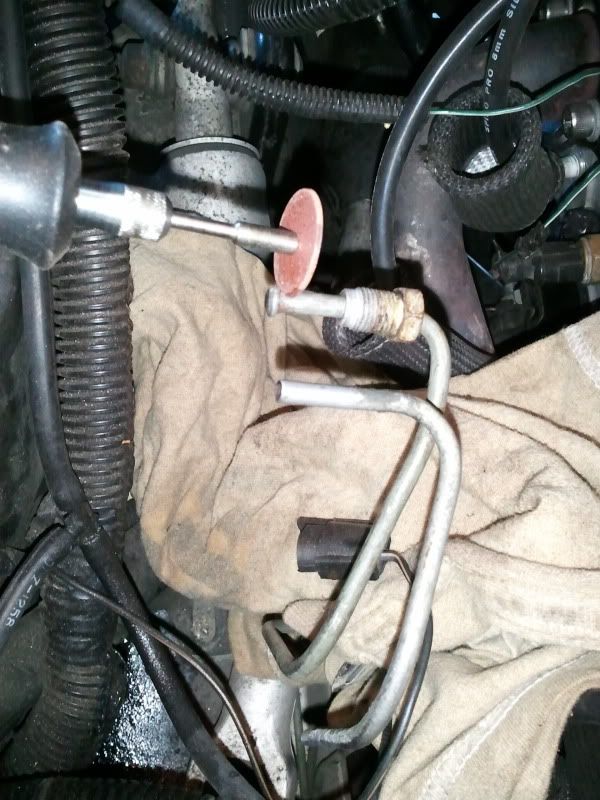 Despite this, I still didn't have enough straight pipe to put the flaring tool on (don't forget to install the camaro-sized fittings, first!). I had to use a tube bender and my hands to straighten out the tubing so I could slide the nut back and then flare: 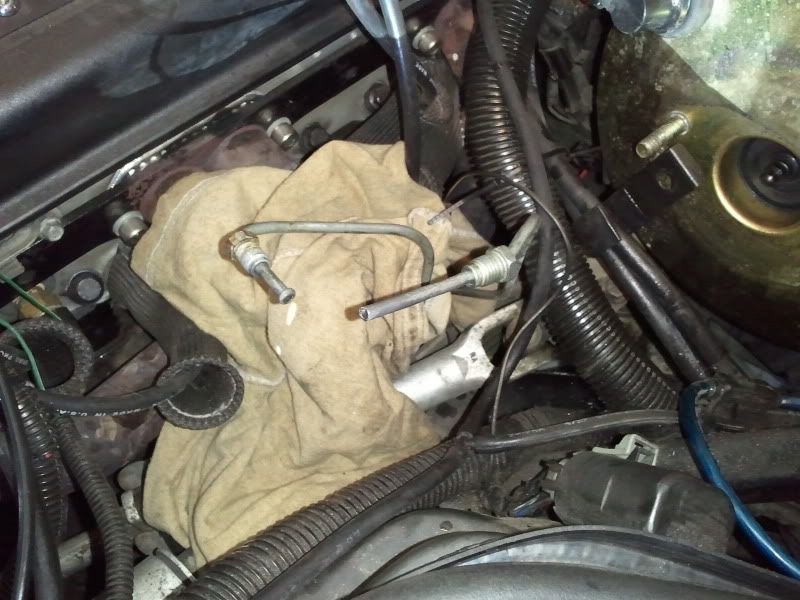 I was then able to fit the flaring tool on. Make sure to use the length checker that comes with the tool to make sure you have the right amount sticking out. If it's too long, the flare mushrooms weird and probably won't seat correctly. Use some brake fluid as lubricant during the process. Be sure to tighten the wingnuts on the tool with channel locks or pliers. It has to be extremely tight. 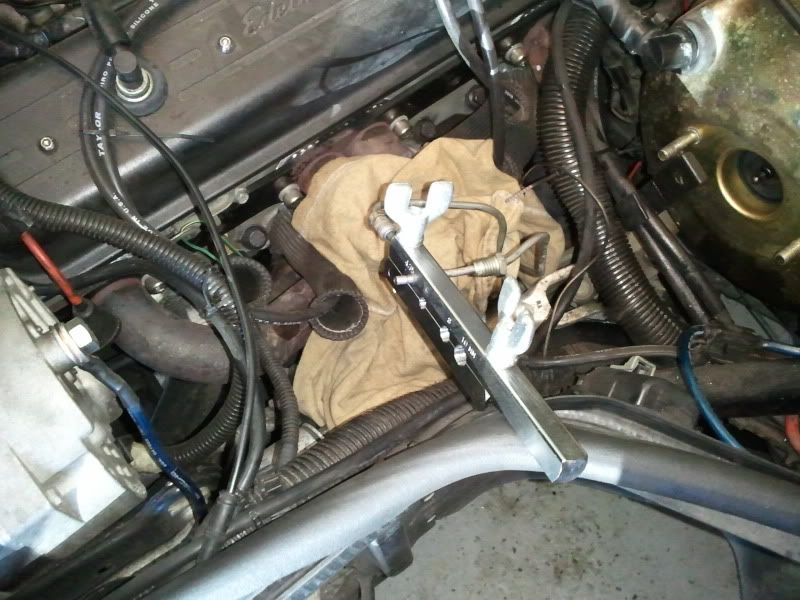 When you flare the new end, you have to lock it all the way down against the tool. I used pipes to get leverage since working in the engine bay is ridiculously inconvenient. If you don't tighten it enough, the flare won't be correct. 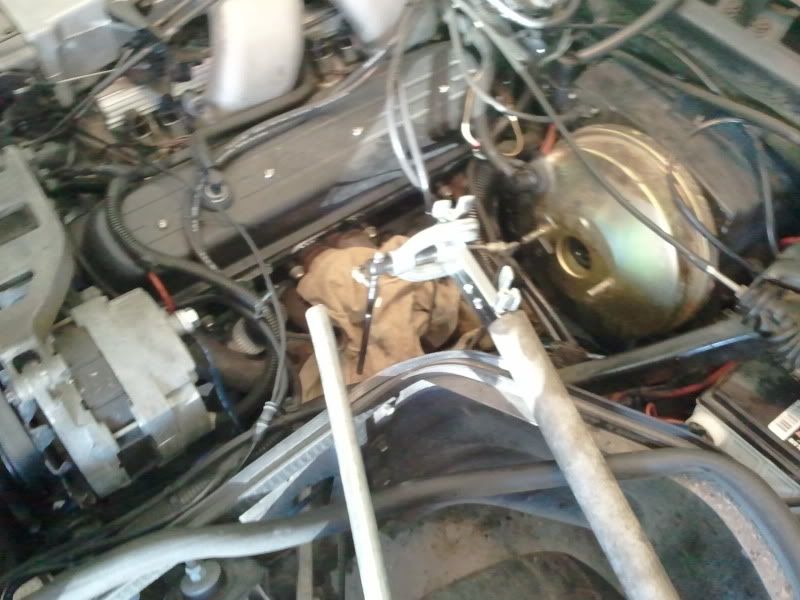 The end result is a perfect flare: 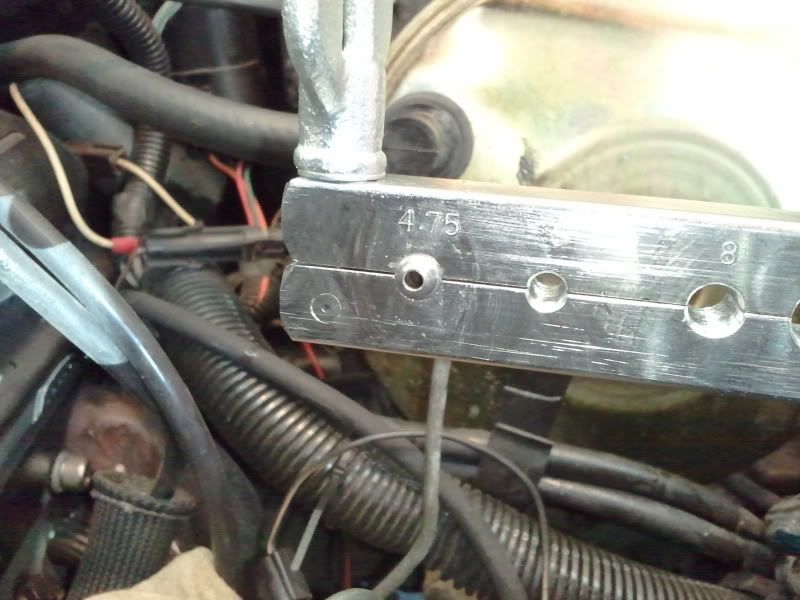 Another result of tightening it all the way...you can see how I bent the turning handle: 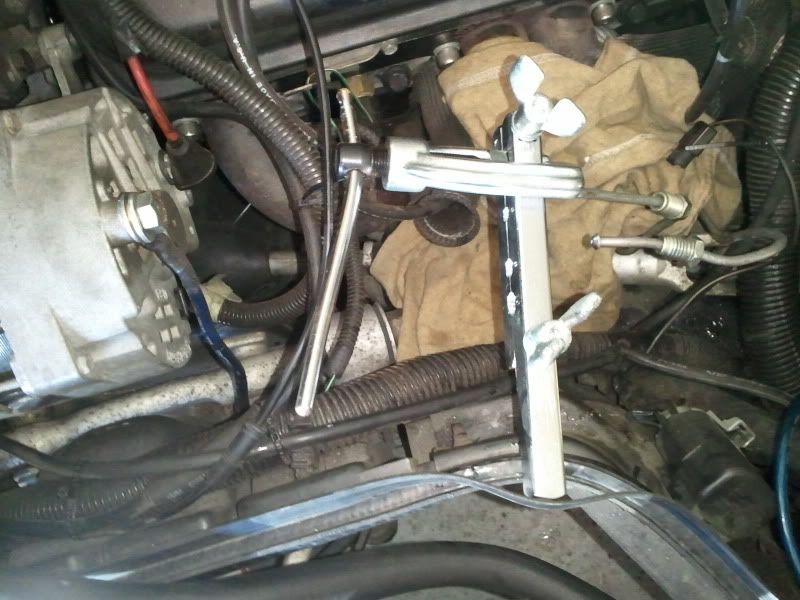 After the lines are done, bench bleed the master cylinder. The kits are about $8. I used the rounded handle end of a socket wrench to push the m/c bore. 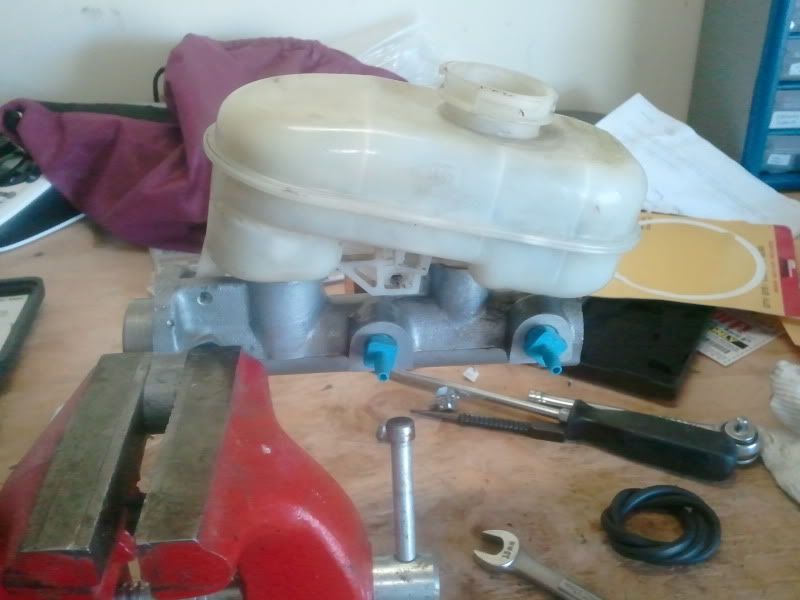 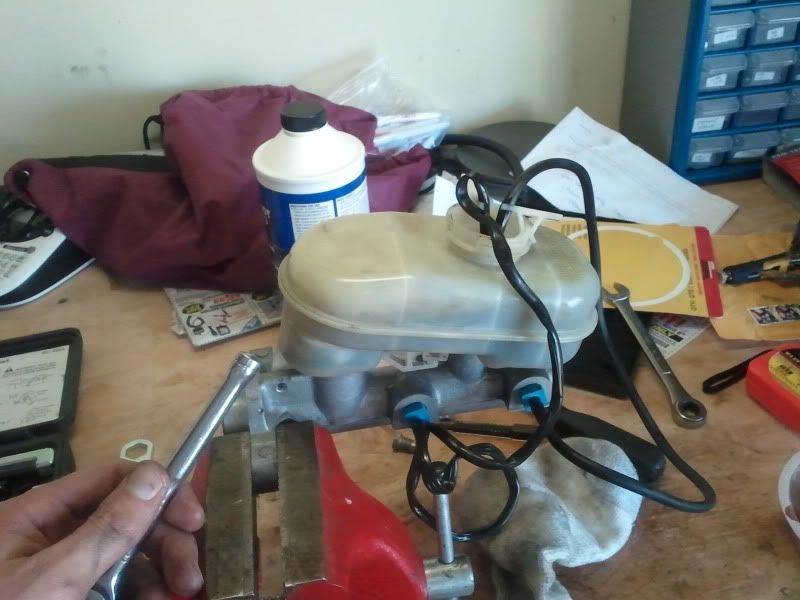 While you're at it, you can measure the bore depth on the m/c and double check the length of the booster actuator rod. You need to know the length of the rod from the rubber resting point inside the booster to the end of the rod. Adjust as necessary. When I went to install it, I found the bolt patterns were not identical. Close, but not perfect. Wouldn't fit on the booster studs. I measured both m/cs and the corvette has a slightly wider on center bolt pattern. A couple minutes with the drill and I opened up the holes, fit great then. I wrote down the specs in the garage, but I don't have them in front of me. The difference was very minor. I also bent the lines back as close to normal as I could to make them fit easily. After that, I was able to put on the m/c and tighten everything down: 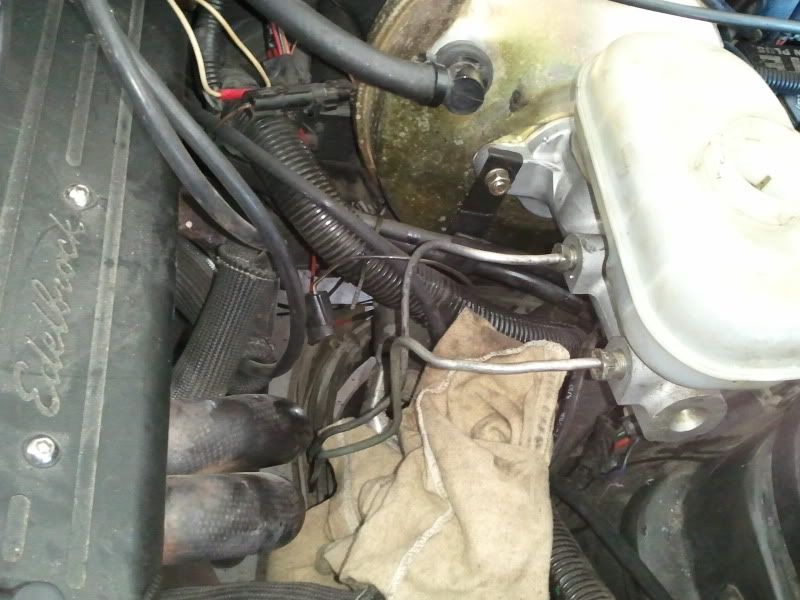 Next step is to bleed the brakes. Of course when I did this, the two rear caliper bleeder screws were seized and I had to vise-grip them out. Carquest had new bleeder screws in stock for about $2 each. I think they are m10x1x30mm off the top of my head. When I took it out for a test drive...I was not impressed! What the heck? It stopped like a minivan. Long pedal travel and no real "oomph". I took it to the industrial park and activated the ABS a few times. What a difference!!! After that the pedal was firm and it initiated the brakes sooner and harder. I think I still have a little air in the lines I didn't get out completely. I'll have to rebleed them later. But as for now, I think the conversion was a success! Matthew |


