


| Re: How To Part 1: Drain and Flush |
Subject: Re: How To Part 1: Drain and Flush by 96LT4CE on 2014/7/11 4:44:29 Now that we have the engine block flushed, the radiator flushed, and the system "dry" we can focusing on cleaning the high fill and overflow reservoirs High Fill first: 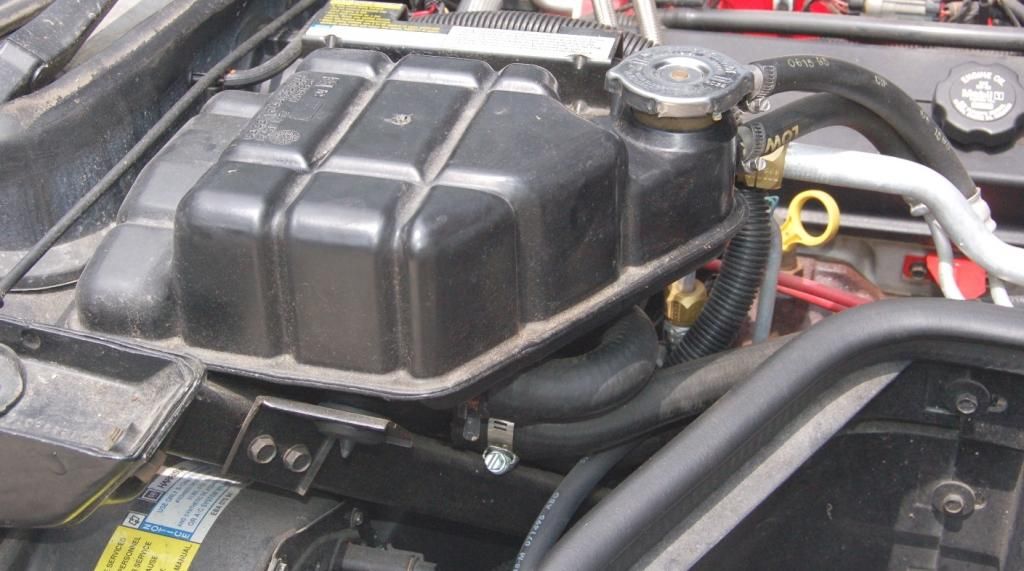 1st loosen and remove both hoses attached to it: 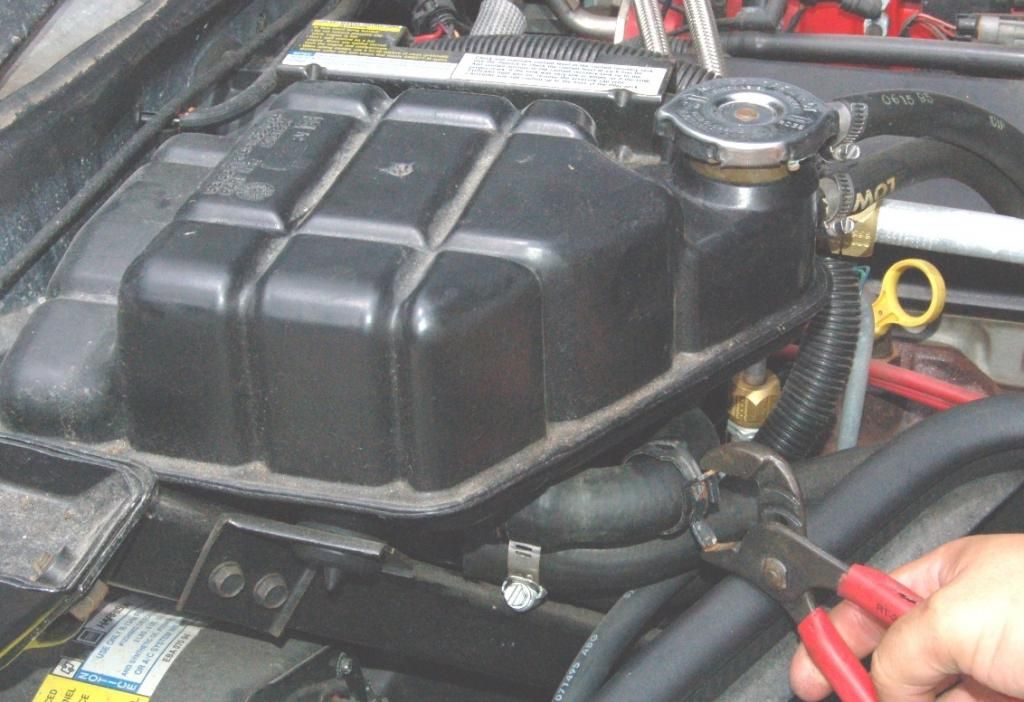 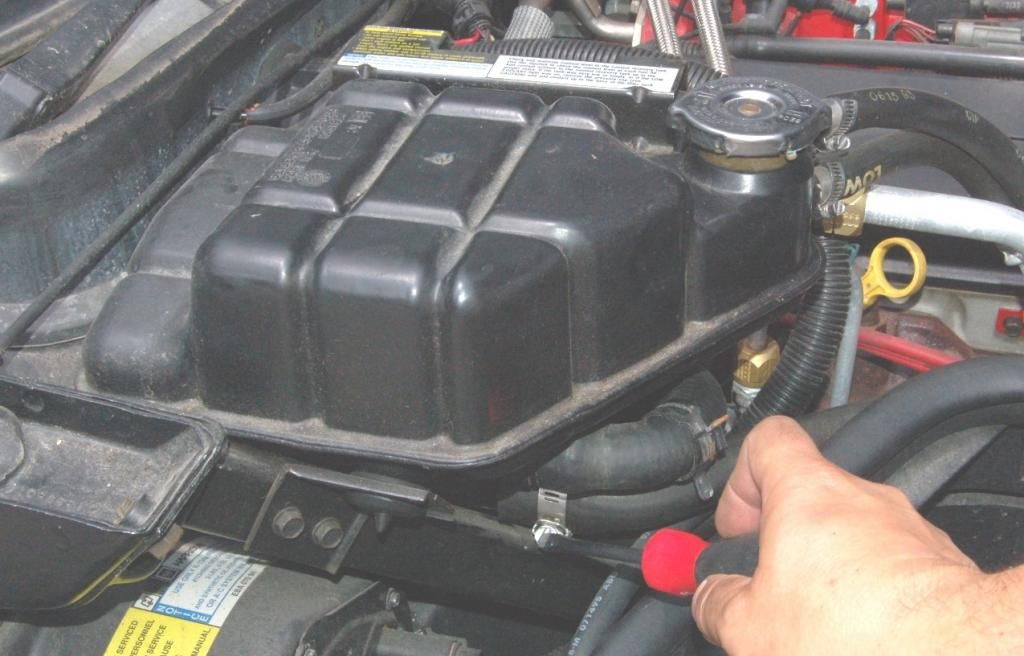 next remove the two top screws:  once the two top screws are removed you will be able to lift the tank out of it's place. Don't pull to hard as you still have to disconnect the wiring plug from the bottom. When lifting it out of place there is a plastic spike that's molded into the tank. It will be press fit into a rubber grommet. Gentle pressure will get it out. also, in my pic I still have the hoses attached. pull those 1st so that they will not be in your way. Once teh tank is removed go ahead and rinse it out and flush ant debris that may be trapped inside. 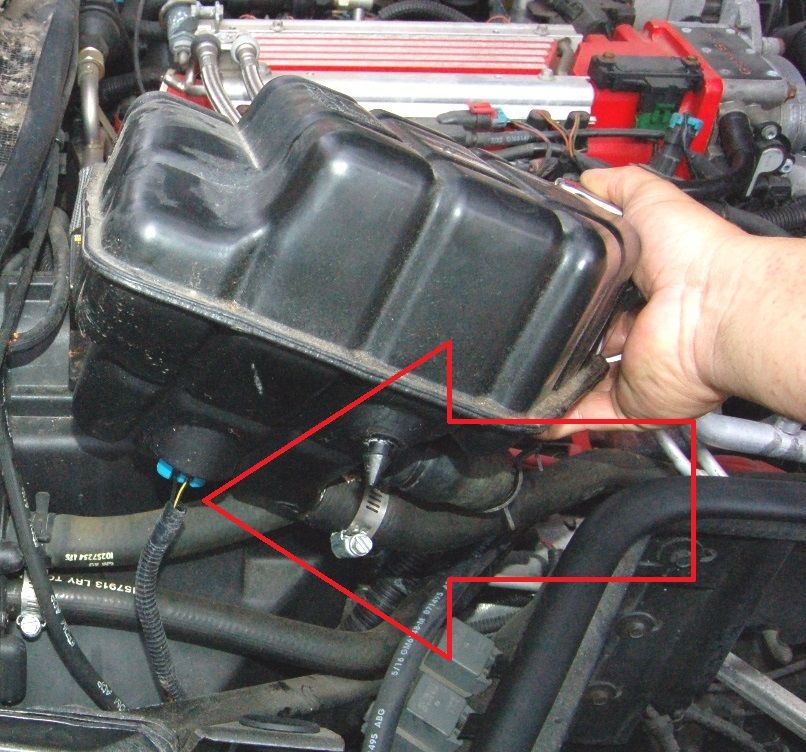 As a side track, while the tank is out, now is a great time to flush your heater core! One of the heater core hoses was attached to the high fill tank the other needs to be separated from it's valve to get access. Once separated use a garden hose at 1/4 to 1/2 open to flush the core. Flush from one hose for a minute or so then switch to the other hose. 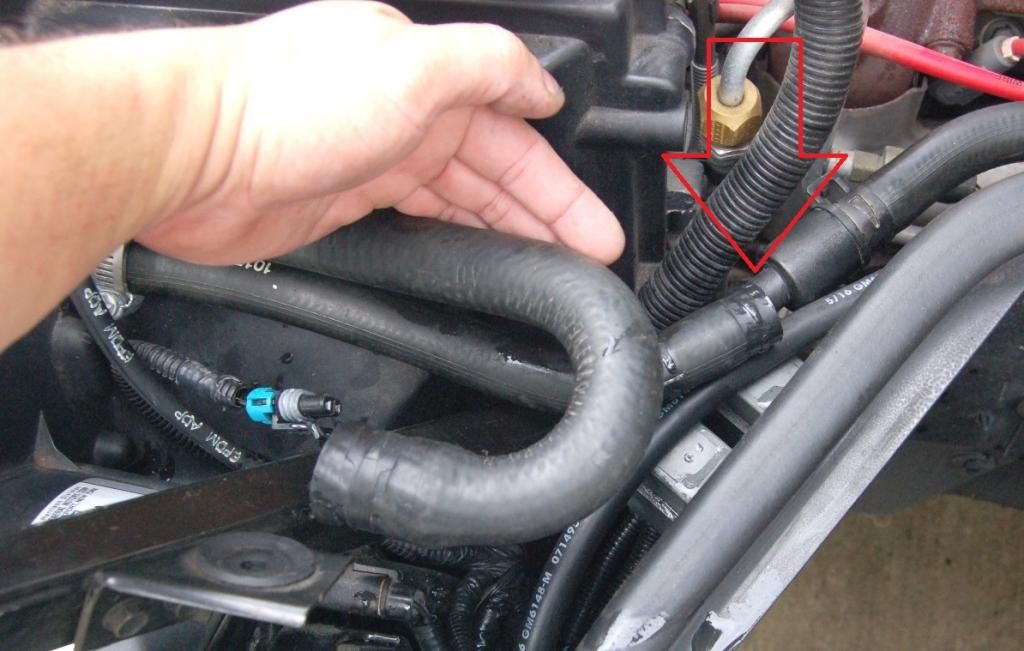 Once the heater core has been flush and the tank cleaned simply reverse the steps to reassemble. 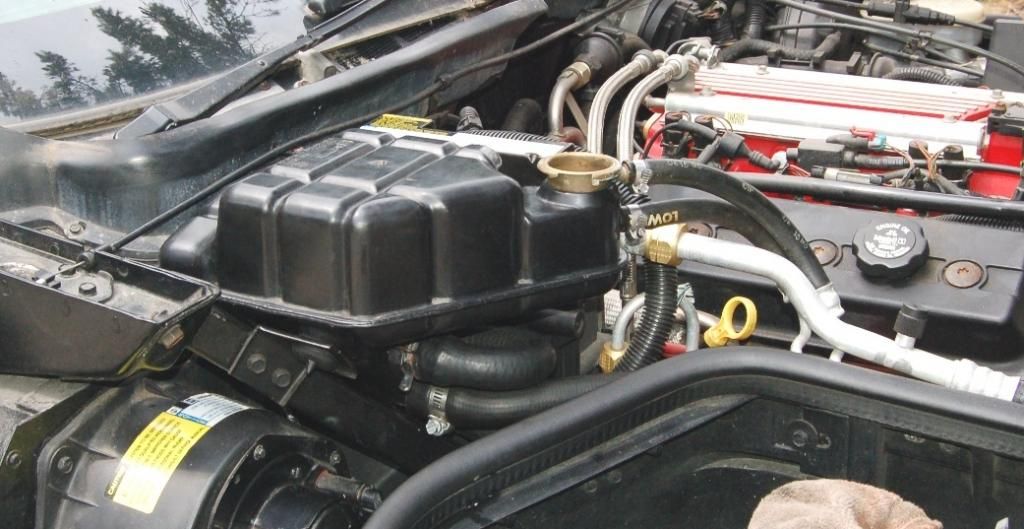 Now we turn to the overflow tank. Loosen one screw and remove three bolts. 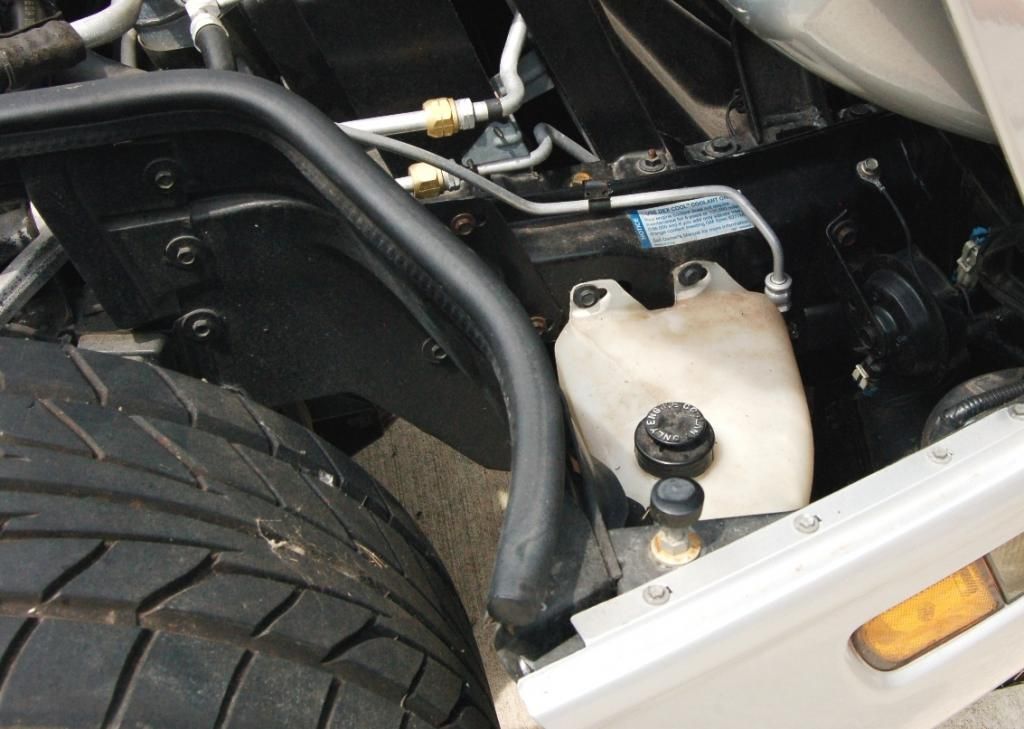  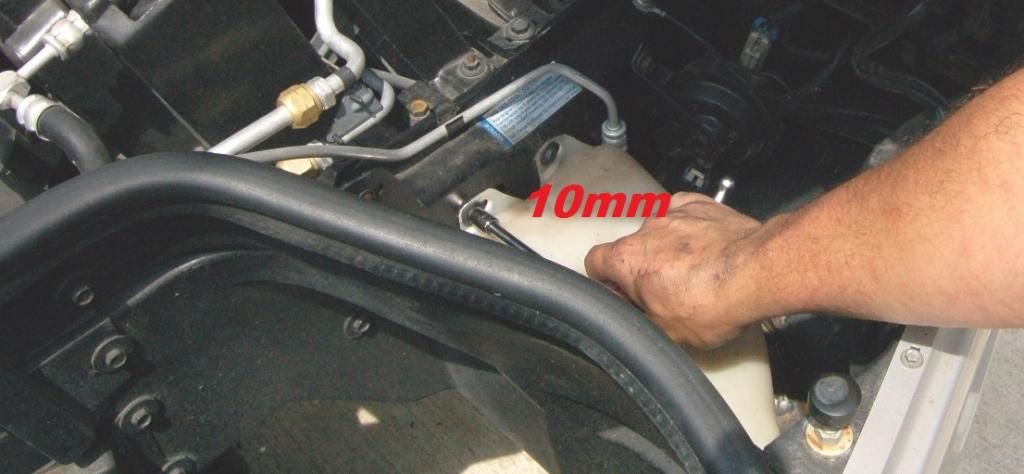 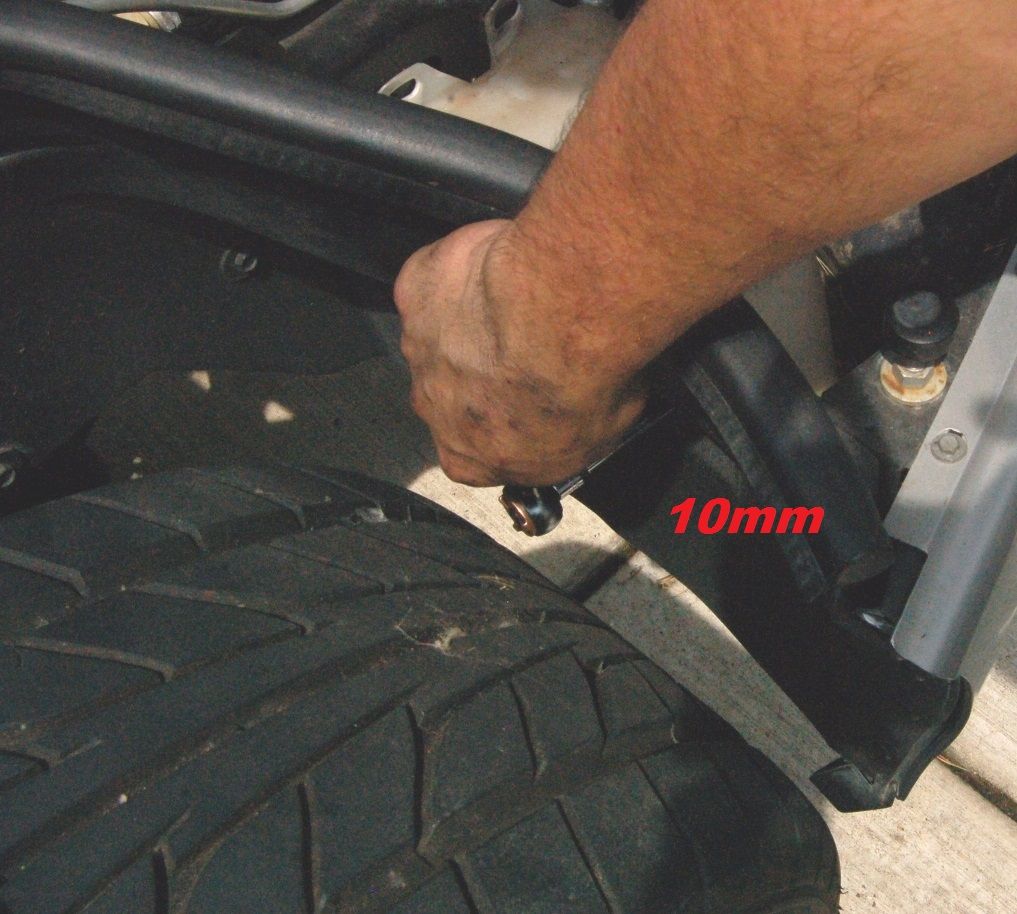 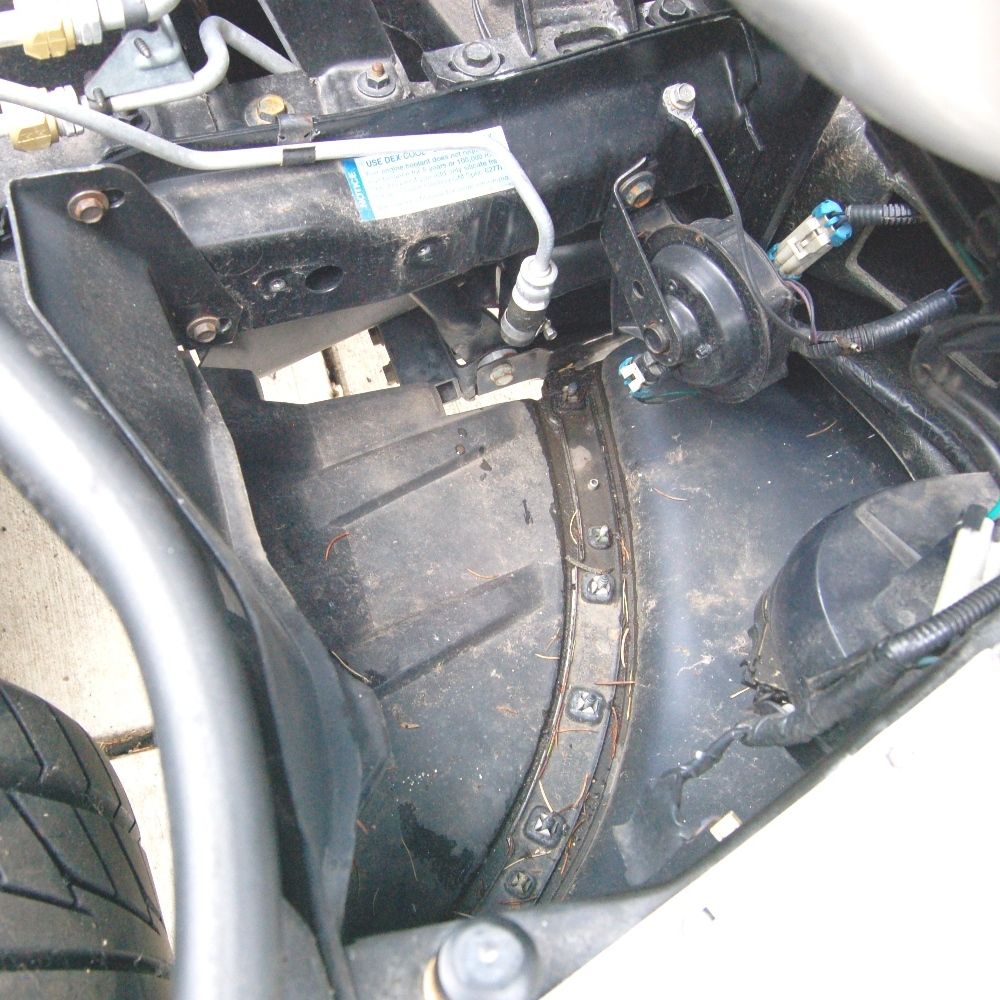 once out, clean: 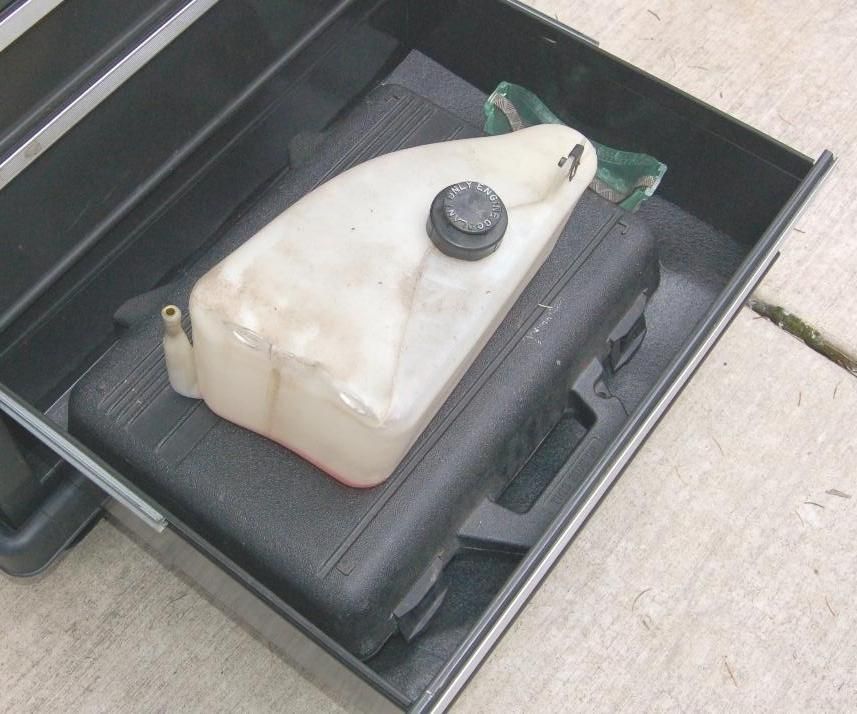 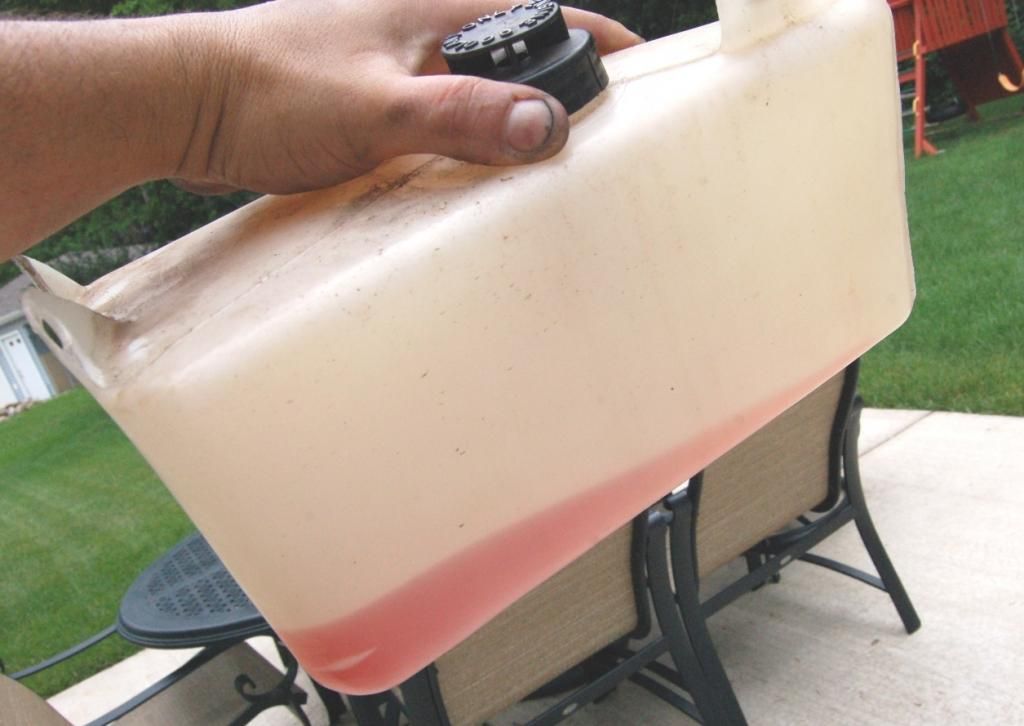 |
