


| 700R4-4L60 Build Up Part 3 |
Subject: 700R4-4L60 Build Up Part 3 by PeteK on 2009/9/6 3:01:15 Today I had a chance to build up the reverse drum, and the input drum. The input drum is very complicated, and is a bit time consuming. In the photo below, I have the new Lip Seal's installed on the reverse drum piston. Lip seals always go on so the lip faces the oil feed. 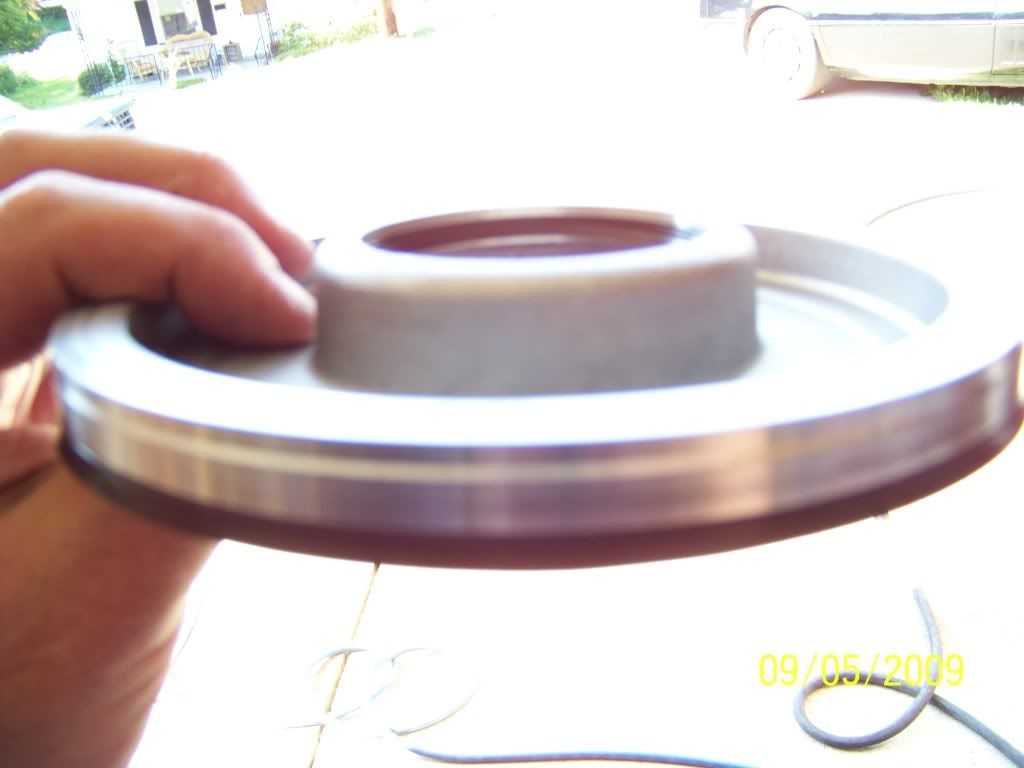 Next photo shows the new vs old drum. Although the old drum is still flat and serviceable, I am installing a wide band, and need to use a new one, or the edges would burn off on the slightly worn old drum. 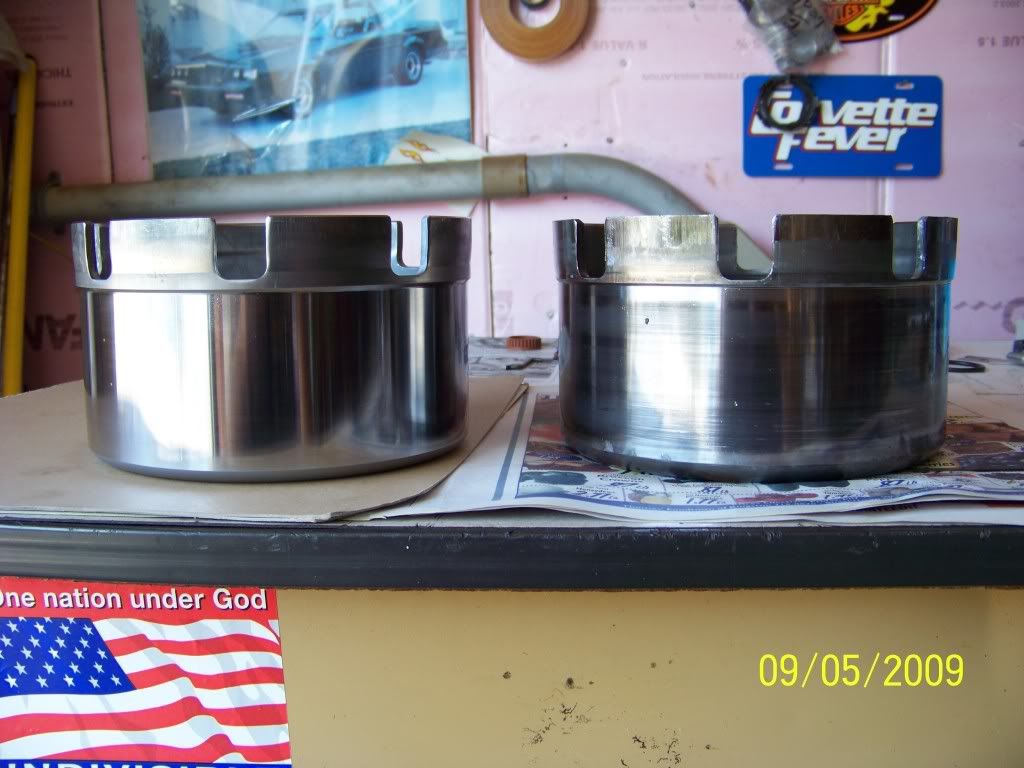 After the piston is carefully installed into the drum, the return springpack, and retaining clip are installed. Next come the apply ring, frictions and steels, capped off by the pressure plate and snap ring. Photo below shows assembled drum. 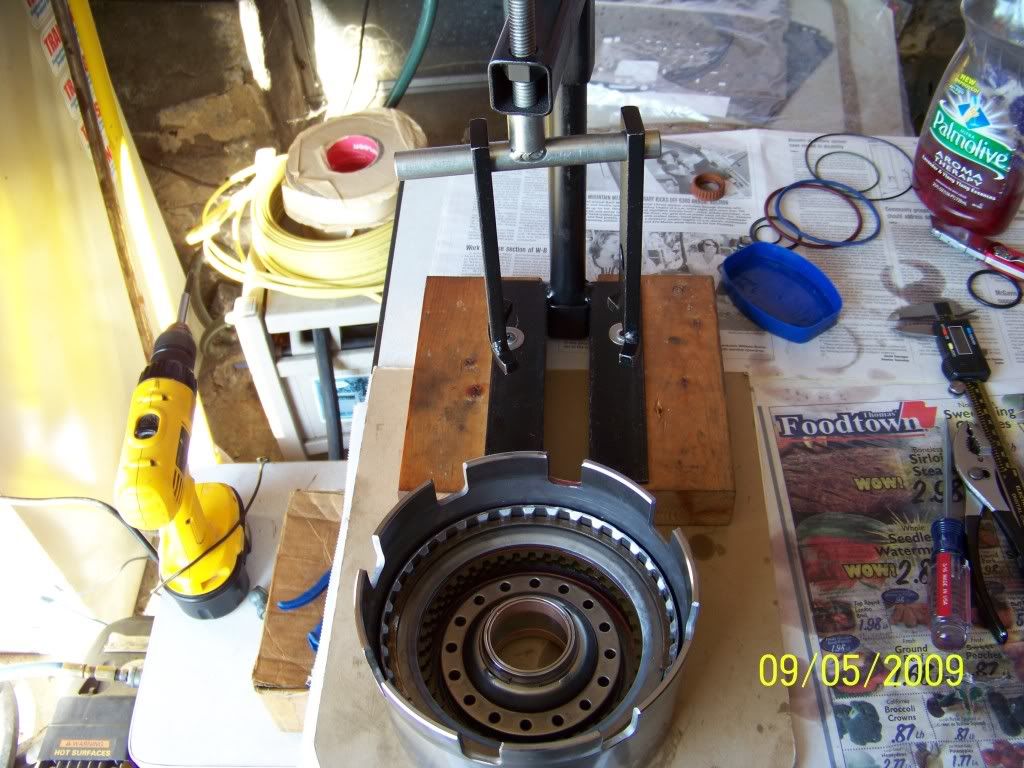 Next up is the input drum. It is in the photo below, on the left side. All of the other parts on the table install into the drum. Not shown in the photo are the overrun, and forward friction plates. They are soaking in fresh atf. 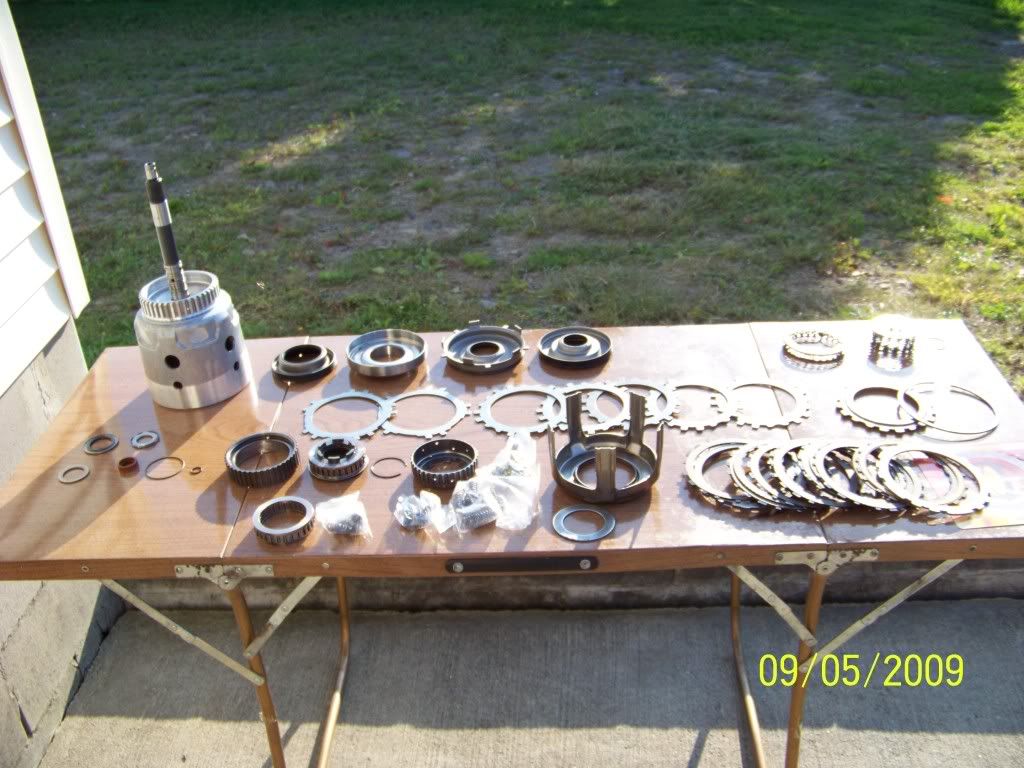 After the drum is emptied, and properly cleaned, the steel pistons are installed. I replace the aluminum factory pistons with stronger steel pistons, and a return spring from a 1999 and newer unit. 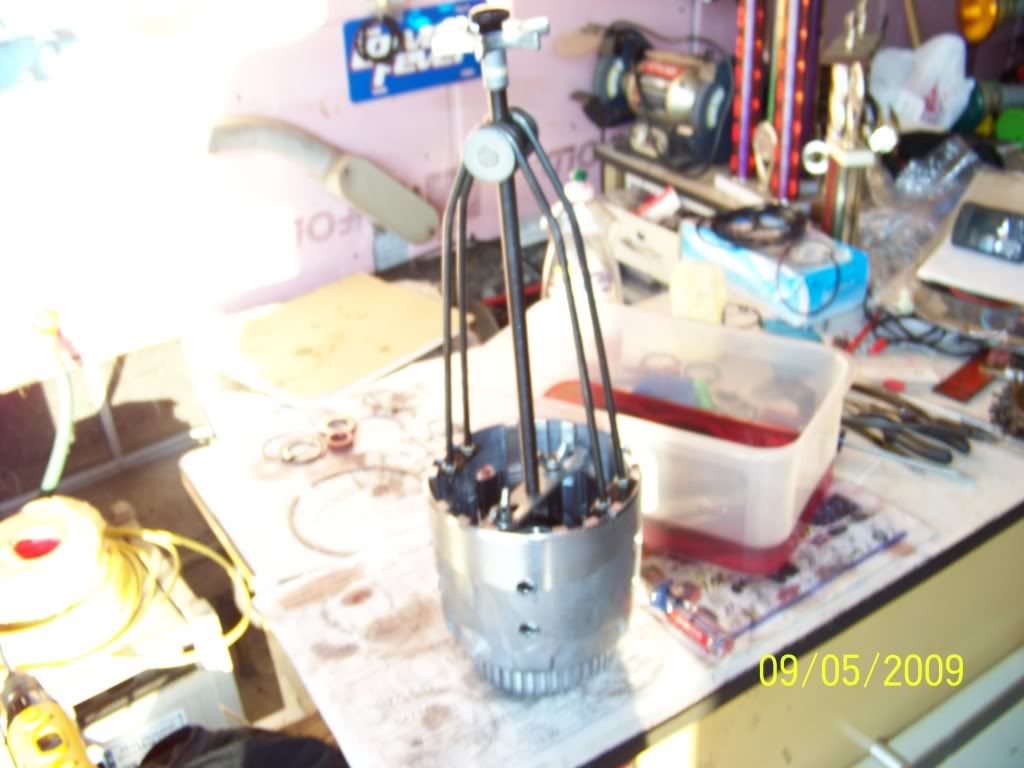 After the steel pistons, and upgraded return spring pack is installed on both return springs to stop clutch apply at high rpm's. Overrun and forward clutches are installed with their matching steels. Then the sprag is rebuilt with a stronger aftermarket unit. Pic below shows the weaks single cage sprag, next to the the aftermarket dual cage sprag. GM should be shot for switching to a single cage sprag in the late 80's. Big HP and torque turns them inside out. 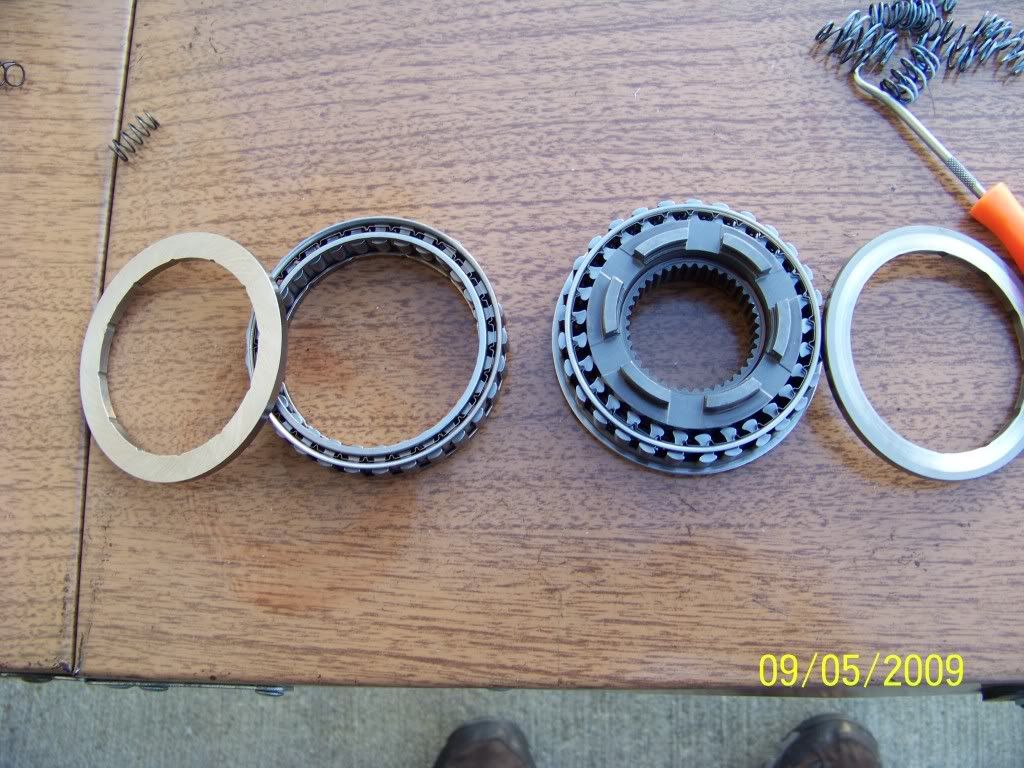 After sprag is installed, all that remains is the 3-4 clutchpack. On this build, I am using the expensive Raybestos Z-Pack, and matching GM piston. They Z-Pack and piston cost about $100, but well worth it. In the early days, the Z-Pack was absolute crap, but they have become the 3-4 pack of choice, in my opinion. After the input drum is filled, it is flipped over for the teflon sealing ring install. The 4 sealing rings are shown below. 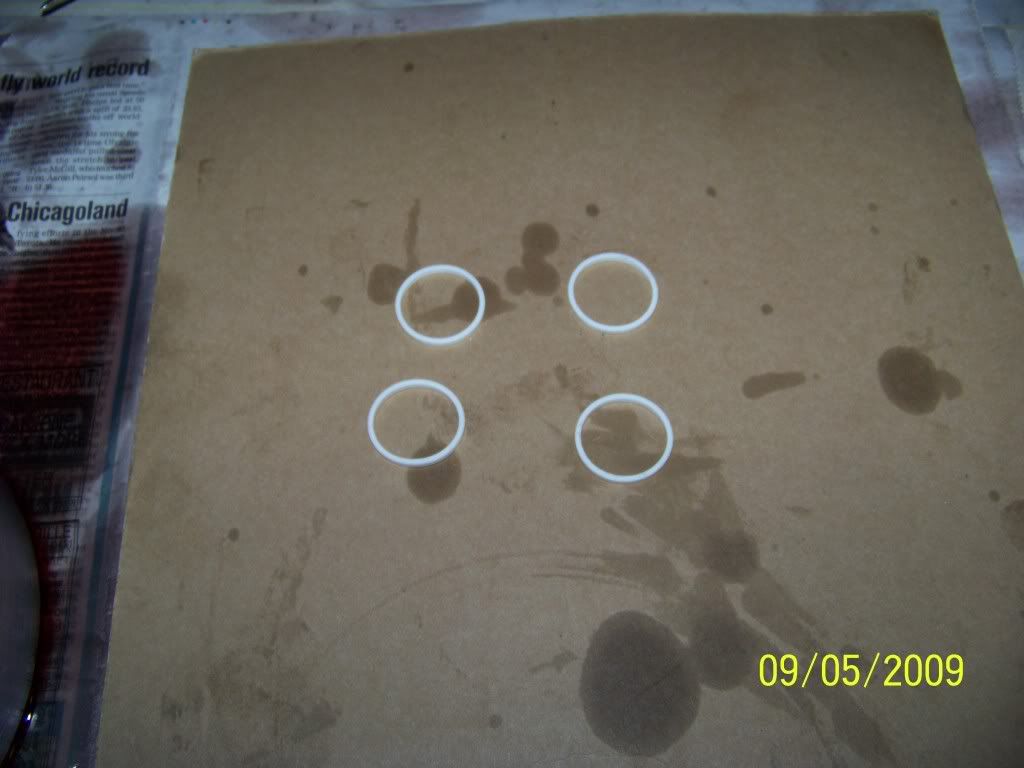 They are slid down a carefully adjusted expanding tool, and located in their correct slot, starting from the bottom, and going up until all 4 are installed. 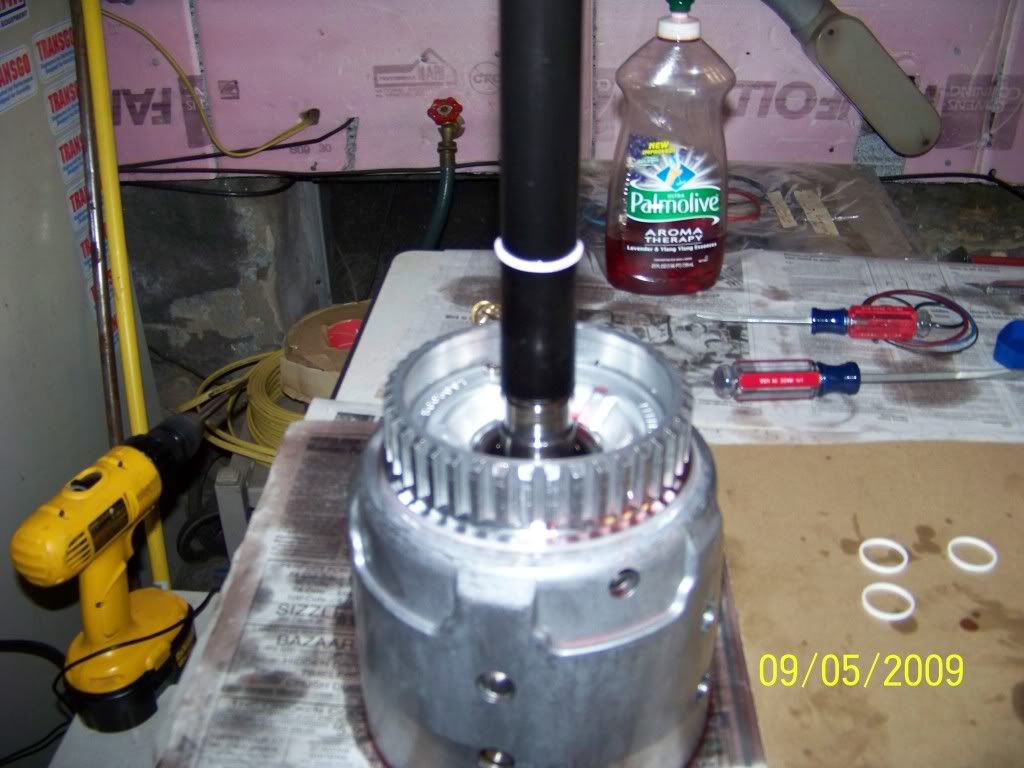 Once they are installed, they are carefully massaged by hand, in an attempt to shrink them down in size. After this occurs, a special resizing sleeve is installed to properly size them. I leave this plastic sleeve on for 12 hours or more. 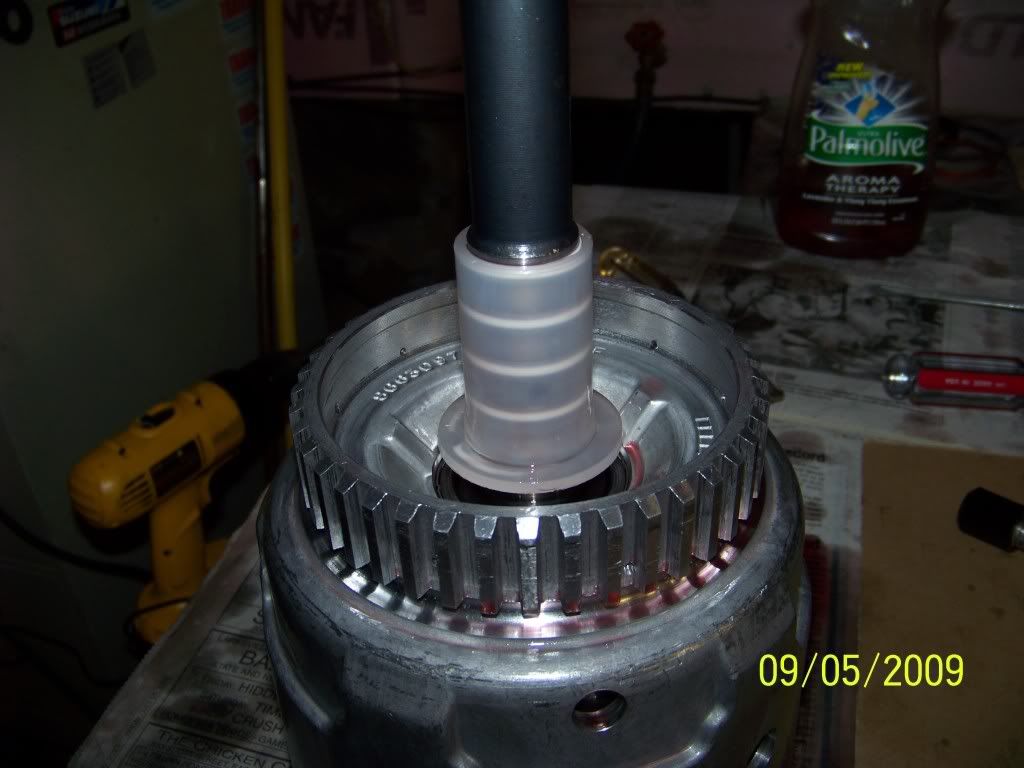 Tomorrow, I hope to install the 2 drums assembled today, and begin to work on the pump. |
