


| Re: 700R4-4L60 Build Up Part 3 |
Subject: Re: 700R4-4L60 Build Up Part 3 by PeteK on 2009/9/8 21:35:19 Gonna talk about the servo in this post. First some backround on what it does. Located on the passenger side of the trans is a cover approx 3 inches in diameter. Behind this cover sits the servo assembly. Servo assembly does 3 things: 1) Applies the band for 2nd gear 2) Applies the band for 4th gear 3) Works as an accumulator for 3rd gear. *Remember, accumulator means shock absorber. ** To apply the band, servo moves pin that pushes the end of the band over, thus clamps the machined reverse drum tightly. Pic below shows all of the parts and pieces that make up the servo assembly. It is one of the simpler things in this transmission, and you can also access it while the trans is in the car, in the event you wish to upgrade it with aftermarket parts. 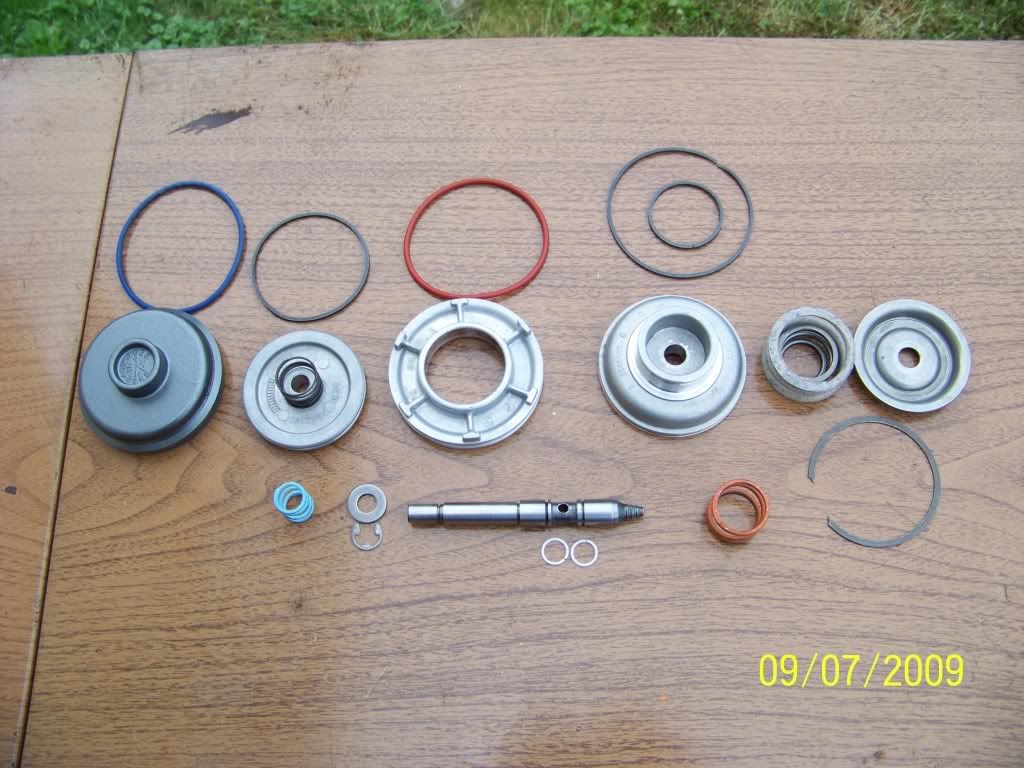 The pic below shows the 3rd accumulator springs being assembled into the center piston. 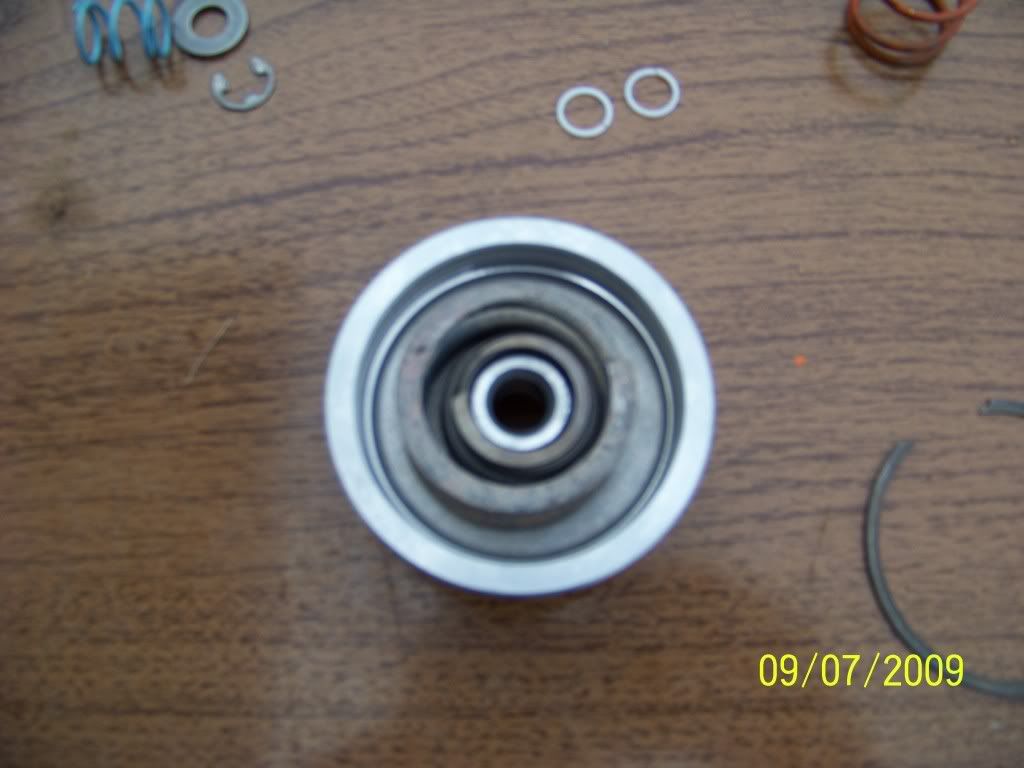 GM says a special tool is needed to compress this spring assembly, but a craftsman, spring loaded plastic clamp works very well for me. After it is compressed, a snap ring is installed. 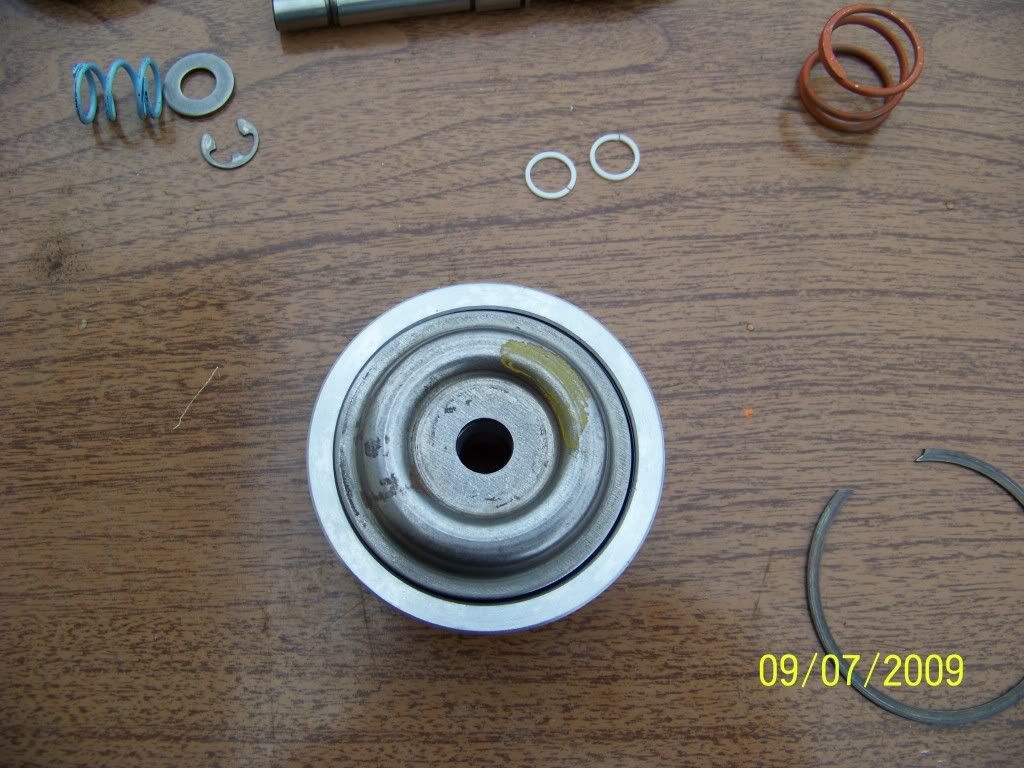 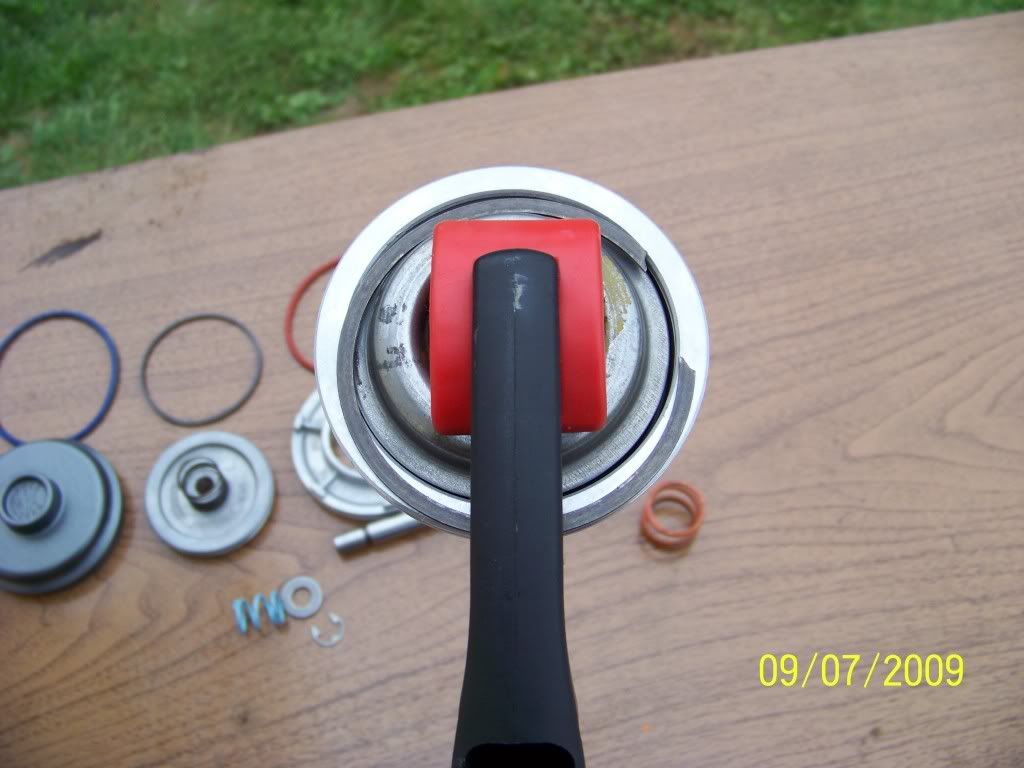 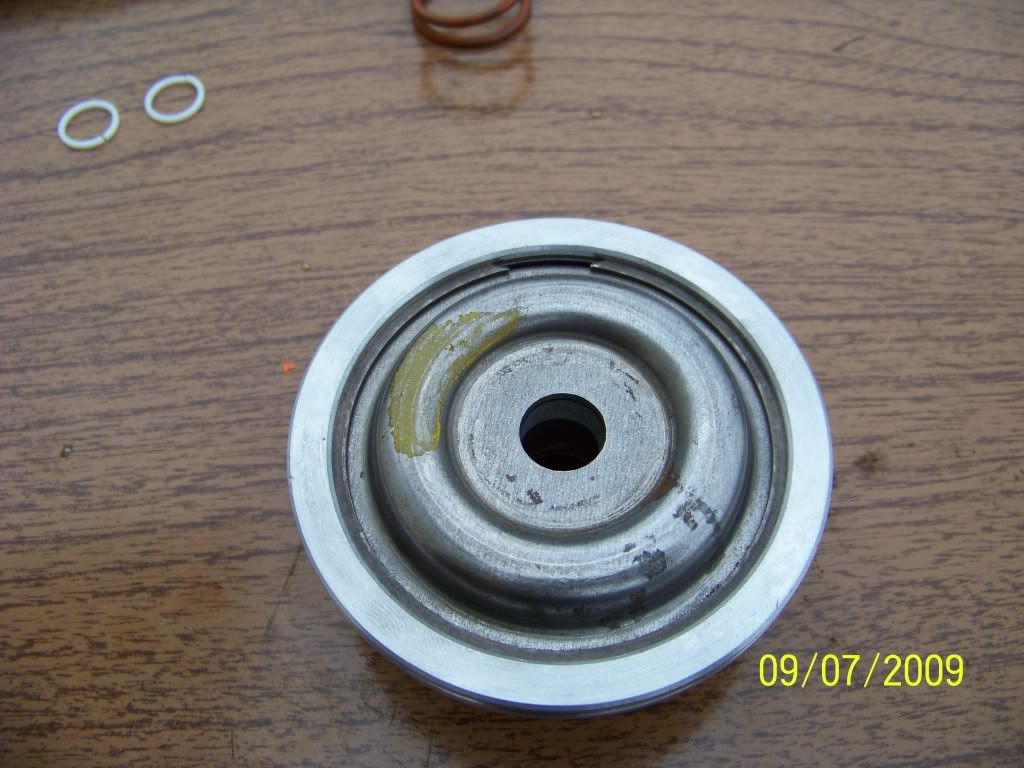 Now, the selective length servo pin is slid through the piston assembly and retained with a spring, washer and "E"-clip. 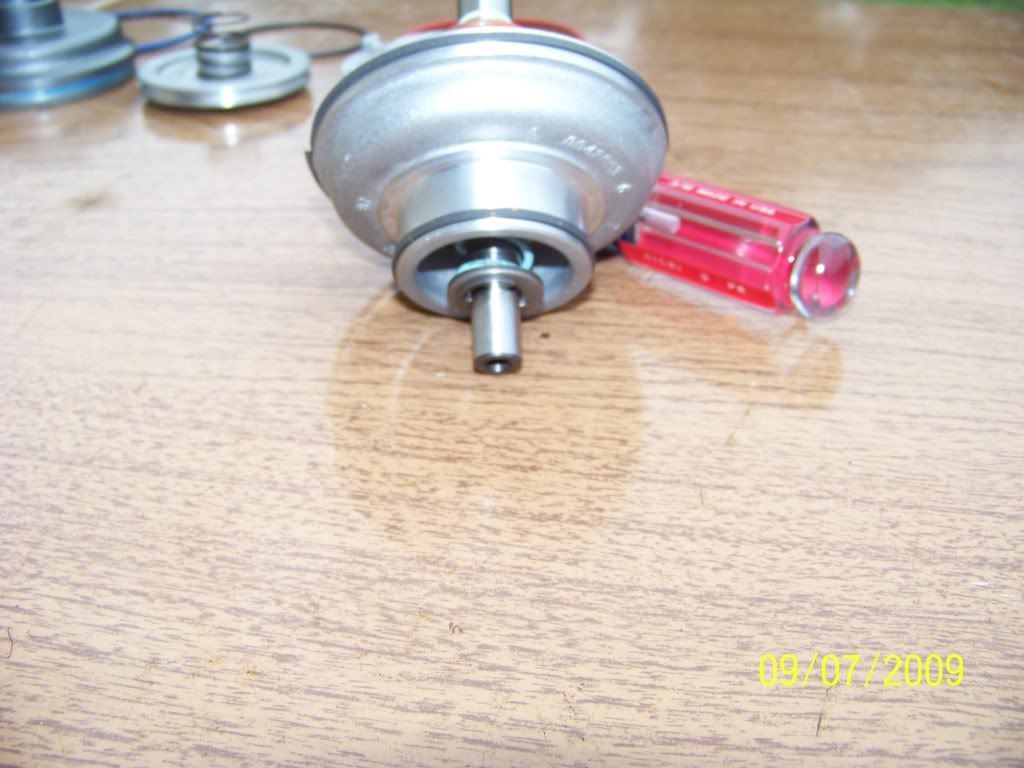 Notice in the photo below, 2 small white teflon sealing washers on the pin. These were used on the early 700's and later discontinued by GM. GM felt that they were 2 seals that could be damaged during install, so the eliminated them. I view them as 2 seals that contribute to sealing the pin's hydraulic function, so I use them every chance I get. Leak testing (with air) will always let you know if they are installed properly. 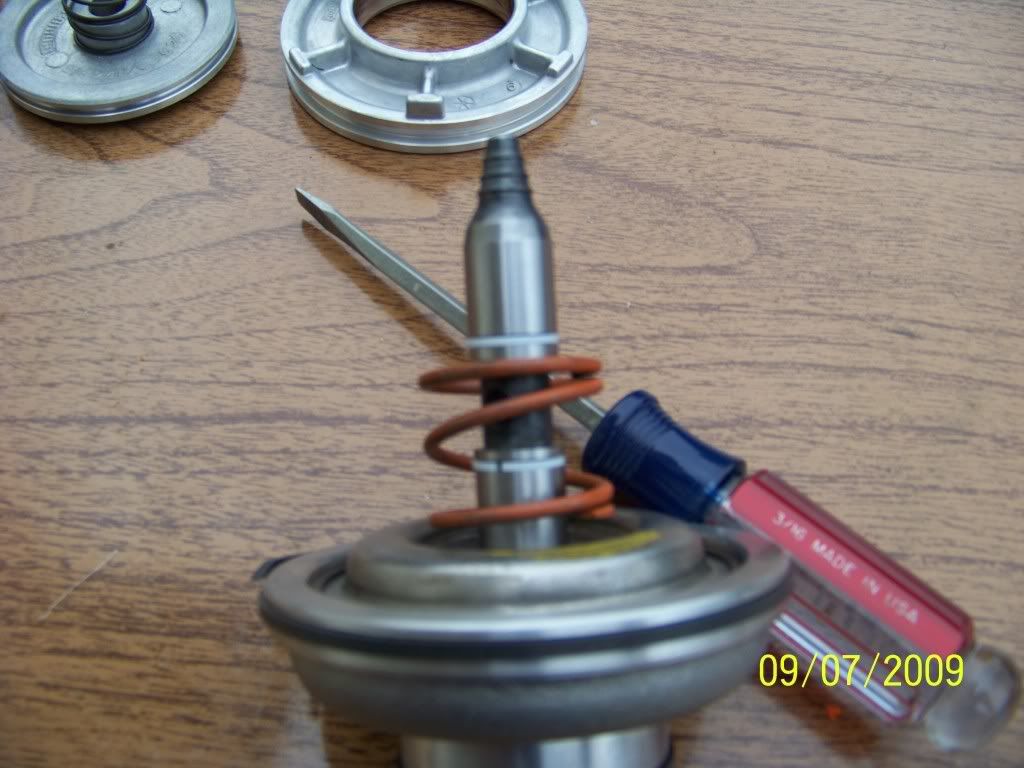 Pic below shows the 2nd gear piston with it's red o-ring installed 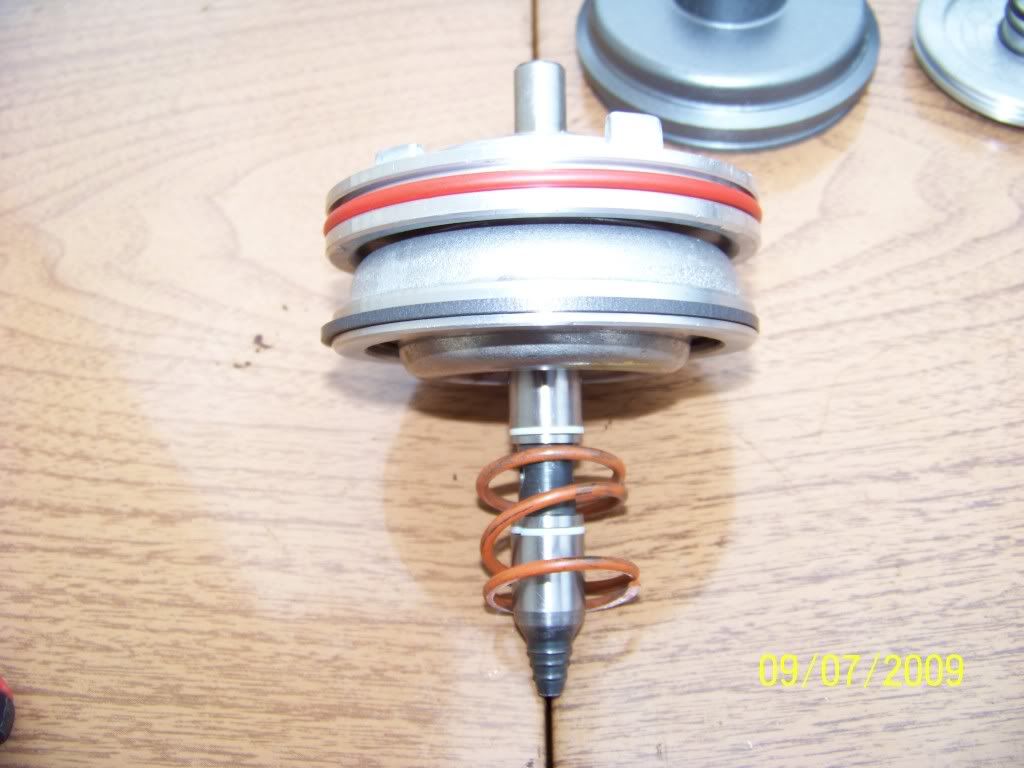 The next pic shows the 4th apply piston installed with an aftermarket booster spring added 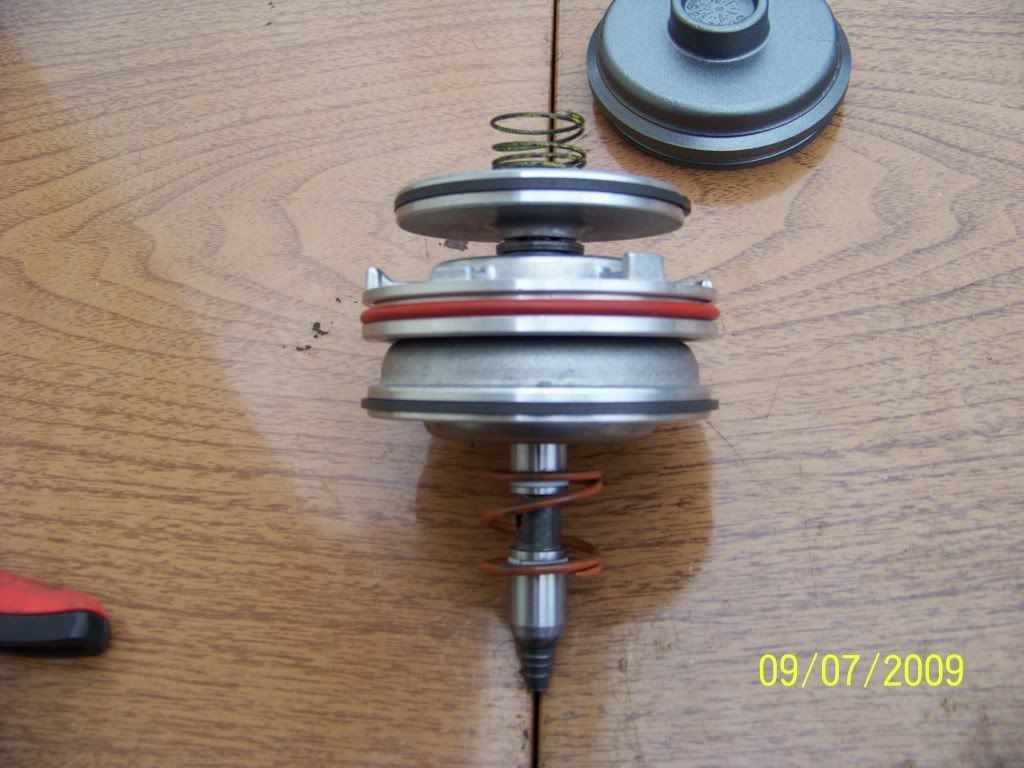 Final pic shows the entire assembly mocked up, and ready (after lubing everything up) to be installed. One of the last things installed in the trans is the servo assembly, so (for now) it is wrapped in plastic, and put aside. 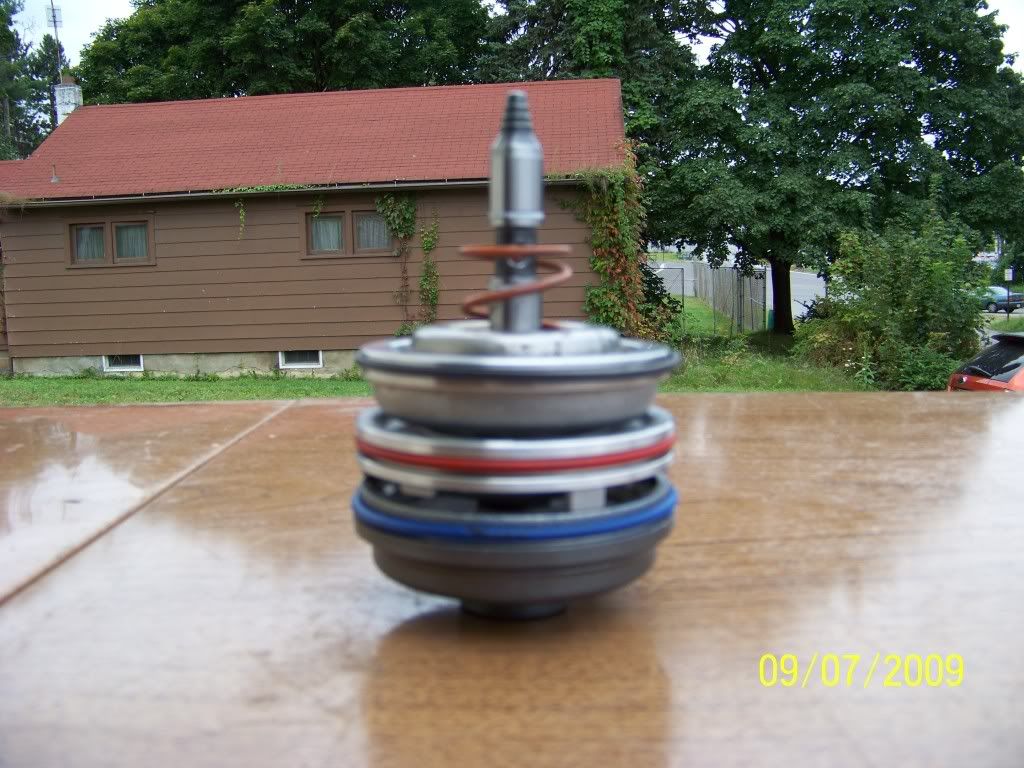 |
