


| 700R4-4L60 Build Up Part 4 |
Subject: 700R4-4L60 Build Up Part 4 by PeteK on 2009/9/9 20:16:50 Just to recap to this point, in 3 previous threads I have: 1) Torn down a 1990 C4 Vette transmission. 2) Completely disassembled it, and inspected each and every part. 3) Built up the "Back Half", or output side of the transmission. 4) Rebuilt the input drum. 5) Rebuilt the reverse drum, and installed the guts in a brand new drum to facilitate the wider band I intend to run. 6) Rebuilt the Governor. 7) Rebuilt the servo assembly. 8) Installed the tailhousing and speedo gear (driven) I wanted to cover the pump next. The pump is a vane style, and contains a rotor and vanes that spin with every revolution of the motor. The pump produces maximum pressure, and is regulated by a bypass valve to limit pressure on the low side. The boost valve controls pressure on the high side. Lo-Rev boost valve controls pressure to the lo-reverse clutch pack. Below is the 2 pump halves disassembled, and cleaned up for inspection. A straight edge and feeler guage reveal they are dead balls flat, as expected. The center areas that are scarred up are not as bad as the pics make them appear. A certain amount of wear here is typical, and this one(in my opinion) is acceptable. There is less than .0015 depressions in the pump, but as I said, the pics make them look worse than they really are. 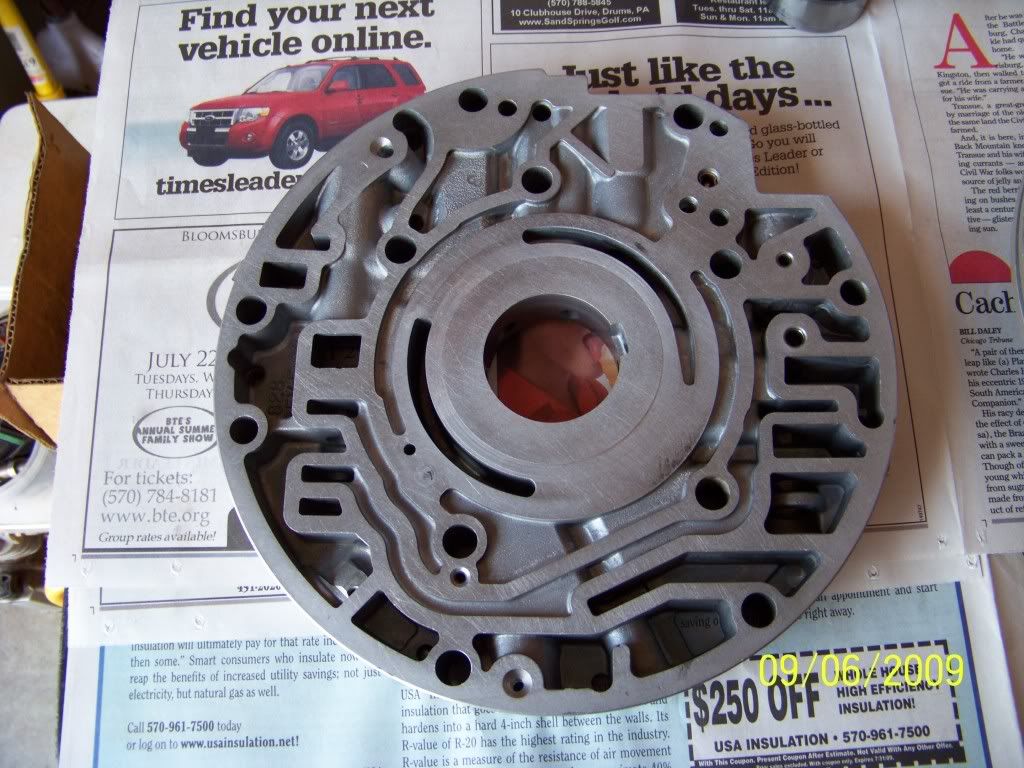 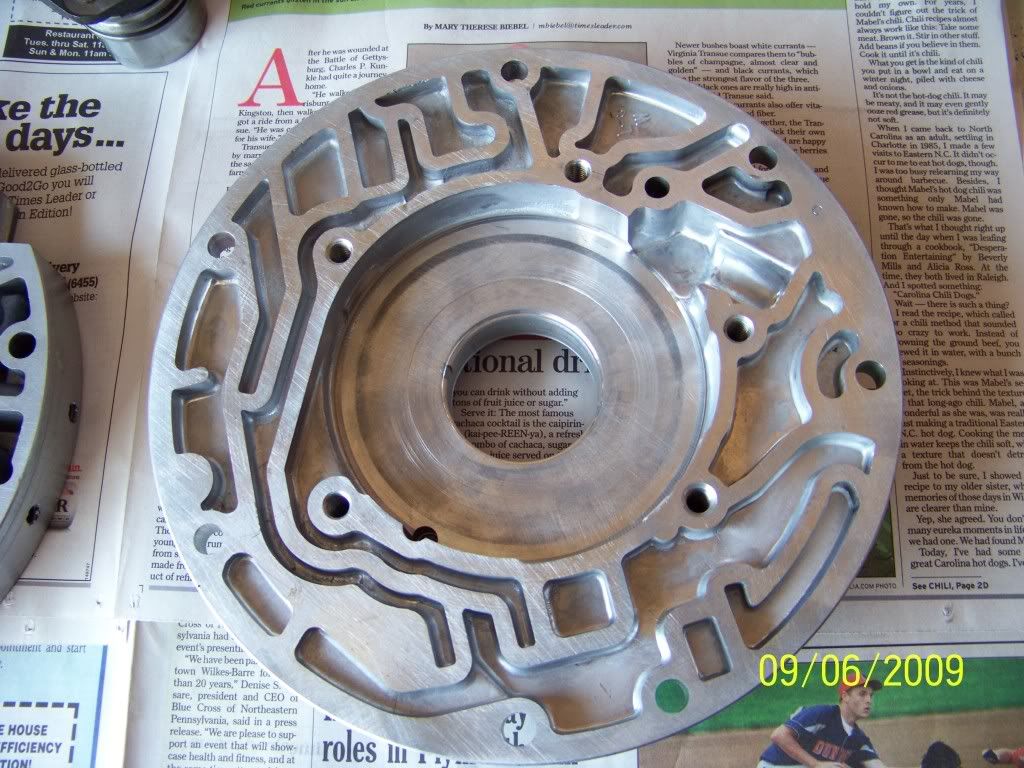 Once bare and cleaned, I install the teflon lined bushing first. I like the teflon bushings, and I secure them with locktite. Because this one has been replaced more than once, I use green sleeve retainer for extra security. 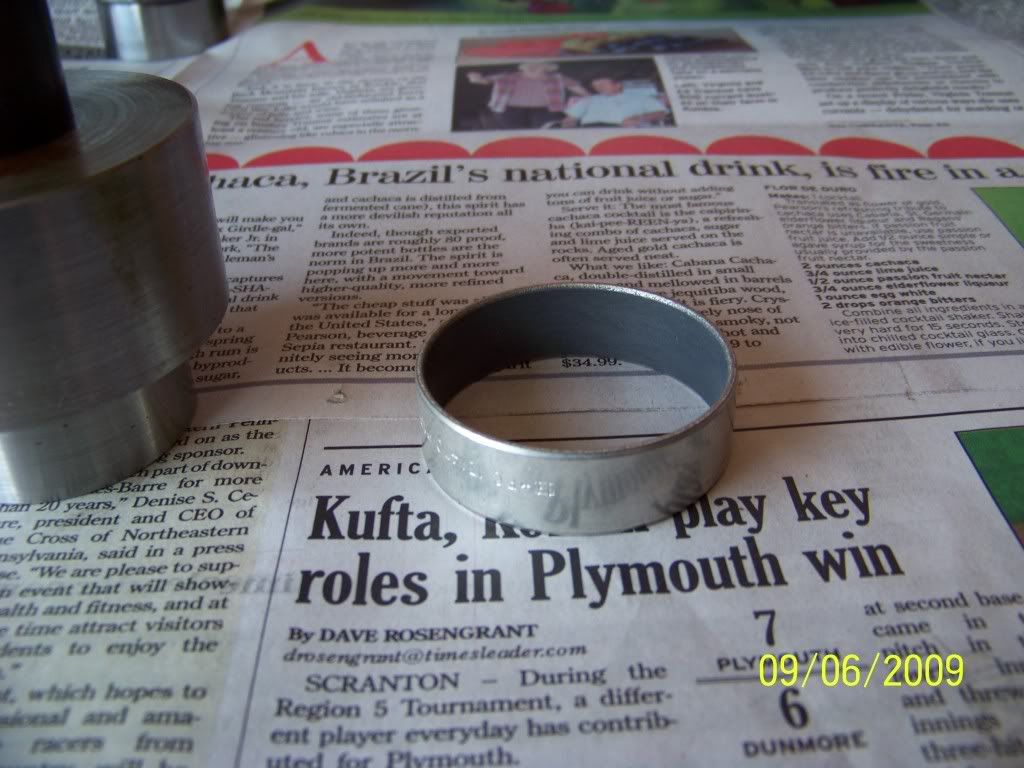 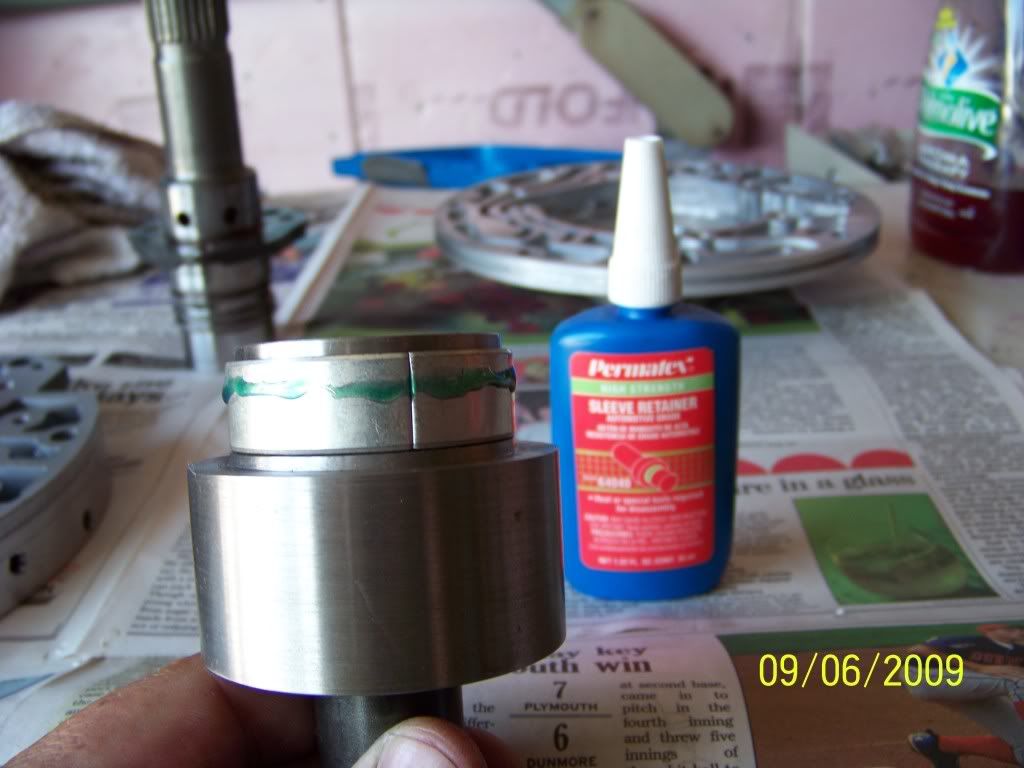 The bushing is driven in carefully, to a depth specific to a very small, machined ridge in the pump bore. I had a machinist friend make the driver below for me. It cannot over drive the bushing, and snap the delicate lip. 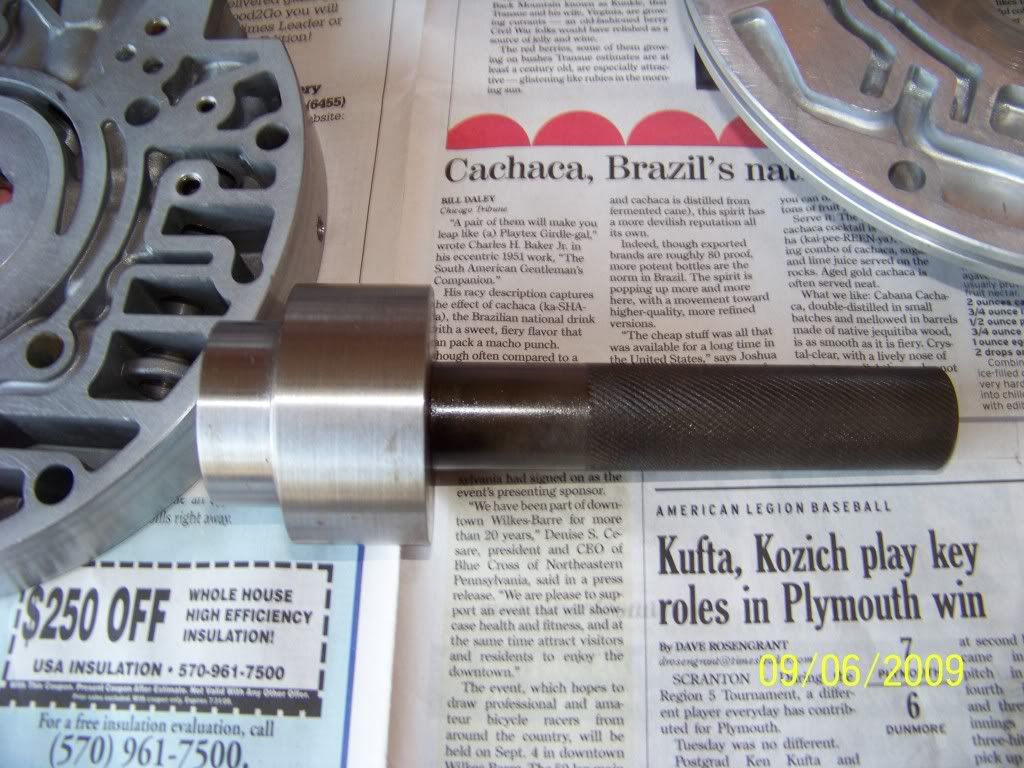 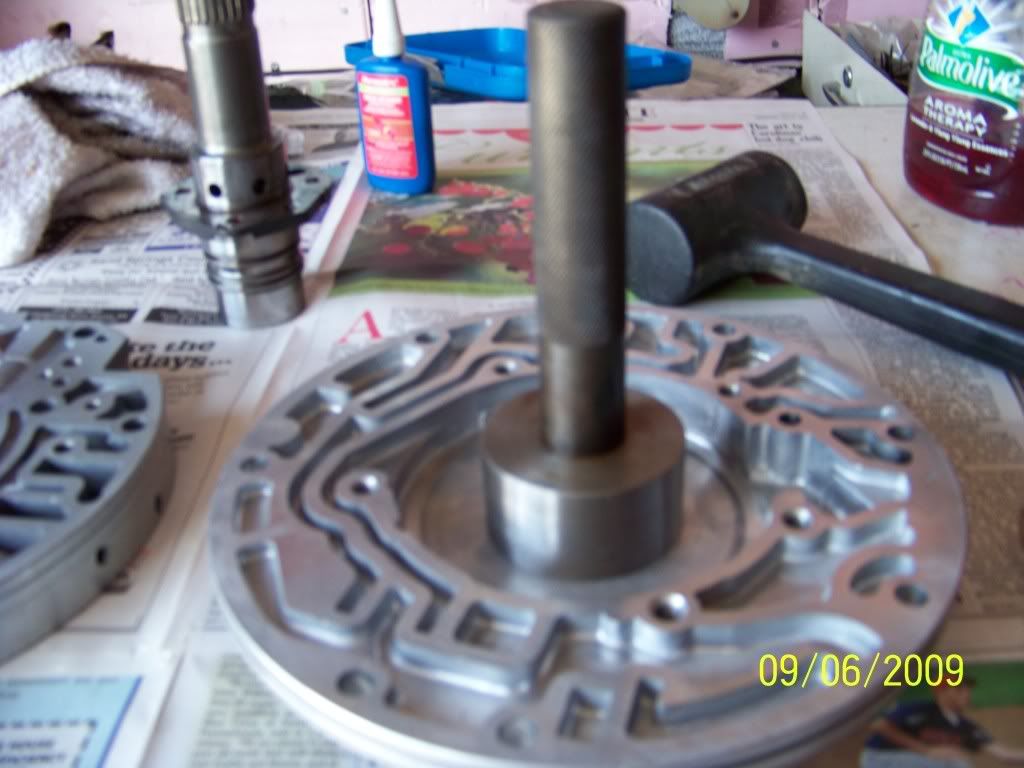 Next, I stake the bushing, and deburr the sides.  I clean the residual locktite, as ATF and locktite do not play well together. At this point, the front pump seal is ready to be installed. Although there are special drivers for this, a block of wood and a hammer work fine. 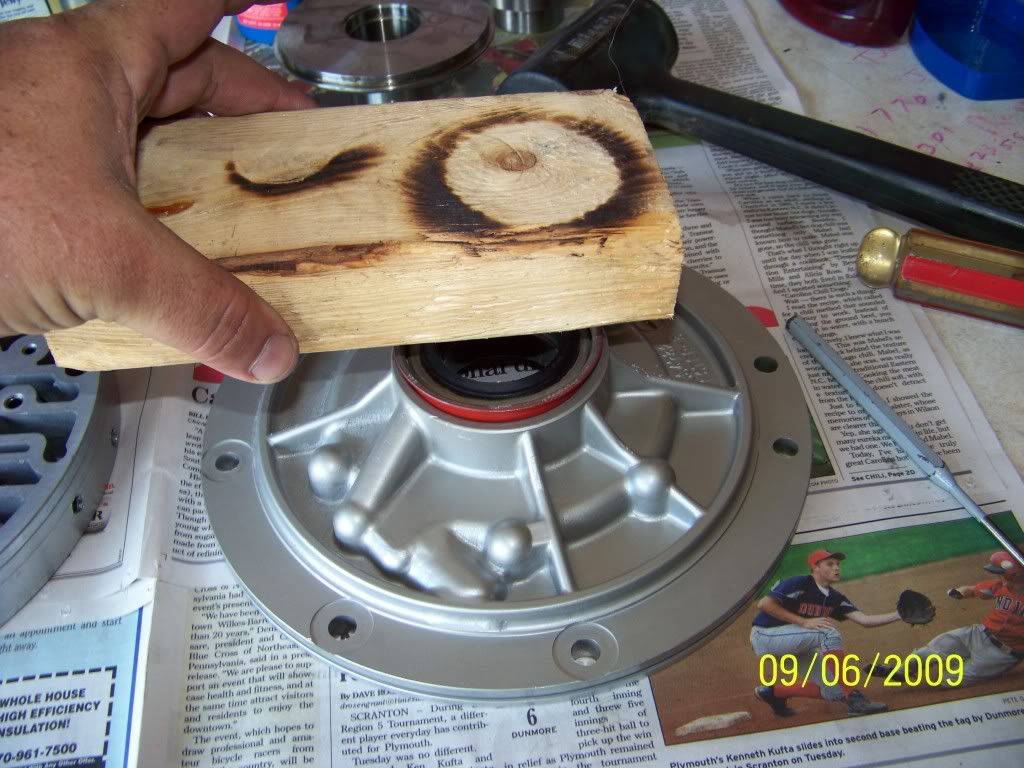 Then the front seal retainer is installed. 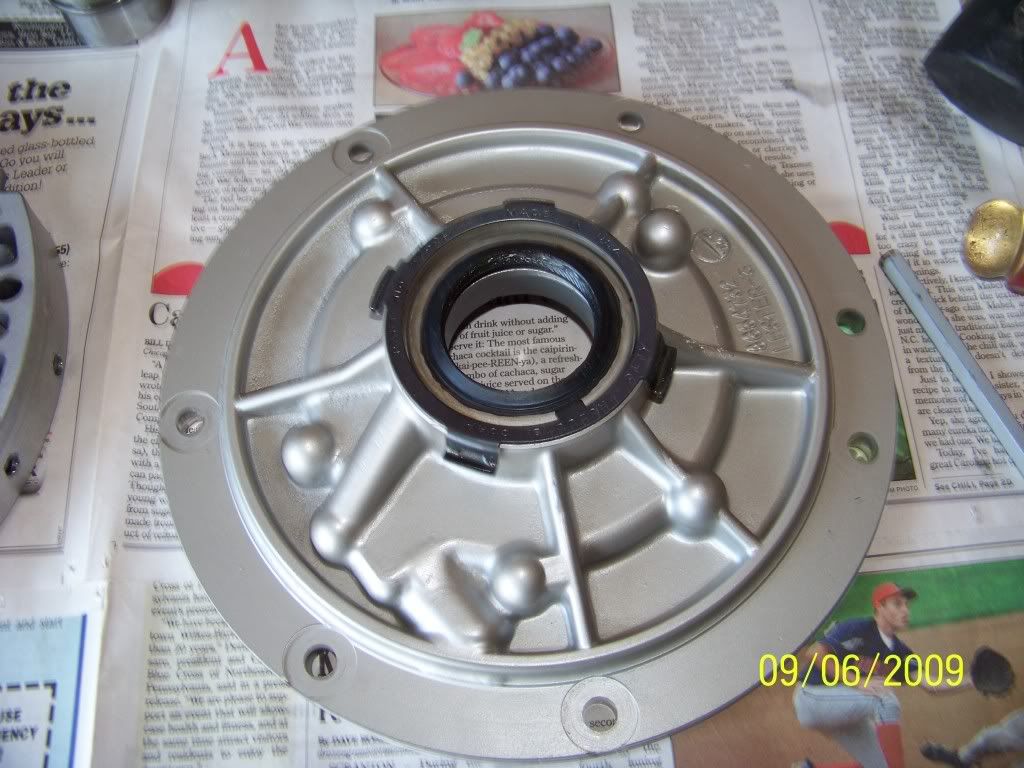 At this point, I decide that the pump core that is "acceptable" is not. I have come this far, and want this trans to be perfect in every way, so I call a place in Tennessee that sells used trans parts, and he is shipping me a hand picked core that is near perfect. I shall repeat the process on that one once it arrives, an continue the pump build up at that time. God, I am too damn fussy sometimes. |
