


| Re: 700R4-4L60 Build Up Part 4 |
Subject: Re: 700R4-4L60 Build Up Part 4 by PeteK on 2009/9/20 0:55:06 I am going to back up a bit. If you recall, I decided to redo the pump with a better core. I had not assembled completely the pump castings, so I will do that now. As you can see from the 2 pics below, the pump rotor wear surface is near perfect. They appear to have slight wear, but I cannot measure it because it is so minor. It cannot be felt, and a light scuff with very fine emery paper has cleaned up the staining. I am very please with this core. 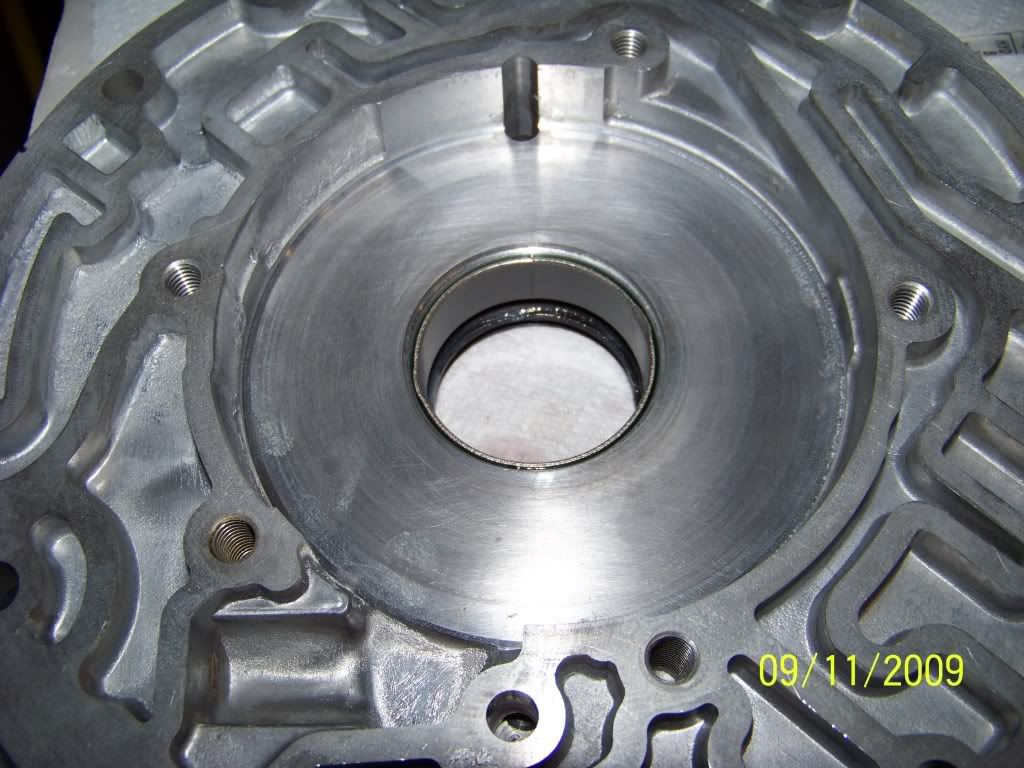 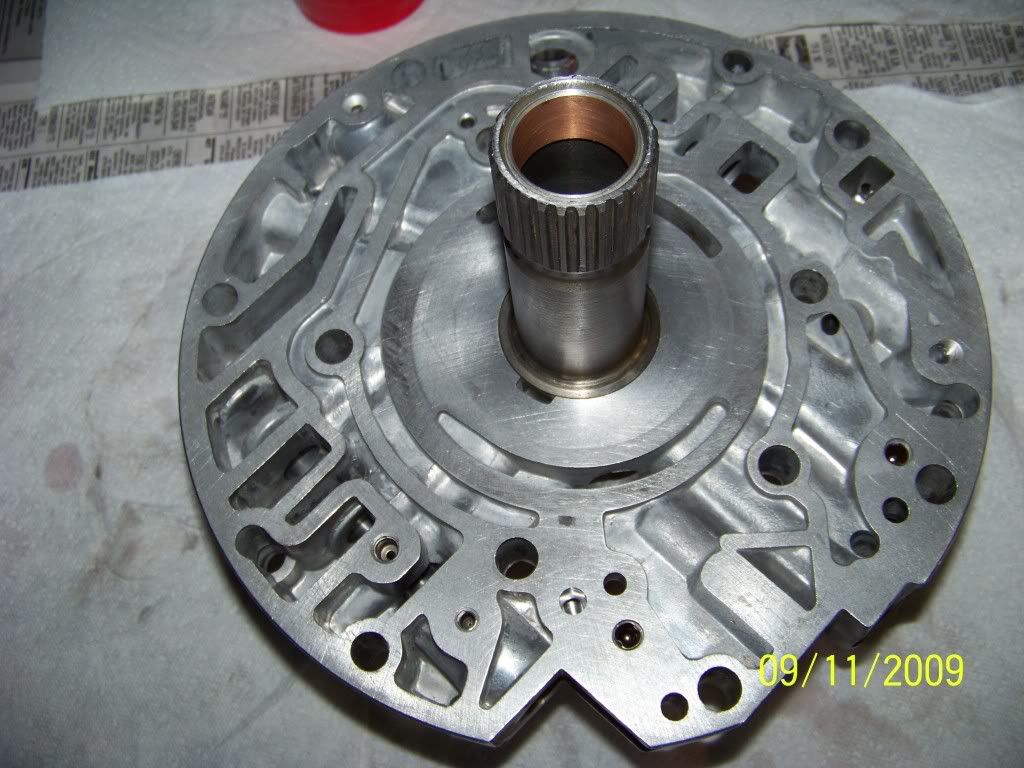 After inspecting and spitshining, I pressed in a new teflon bushing, and extra wide busings into the stator. New front seal, and a retaining clip are again installed. Next is the assembled front pump half. New pump vanes, new hardened rings, and a high rpm slide spring complete this 1/2 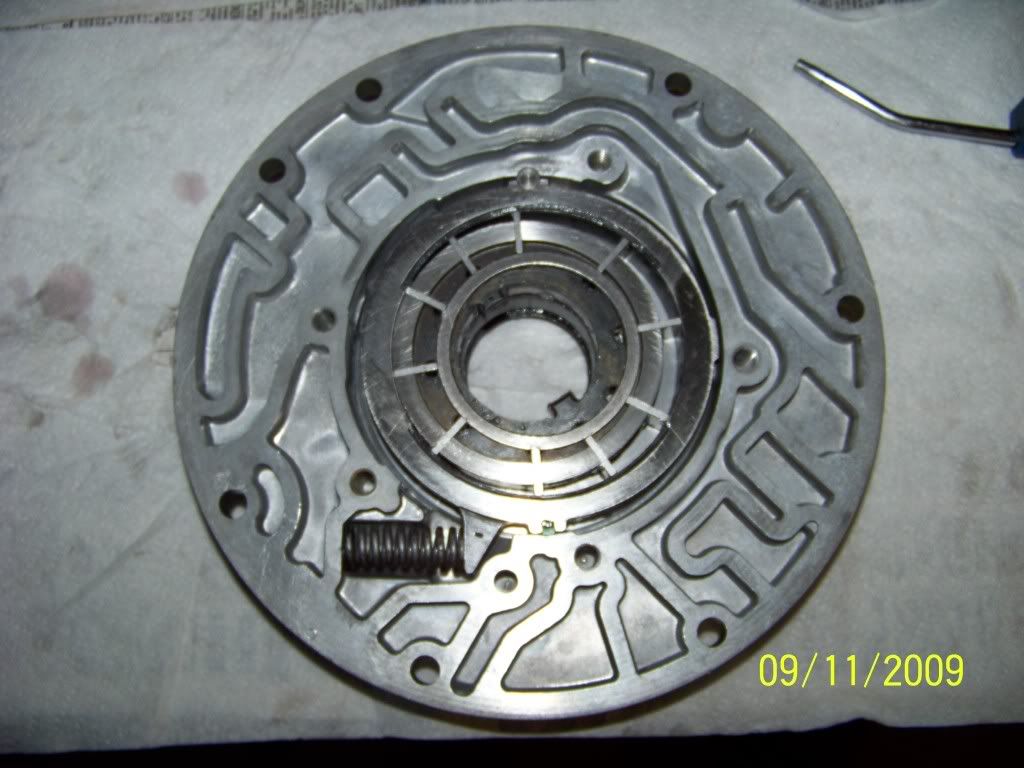 Finally, all valves and springs, along with a filter are installed into the pump body, and it is complete 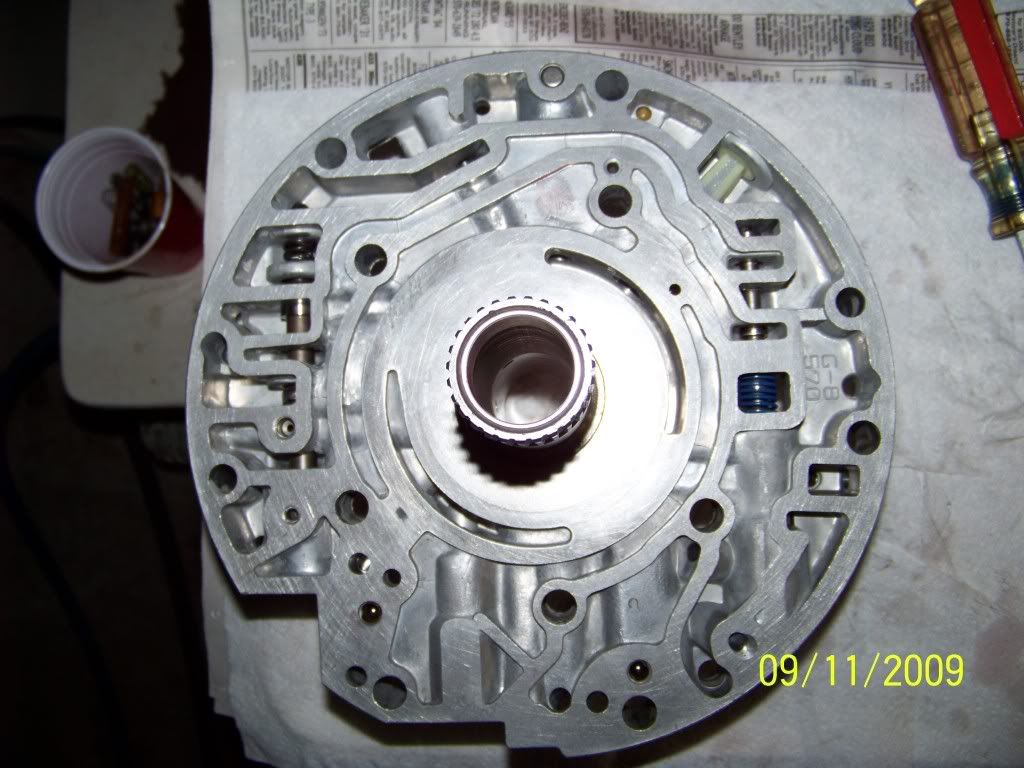 I forgot to snap a pic of the marriage of the 2 halves. Basically, they are fitted together, and a large hose clamp goes around the perimeter, to jig them up perfectlt straight with each other. Then the 5 bolts are installed, and torqued to 18 ft lbs. Once that is done, I remove the hose clamp, and dry fit the pump into the near empty case to assure a slip fit. I do not install the large pump o-ring at this time. 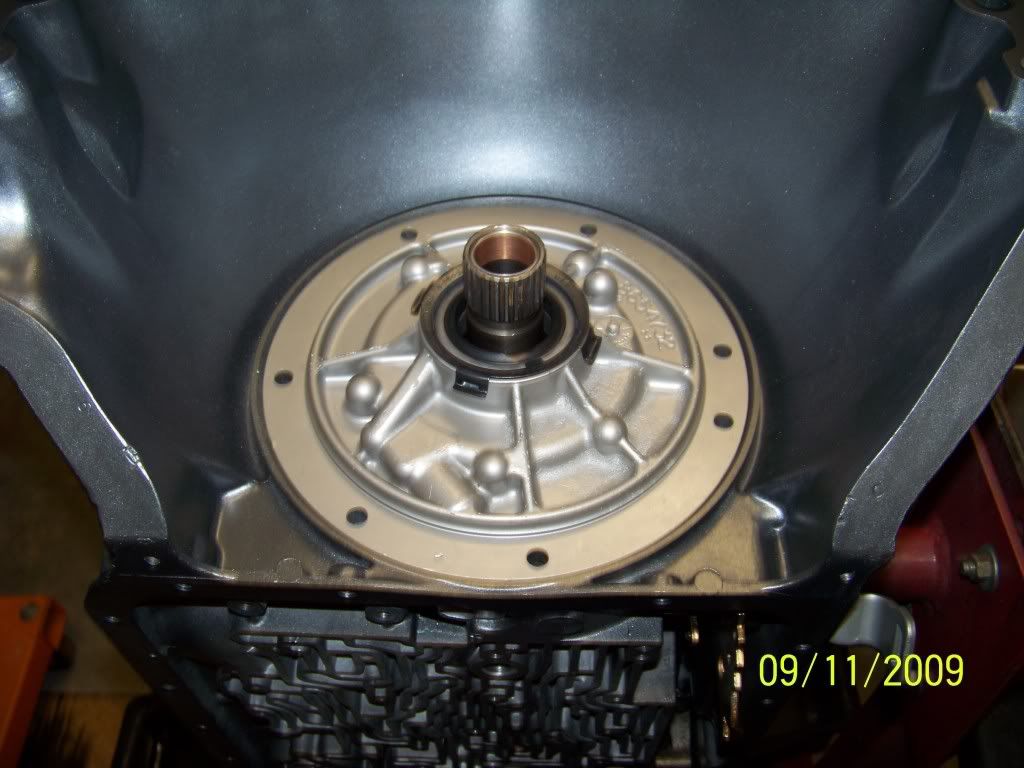 It fits like a glove, so I remove it, and set it on the bench with the input drum, reverse input drum, and band (that is soaking in atf). Check build #5 for final assembly. |
