


| Re: 700R4-4L60 Build Up Part 5 |
Subject: Re: 700R4-4L60 Build Up Part 5 by PeteK on 2009/9/22 1:25:19 Now it is time to get the servo set up correctly. The servo pushes the servo pin, which then pushes the side of the band, allowing it to clamp. The idea is to set it properly with a selective length pin, so that it will be set for the life of the band, thus the life of the trans. Except for this procedure, there is no band adjustment on this trans. You set it, and forget it. To do this, a $400 tool is kinda needed. In lieu of this tool, there is an alternate procedure, and I will explain later. Pic below shows the servo pin length checker being installed into the servo bore, with a medium long servo pin in place. The tool has a hole that must line up with a white line, when 100 inch pounds of torque is applied. 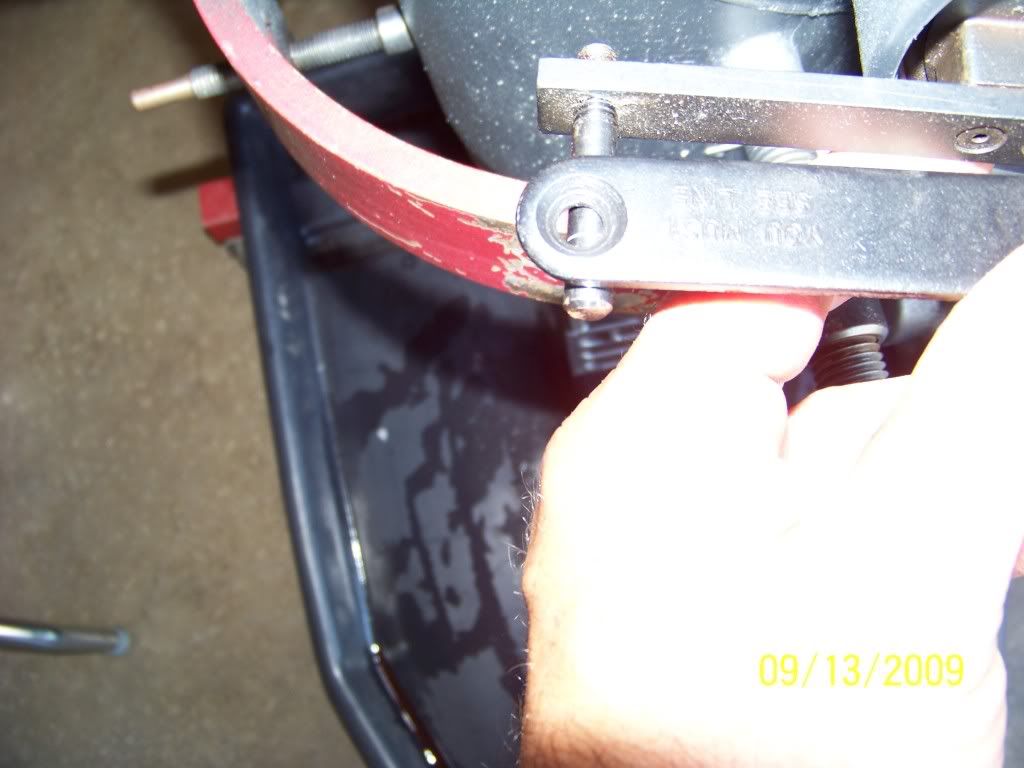 GM identifies the pin length with rings molded near the end 1 band, 2 band, 3 band etc. 3 band is the longest pin gm puts in a production trans. My 3 band pin is acceptable with the go-no go guage, but it is not where I want it. What is my option? 1) Live with it, as most would. 2) Add a pin extender to it. 3) Buy an extra long pin from GM that can be carefully ground down to fit. It is an extra $25 to the budget, but I choose option #3. 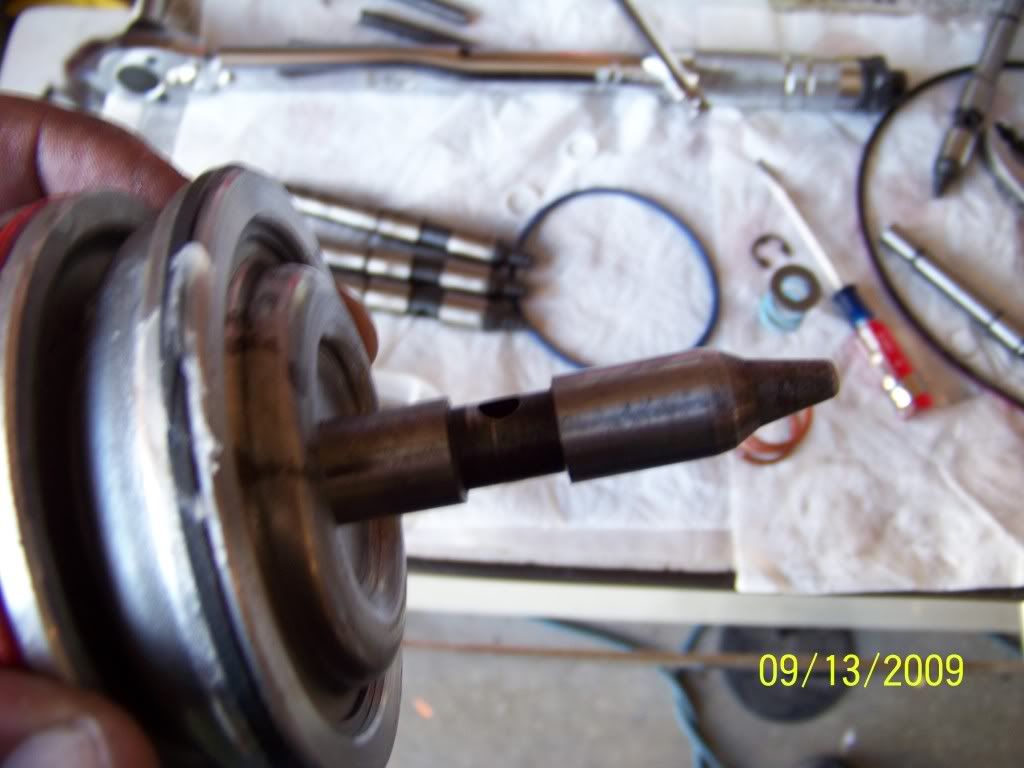 After much trial and error, I sneak up on the correct length, 1 pass of the file at a time. Now that the servo pin length is custom set, I assemble the servo completely, and place it on the side. Now, I must remove the pump to install the o-ring around the outside. 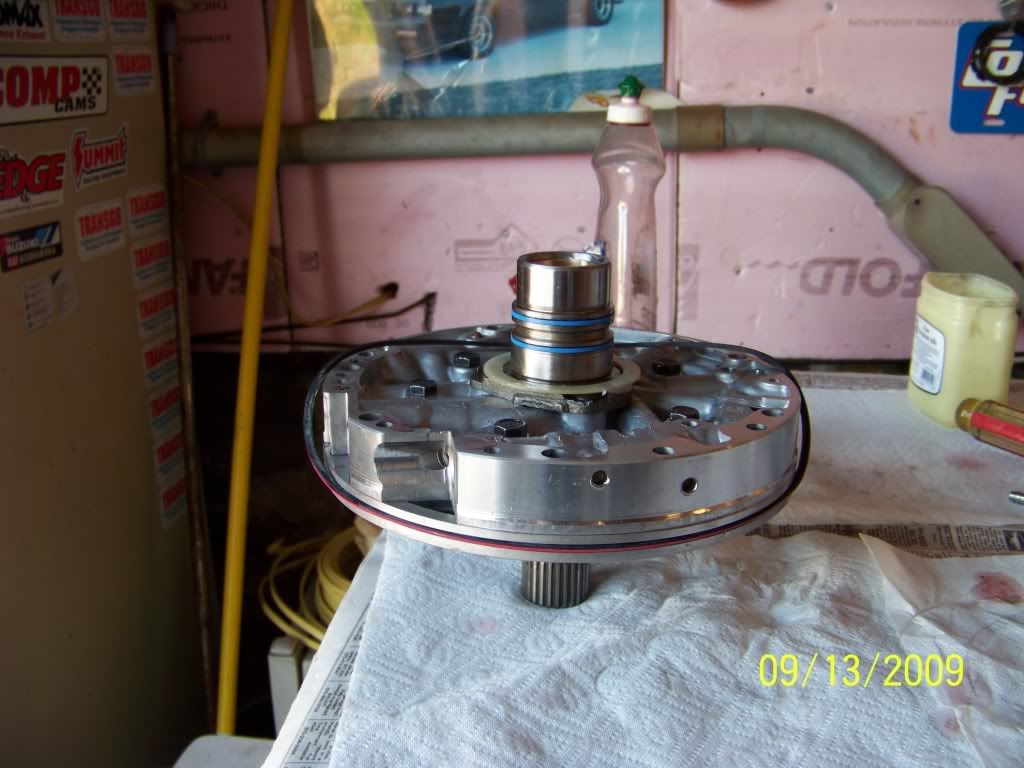 Be sure the red stripe is centered in the groove. Next, the 7 pump bolts get their sealing 0-rings installed, and all are lubed with vaseline. 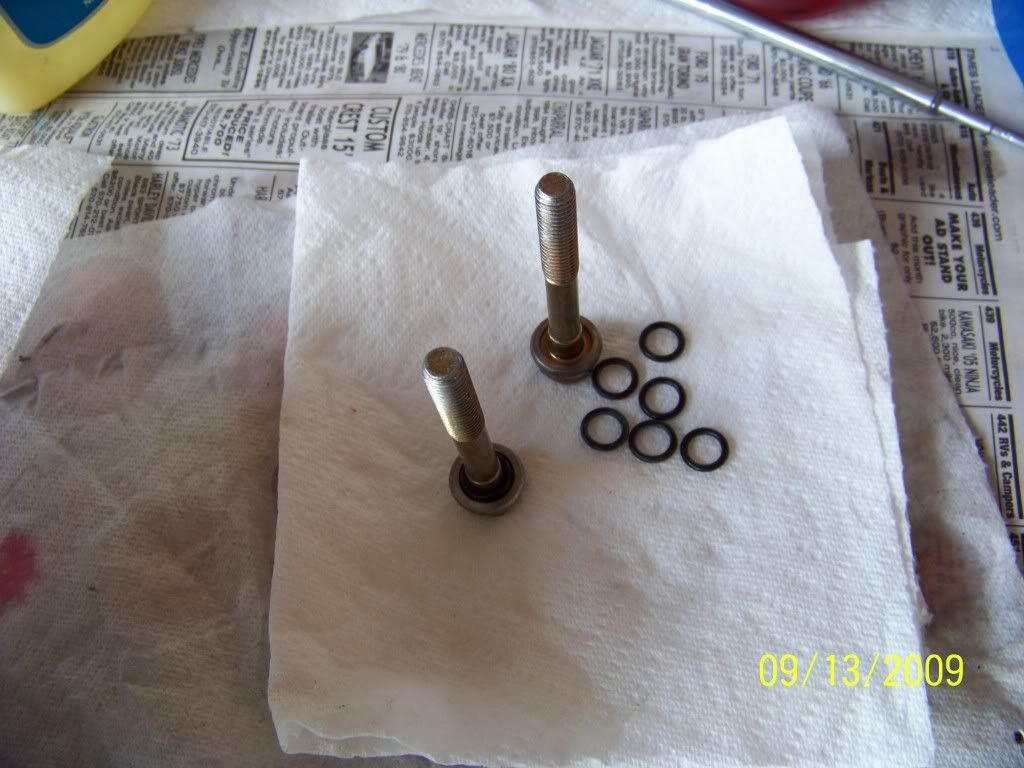 Pump is replaced with a new, virgin pump gasket, and criss-crossed torqued to 18 ft lbs. Complete servo assembly is installed, and the cover is retained with it's C-Clip. Although I forgot to snap a pic, you can install a dial indicator to determine total servo cover movement. I aim for .080-.100, with .090 as my target. I achieved .090 on this build. At this time, everything is installed internally, except what goes in the trans pan. |
