|
|
Register To Post |
| Matatk | Ignition Cylinder Swap - How To | ||
|
Webmaster
 
|
Let me preface this by saying it's not a 100% how to. In order to do this, I relied on the writings of Jim Shea, the internet expert on C3 steering columns. Downloading his papers is a must if you plan to do this! As with all vehicles, your model year may have subtle differences. This process was done on a 1979 corvette.
The problem: No keys for car (door or ignition). Solution: New lock set: 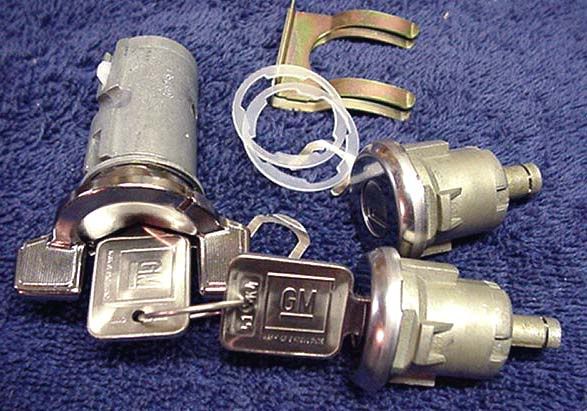 A great tip Jim put in one of his papers is to roll up a towel length wise and leave a little unrolled. Then stuff it in the dash between the window and use it as a ledge to hold all the screws and pieces you remove in order. Makes organization and reassembly a snap! Here's the starting point: 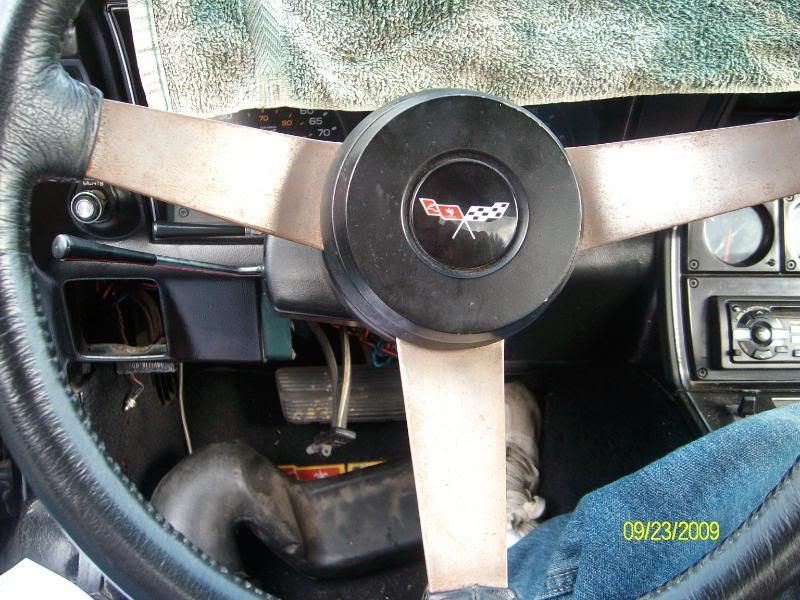 Carefully pry the horn button off and reveal this: 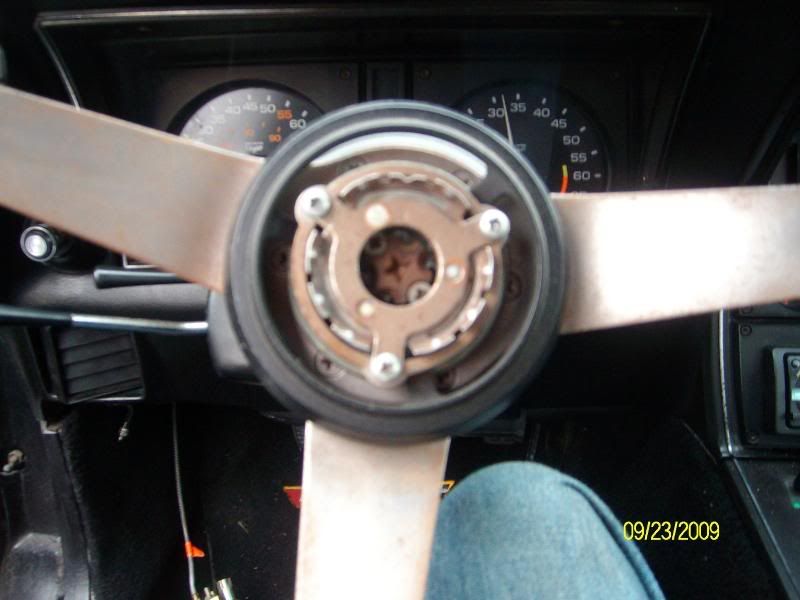 Remove the three screws and the ring/spacers they hold in. I taped them together with painters tape just in case. You'll be left with this: 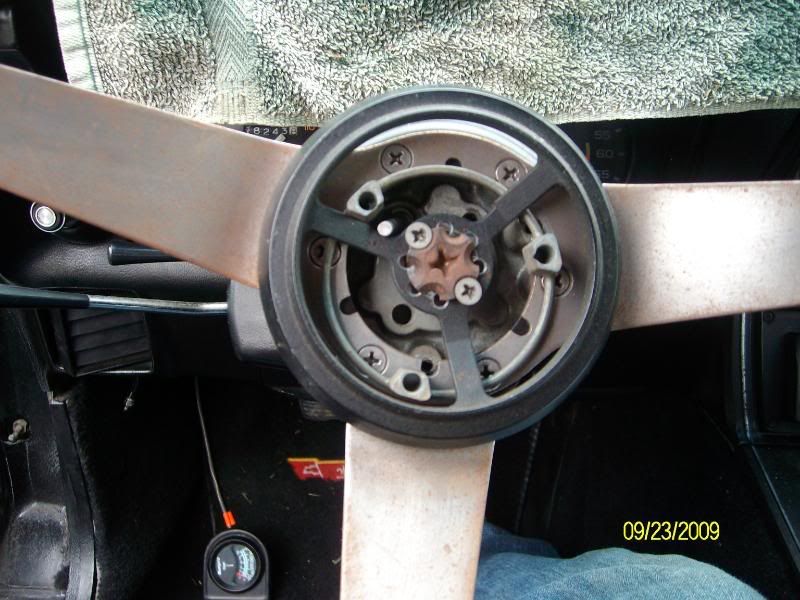 The black ring is for the telescoping function of the column. In the middle you'll see the "star screw" that Jim refers to. Remove the two screws holding the "star screw" in and remove the star screw. 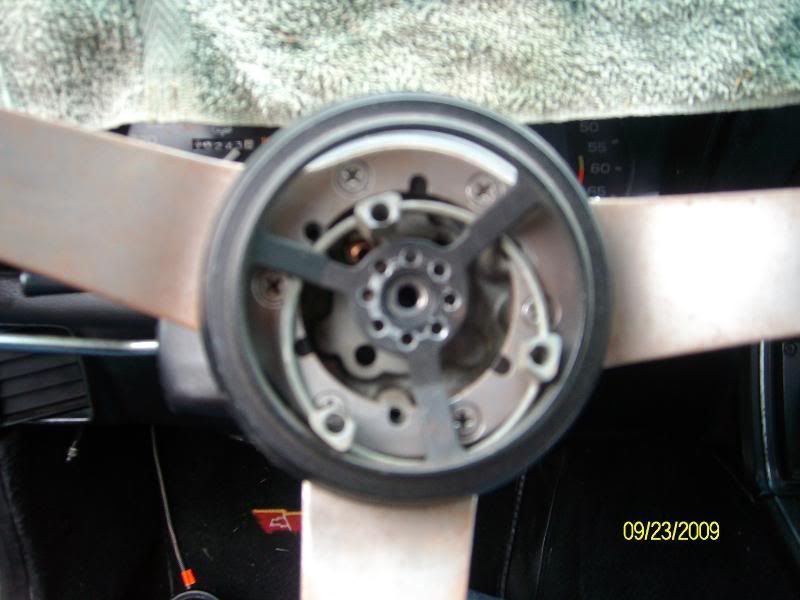 Here the ring telescoping lock ring and the piece under are removed: 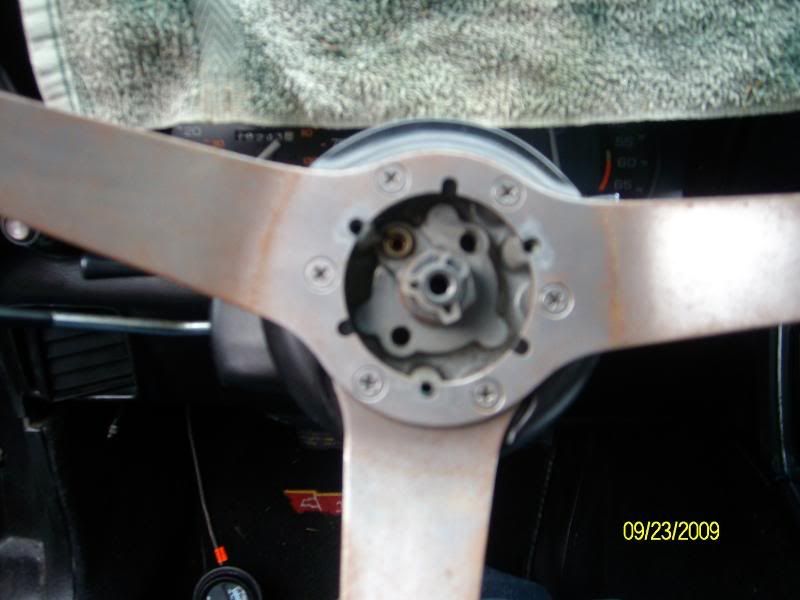 I didn't really follow the instructions properly and unscrewed those six screw holding the steering wheel and cover on. This is not necessary on the 79. You can use a steering wheel puller (I used a HB puller, same thing) and remove the steering wheel and hub as one piece. Since I was using an electric drill it took 20 seconds to take the wheel off first, but still. Before removing the hub, carefully pry off this retaining ring and remove the nut securing the hub: 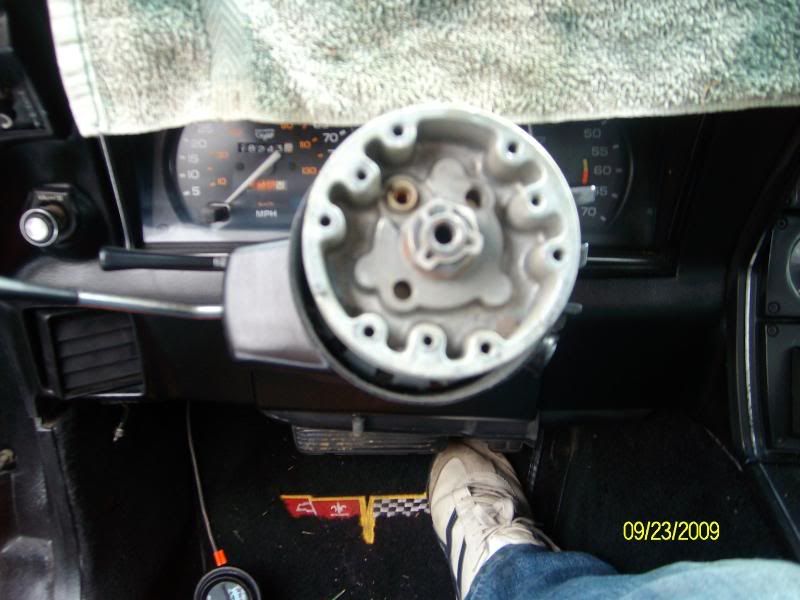 You'll then be left with this: 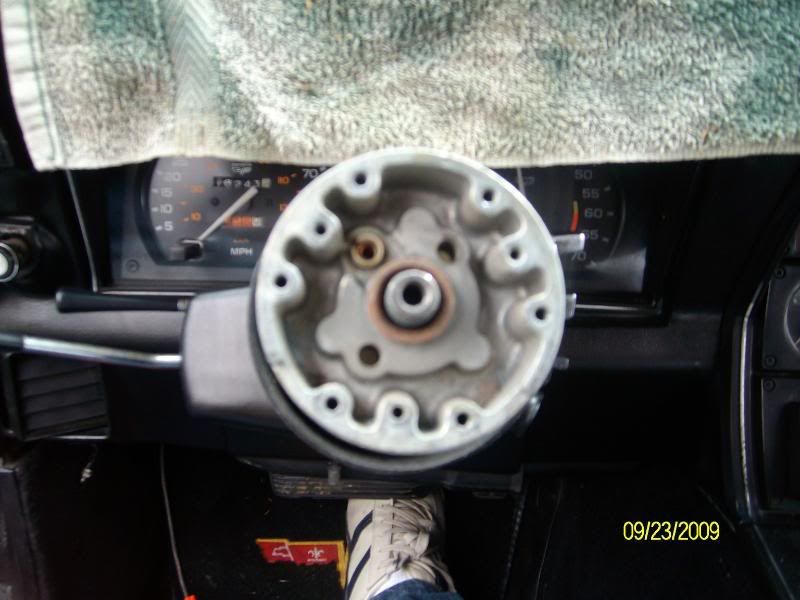 You can see in the upper left (10 oclock position) there is a plastic hole. This houses a spring and the telescope lock rod. I removed them to prevent them from being lost. Good idea to do that. Pulling the hub: 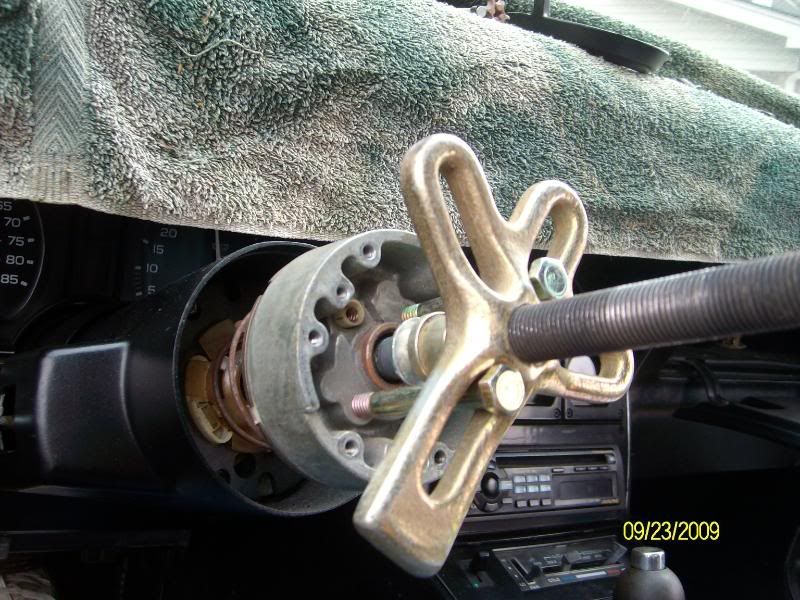 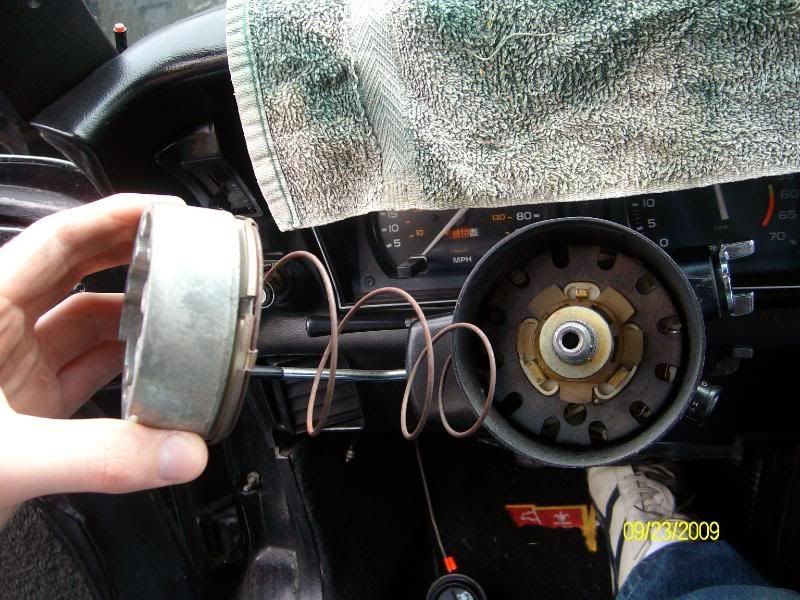 At about this point, Jim also recommends removing the turn signal stalk: 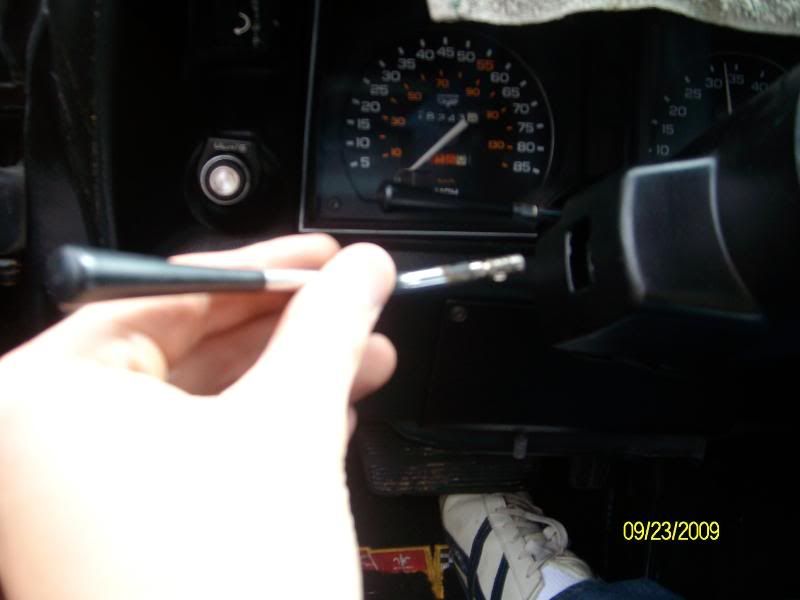 Here you can see a a piece of black tube with plastic on either side. You also see a yellowish plastic "fan" looking piece. The black tube with plastic washers on it pulls right off. You will have to pry the "fan" piece off carefully and it will break no matter what you do. Heck, it's 30 years old. The GM part # is 7808385 - Retainer. Buy a new one before you start this project. It was 13 dollars as of yesterday's price. 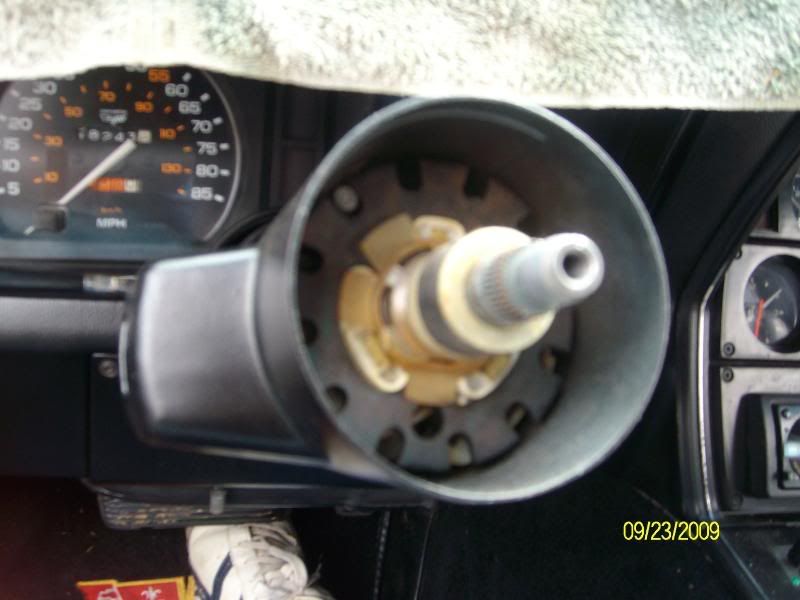 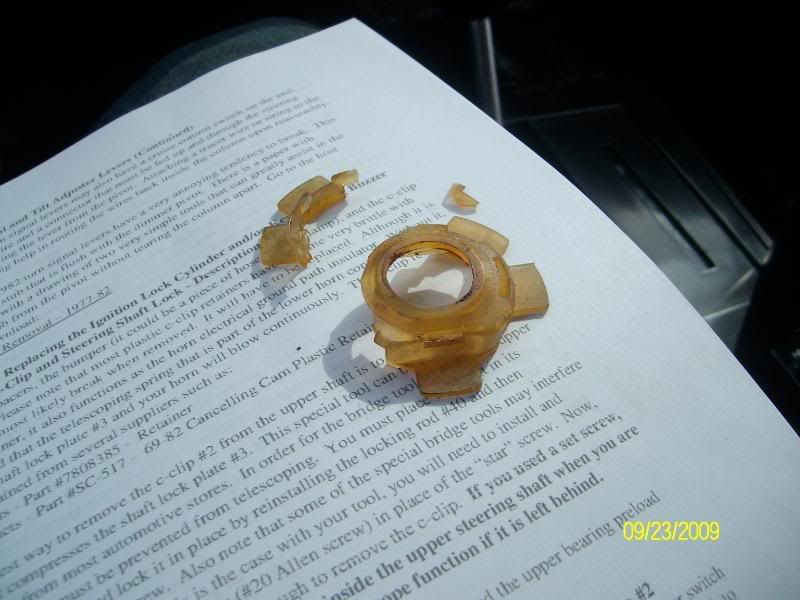 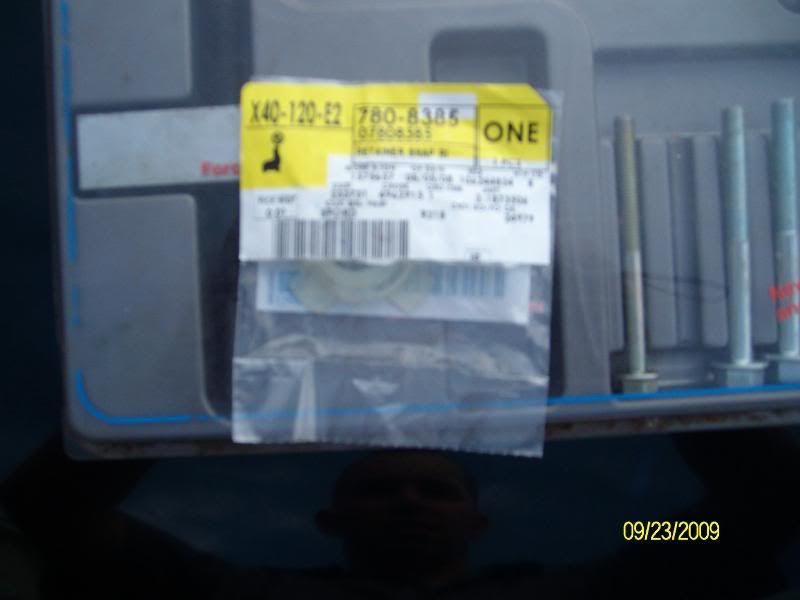 Next, you will need what Jim refers to as a bridge puller (also called a lock plate remover): 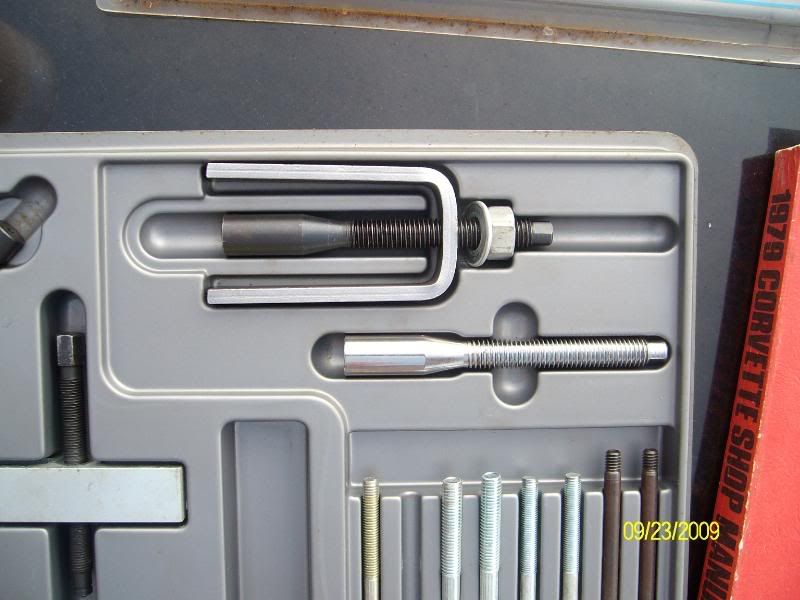 Install this so you can remove the c-clip holding on the lock plate: 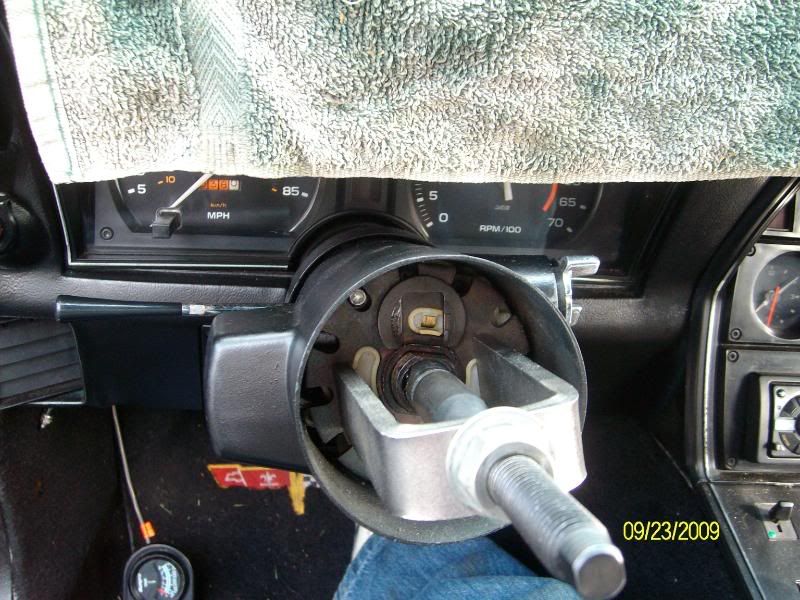 Take note that in order to do this, you must prevent the telescoping function from working. The "star screw" locking to the right is what does this. Unfortunately, this won't fit under the bridge tool. What I did was found a bolt that was the same size (per Jim 5/16 18 UNC) and ground the bolt head down to a 4 side square. Then I was able to use a wrench to tighten and loosen it and it fit under the tool. Sorry, no pics of the bolt. With the c-clip removed, you can pull off the lock plate and plastic piece underneath: 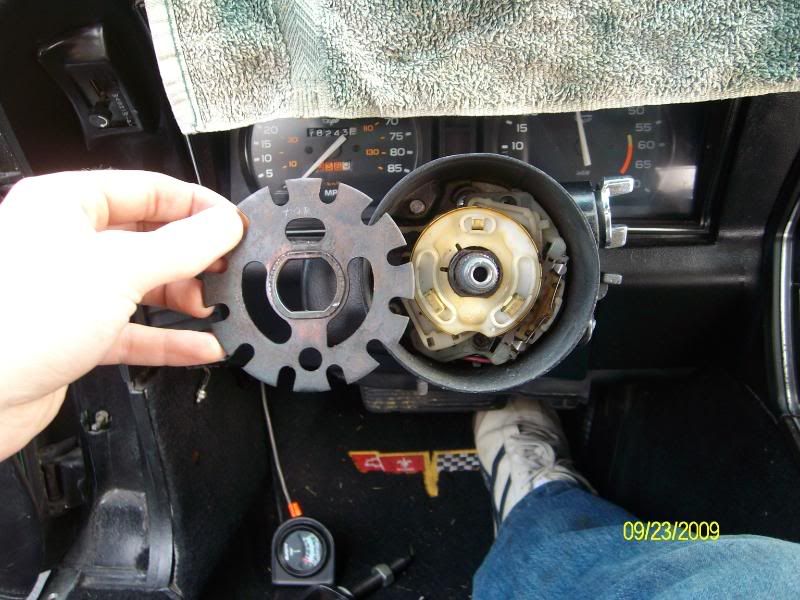 Once that is off, you have to drop the panel under the dash (3 screws) and pull the A/C duct down. You can then unclip the wiring harness to give yourself more room pulling back the turn signal assembly: 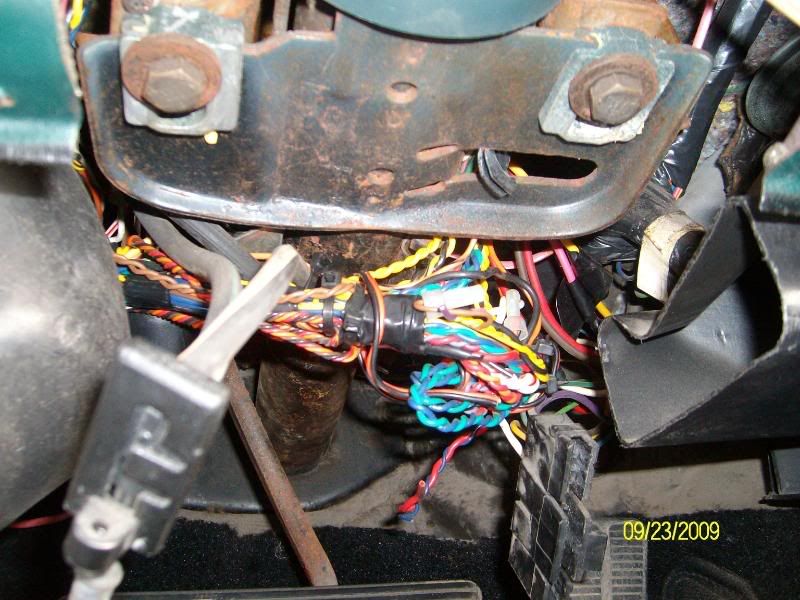 There are three screws holding in the turn signal assembly along with a black metal rod that connects into the turn signal stalk (one screw). Remove the metal rod (don't worry, easy to replace) and the three screws and pull it out. Once removed, you will see a white piece of plastic on the right upper corner (2 oclock) with two copper metal pieces coming off. The plastic slightly covers the screw you will need to remove to get the ignition cylinder out. Rather than fighting with it and breaking it, I took a pair of side cutters and carefully cut away the little trim piece over the screw (it appears to be non functional, anyway). Once removed, you can access the screw and remove the ignition. In the picture, you actually see the screw is removed already. It's the hole above the larger screw head. Once the screw is removed, the ignition slides in and out with no problem: 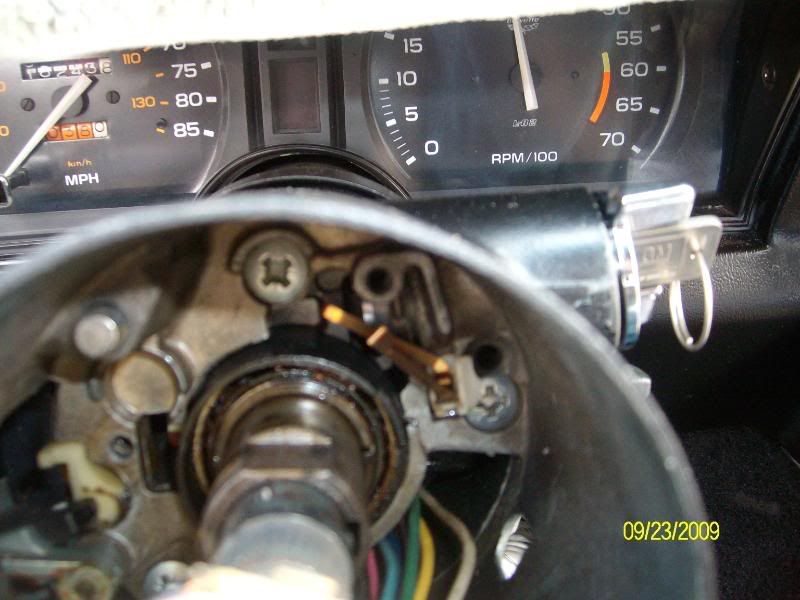 Reassemble in reverse order, and make sure to double check the telescoping function and adjust as necessary before reassembling everything. Once again, thanks to Jim Shea for his excellent instructions. Hopefully this helps anyone looking to do this project. Matthew |
||
Posted on: 2009/9/24 11:57
|
|||
|
_________________
2002 EBM convertible, Magnusson supercharger, cam, headers, etc. 1989 Corvette...RIP |
|||
 Transfer Transfer
|
|||
| Durango_Boy | Re: Ignition Cylinder Swap - How To | ||
|
Elite Guru
 
|
Fantastic writeup Matthew. I've seen most of that before but not in a well put together comprehensive How To.
If you wouldn't mind, can I compile that into a PDF, host it, and post links to it when someone asks for help with their C3 column? |
||
Posted on: 2009/9/24 12:26
|
|||
 Transfer Transfer
|
|||
| Matatk | Re: Ignition Cylinder Swap - How To | ||
|
Webmaster
 
|
Quote:
DB, feel free to put it into a PDF and then we can put it in the C3 tech section and you can send it to anyone you like! Thanks, Matthew |
||
Posted on: 2009/9/24 23:45
|
|||
|
_________________
2002 EBM convertible, Magnusson supercharger, cam, headers, etc. 1989 Corvette...RIP |
|||
 Transfer Transfer
|
|||
You can view topic.
You cannot start a new topic.
You cannot reply to posts.
You cannot edit your posts.
You cannot delete your posts.
You cannot add new polls.
You cannot vote in polls.
You cannot attach files to posts.
You cannot post without approval.
|
|


