|
|
Register To Post |
| Matatk | 89 stereo/speaker replacement (caution lots of pics) | ||
|
Webmaster
 
|
Ok guys, here are the pictures I promised forever ago. Project isn't done, but I'll update as I go. This is not meant to be a tutorial, but will have some pictures as far as taking off the door panels, removing bose, etc.
Door panel in virgin form. You can see the screws along the bottom that need to be removed. There is also one on the outside rear edge and in the the speaker grill. You can also see the PO's fine wiring job if you look closely. 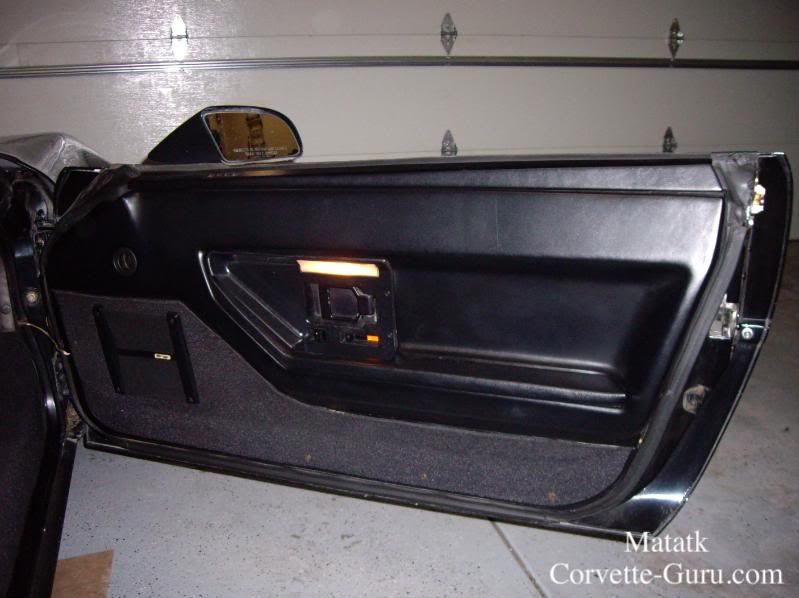 Don't forget the screws inside the door handle and door pull. 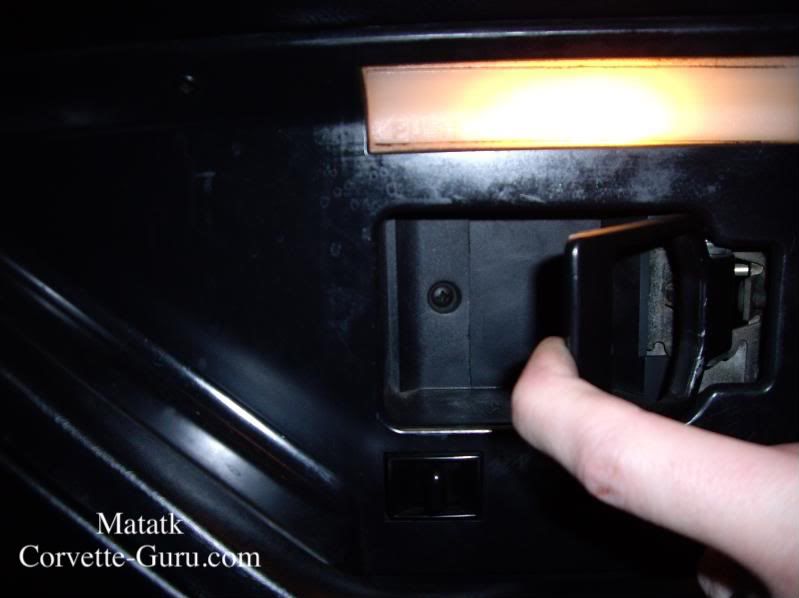 Backside after removed. I chose to leave the light attached, some people take it off and leave it on the door. 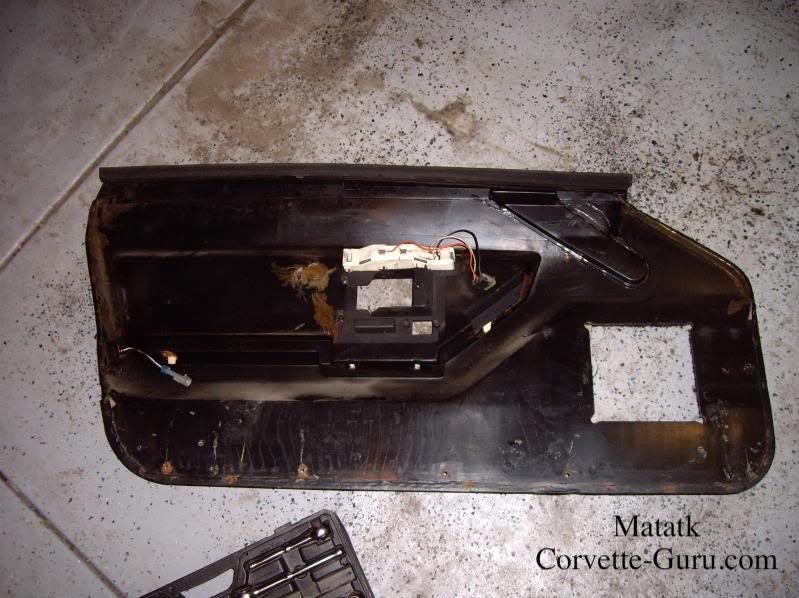 Pull back the plastic and see this aluminum barricade taunting you. 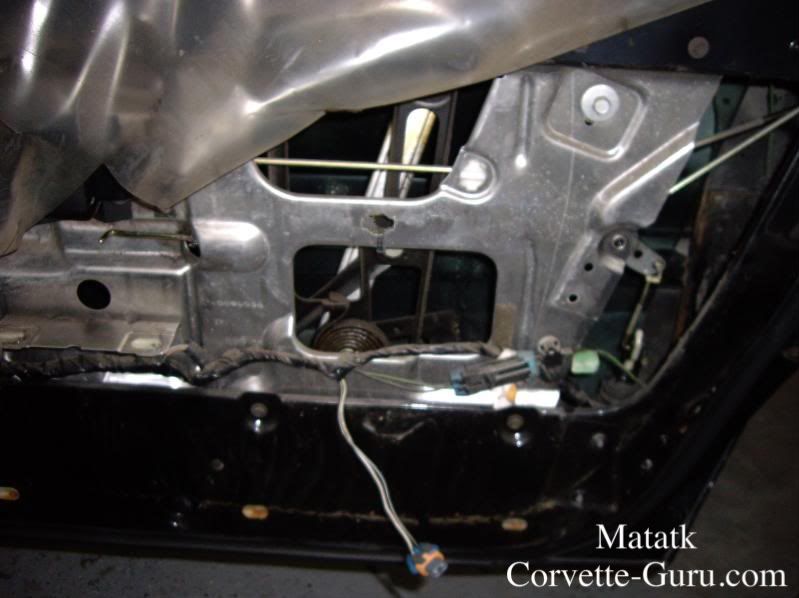 The website I used said to unscrew all the bolts holding it on, disconnect the door handle arms and then push it in to get access to the bose box. I couldn't push it in and had better luck actually pulling it out which gave me more room to maneuver. 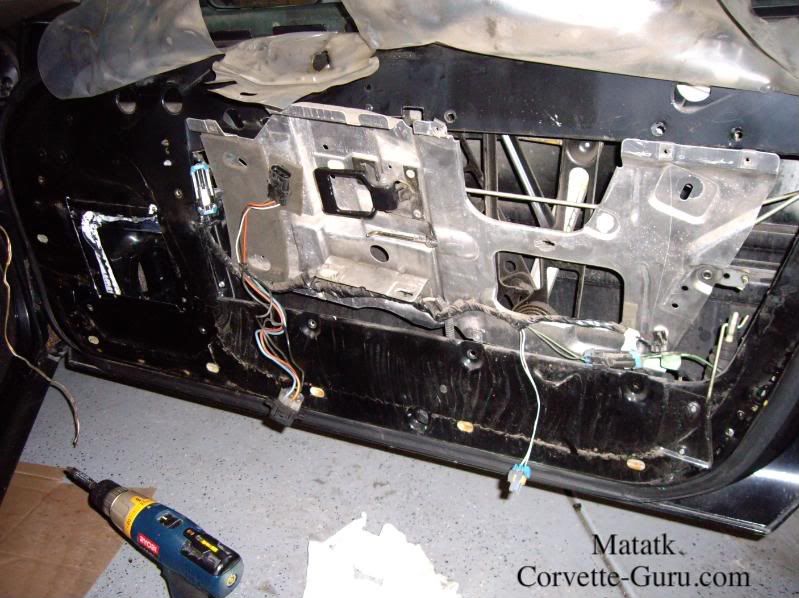 Removing bose box. 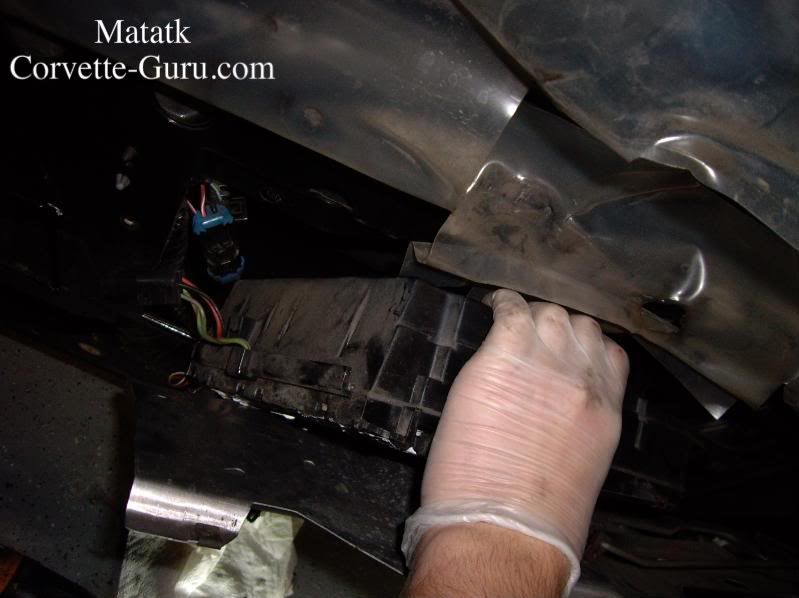 Bose box. You can see all the sticky sealant that helps keep it watertight against the door and makes it more difficult to remove. 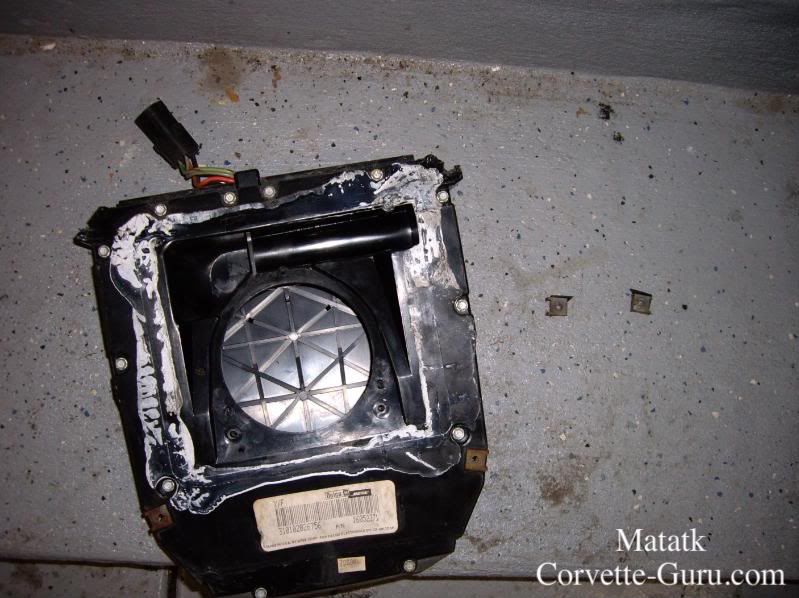 Inside of bose box with amp. (I removed the amp because I would be cutting up the boxes to reuse with my semi-custom install) 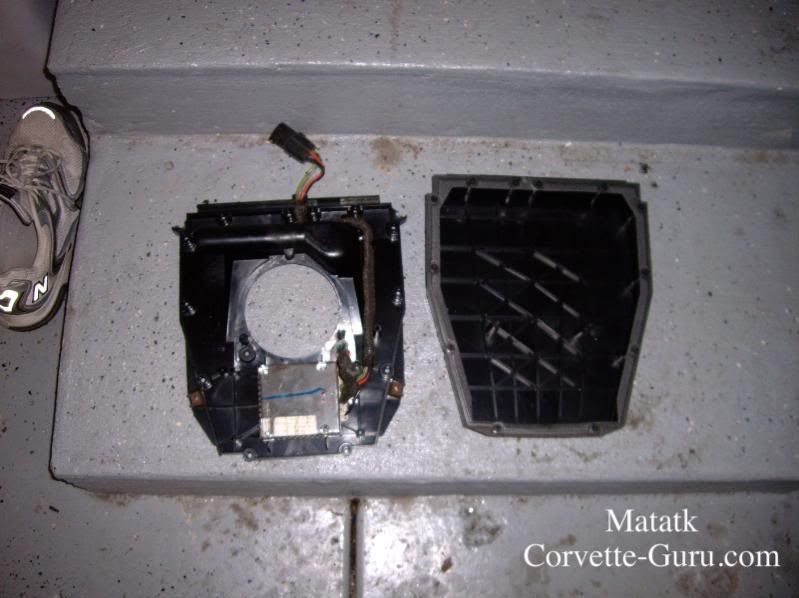 Rat's nest from PO! I cleaned it up a bit and ran RCAs to the amp, eliminating the need for all the speaker wire. 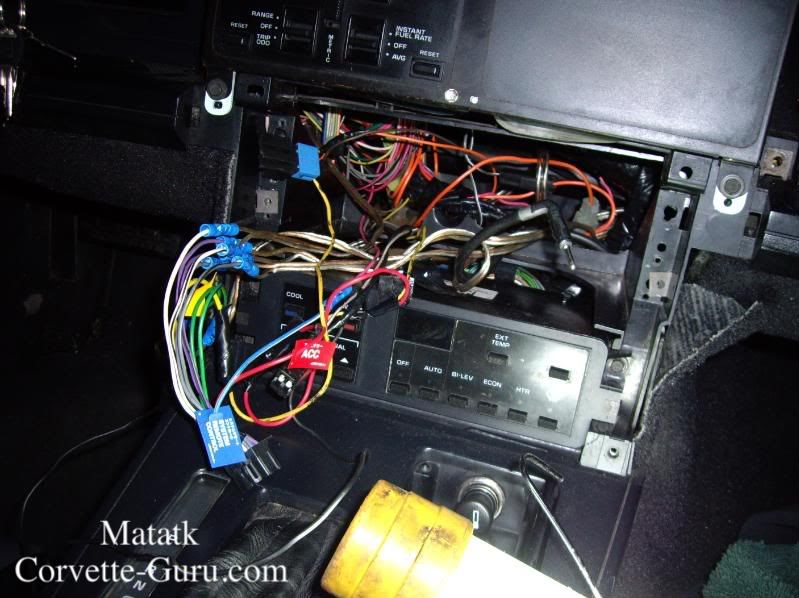 PO's quality install in the back (speaker cover removed) 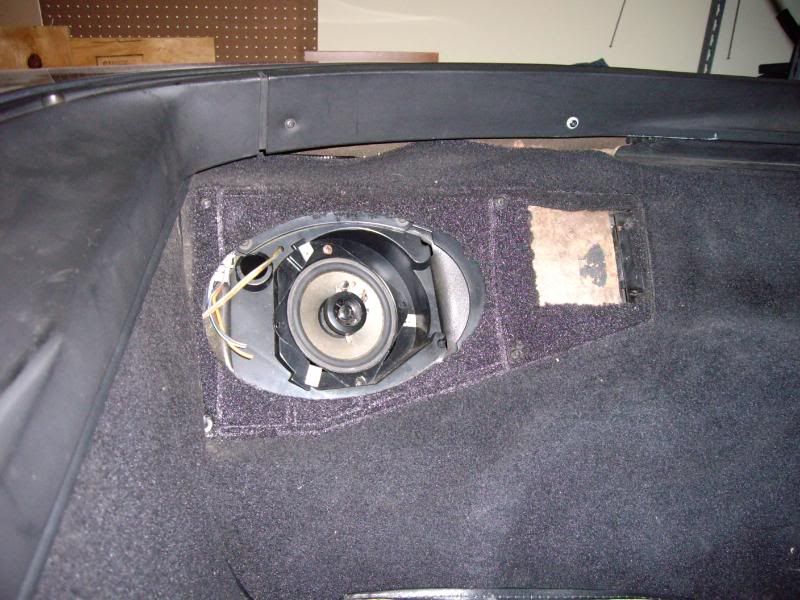 I removed the side carpet and front seat for better access to the hatch area. I then removed the bose boxes. 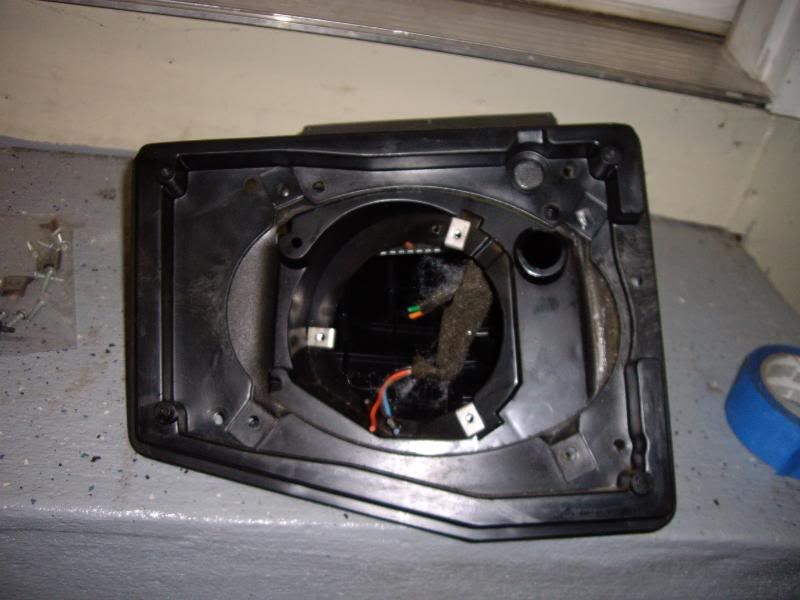 You can see here how the back can be removed leaving the 6x9 mounting surface from the front of the box. I did not reuse the back part. 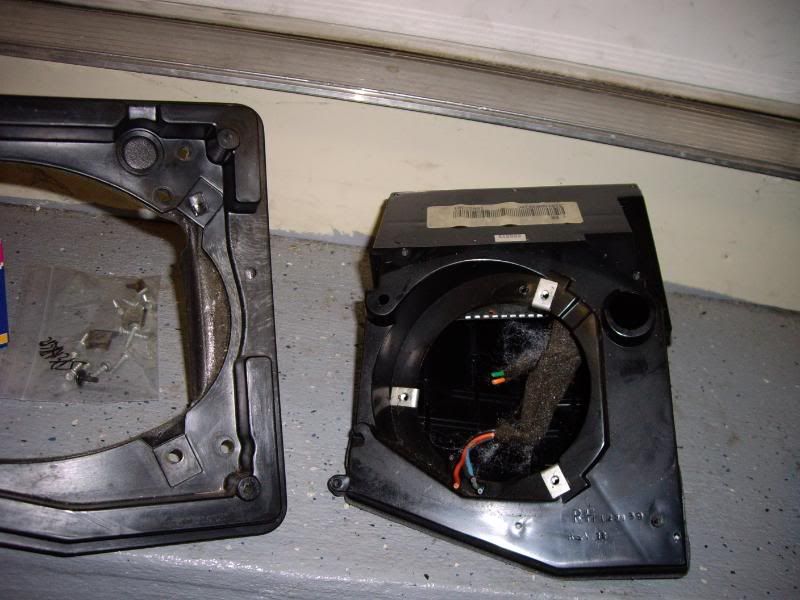 Uhhhh...where'd all this extra stuff come from? 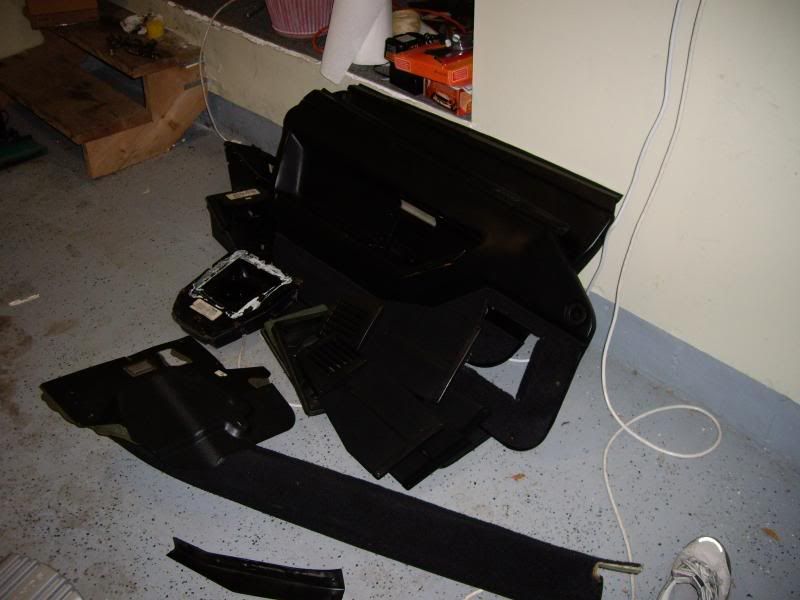 Mounting surface is a little screwy but I got it to work. 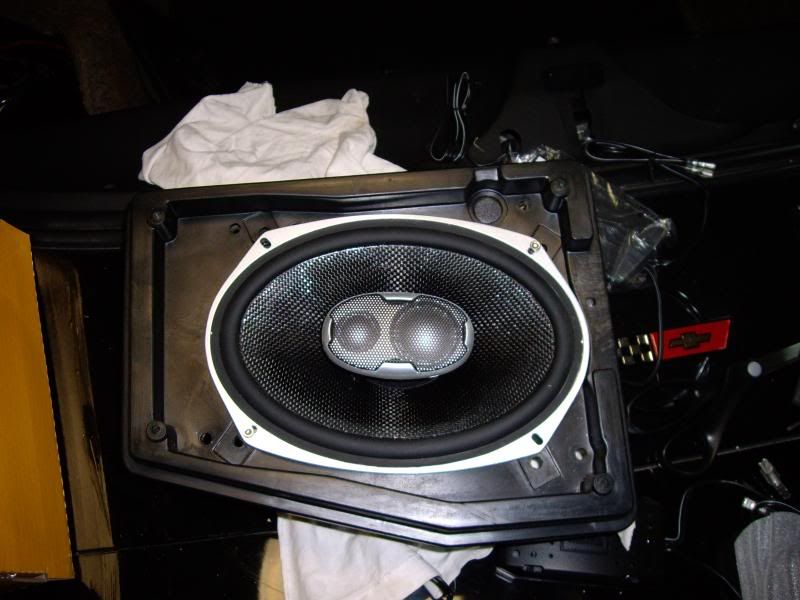 Speakers in. 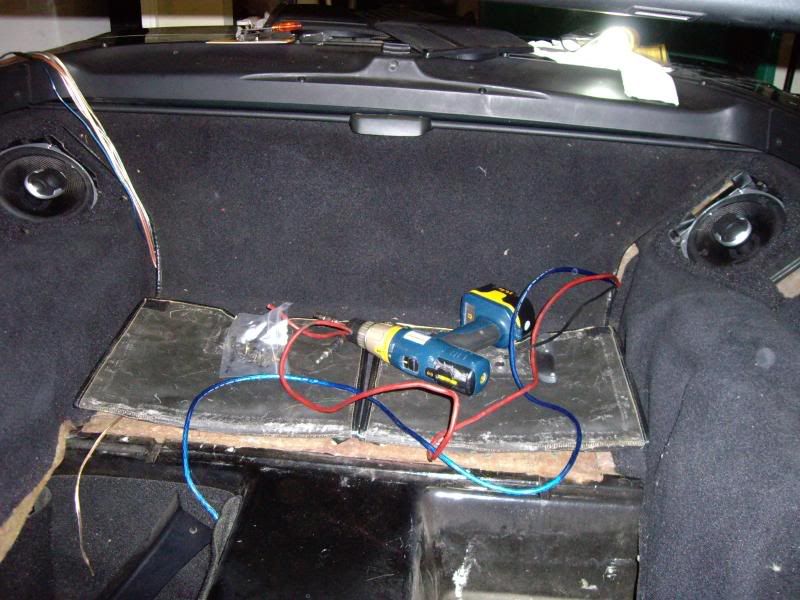 Modifying the speaker covers. Because the 6x9s were higher and I wanted to use at least the front of the covers (because of the carpet void, etc) I had to cut out the center. I tried several methods, sawzall worked the best. I just followed the pattern from the backside which still left me enough to screw the speaker grills into. 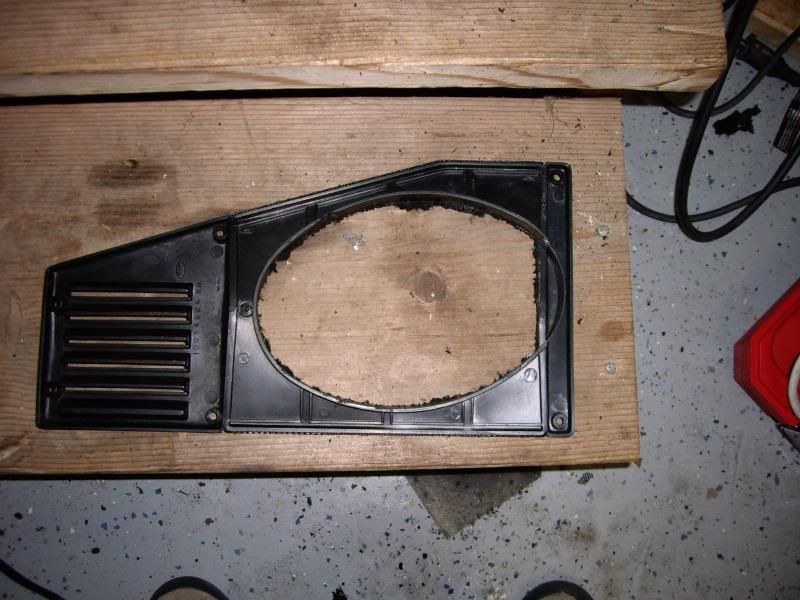 Test fitting. 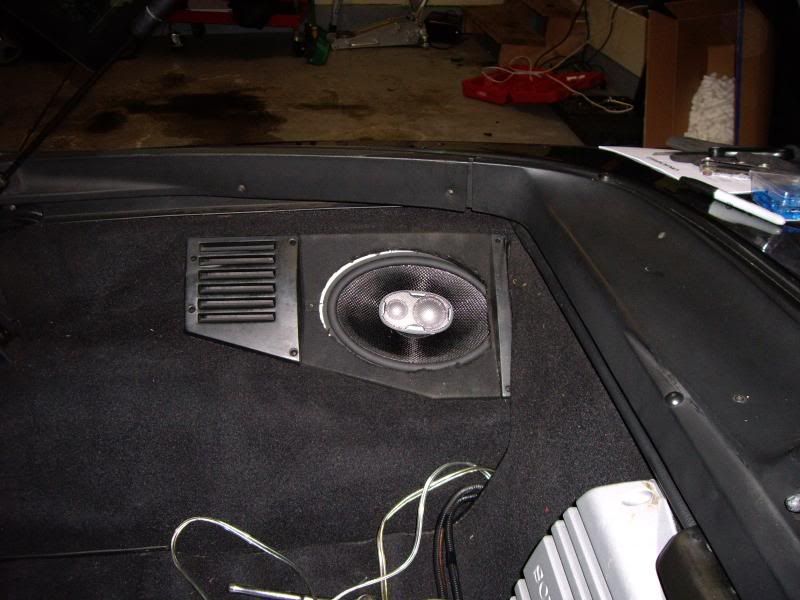 Amp mounted for now with speaker grills on. Haven't decided if I'll do an amp rack. It looks nicer, but I'm also lazy and don't really care about looks so much. 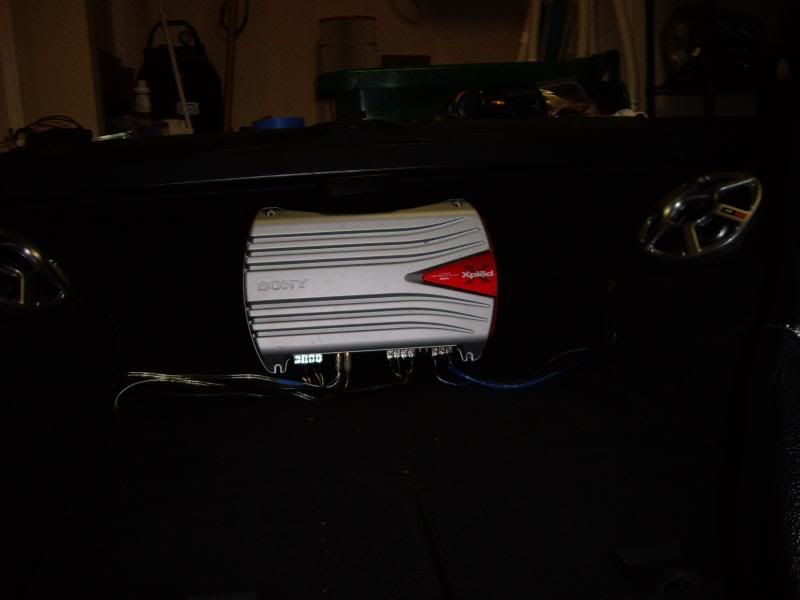 Another shot. 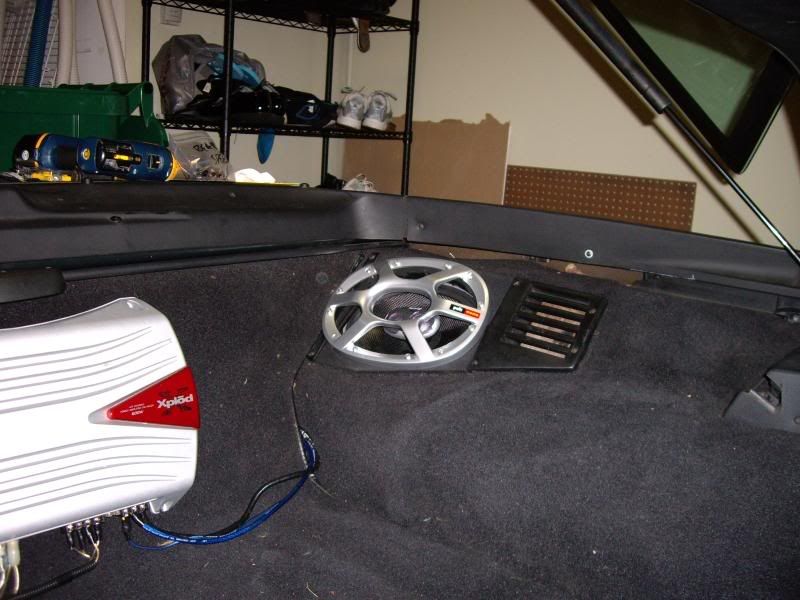 I also did a pretest of the wiring before I reassembled everything to make sure it worked. Sounded awesome. About 1000 times better than what was in there before, and that was with the front speakers sitting on the floorboards. I really should get new front speakers, too. The pioneers I have are cheap and they will distort from the amp so I have to dial it all in. I also think I figured out a solution to my front speaker mounting problem. Originally I was going to cut out the front of the bose boxes and epoxy some plexiglass in, blah blah blah. A lot more work than necessary. Now I decided to cut the front of the boxes off just inside of where the sealant can be seen in the above pics. I will then install the box as it is (just to keep speakers water tight and give a little better sound quality than thumping in the door. I will reinstall the door panel but instead of using the original grill, I will make a (approx) 7x7 inch plexiglass plate that will screw into the grill location. I will cover it with speaker cloth and cut out the speaker hole. Cover that with a grill and voila! Should be much less complex than what I was figuring earlier. I'll get pics of that later when I start it. Below you can see the box test fit in the door with the face cut open. Should work well. 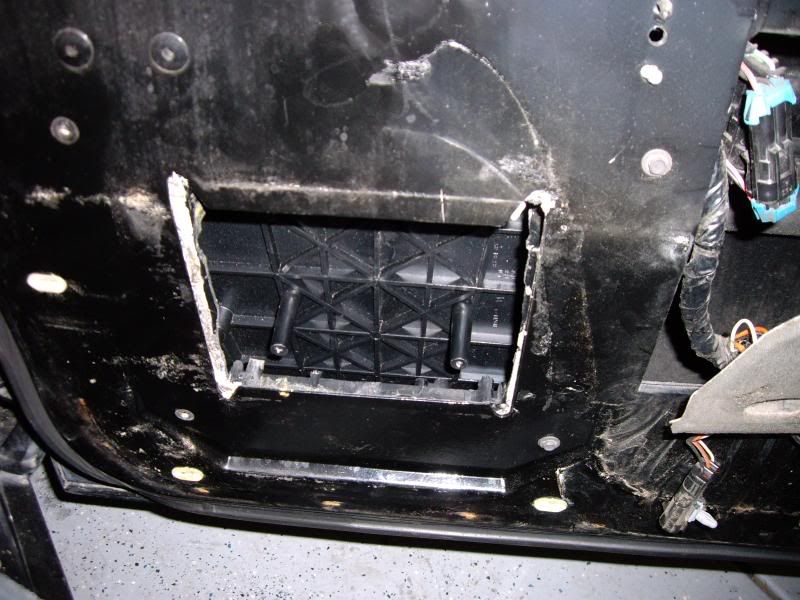 Sorry for the long post, but hopefully this will help answer some questions guys ask about "removing their bose". I didn't take any pictures of the wiring, but don't forget to figure that into your time estimate, as well. Matthew PS - once I do more, I'll update. |
||
Posted on: 2009/1/16 23:32
|
|||
|
_________________
2002 EBM convertible, Magnusson supercharger, cam, headers, etc. 1989 Corvette...RIP |
|||
 Transfer Transfer
|
|||
| cuisinartvette | Re: 89 stereo/speaker replacement (caution lots of pics) | ||
|
Elite Guru
 
|
Wheres the other shoe?
Nice job man, over my head! Let us know how it works out that system has been bugging you for awhile. |
||
Posted on: 2009/1/17 1:17
|
|||
 Transfer Transfer
|
|||
| pianoguy | Re: 89 stereo/speaker replacement (caution lots of pics) | ||
|
Guru Emeritus
 
|
Glad to see you're getting lots of practice - you can come up here when I bring my car home in March ;-)
|
||
Posted on: 2009/1/17 1:38
|
|||
|
_________________
1996 LT4 �Before you criticize someone, you should walk a mile in their shoes. That way when you criticize them, you are a mile away from them and you have their shoes.�- Jack Handey |
|||
 Transfer Transfer
|
|||
| Matatk | Re: 89 stereo/speaker replacement (caution lots of pics) | ||
|
Webmaster
 
|
Ron - the other shoe is in a another pic I didn't post
 As far as over your head, this coming from the guy who hand ports $3,000 heads in his garage.....lol. Any idiot can pull out carpeting and run some wire. But I can't massage a set of heads and intakes like you. Brad, let me know when and we can throw some stuff in there! It'll be like a vacation....hehe. As far as the door speakers, I changed my mind while laying in bed thinking about it. I'll no longer use the plexiglass, but instead some plywood for the speaker mount. Easier to work with and cheaper if I screw it up....lol. In reality, it's easier to paint, I can staple and glue the speaker cloth to it, and it'll do the job nicely. I don't have any mdf laying around anymore (got rid of my junk over the last 2-3 moves) but I know I have some plywood. Once I get started I'll let you know. Matthew |
||
Posted on: 2009/1/17 11:51
|
|||
|
_________________
2002 EBM convertible, Magnusson supercharger, cam, headers, etc. 1989 Corvette...RIP |
|||
 Transfer Transfer
|
|||
| Matatk | Re: 89 stereo/speaker replacement (caution lots of pics) | ||
|
Webmaster
 
|
OK, finally got a chance to finish some stuff up tonight. Since the last post I got the panels put back on, built the plywood speaker mounts, covered them, installed, and tested. Looks halfway decent. I'll get up some pics tomorrow.
Matthew |
||
Posted on: 2009/1/29 2:35
|
|||
|
_________________
2002 EBM convertible, Magnusson supercharger, cam, headers, etc. 1989 Corvette...RIP |
|||
 Transfer Transfer
|
|||
| Matatk | Re: 89 stereo/speaker replacement (caution lots of pics) | ||
|
Webmaster
 
|
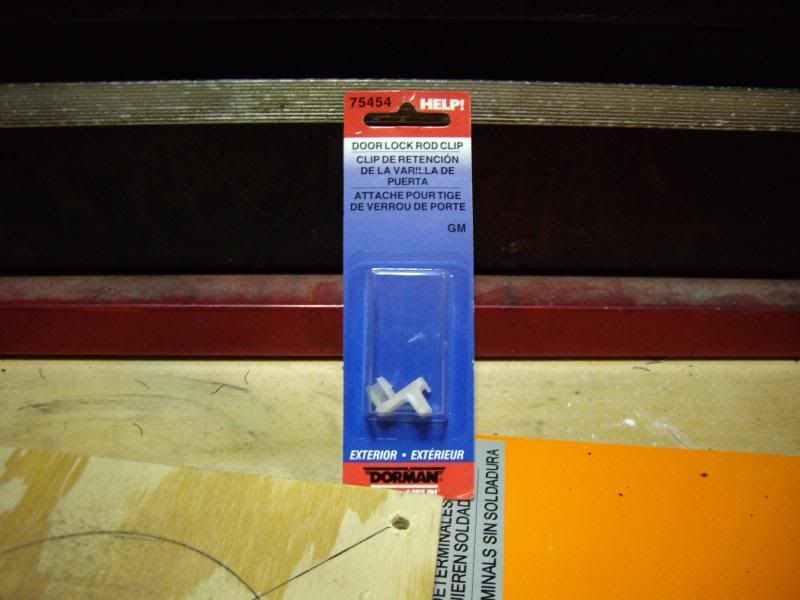
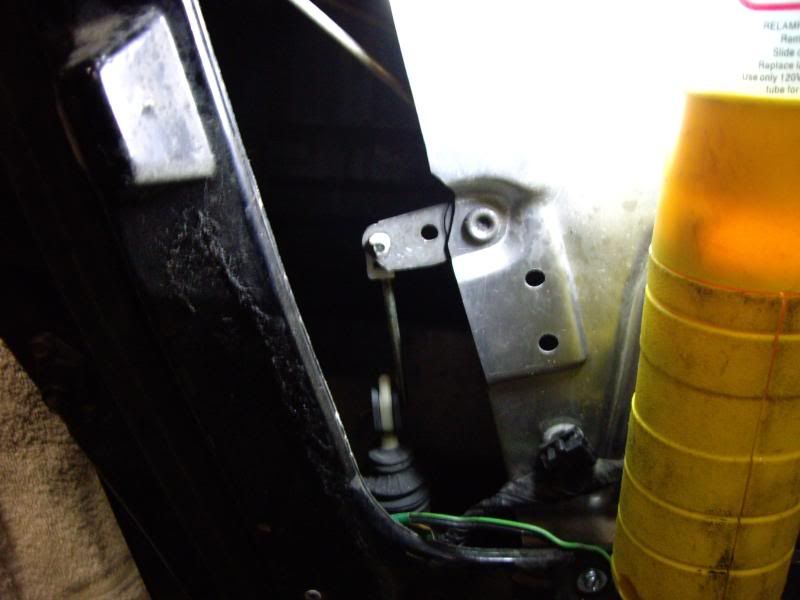
Well, this is the little bastage that held me up. Damn plastic clip. I bought it at carquest at it is a POS, wouldn't fit without trimming it down. Get the GM one if you can.
  Pics of plywood I'd be using, cut to size. 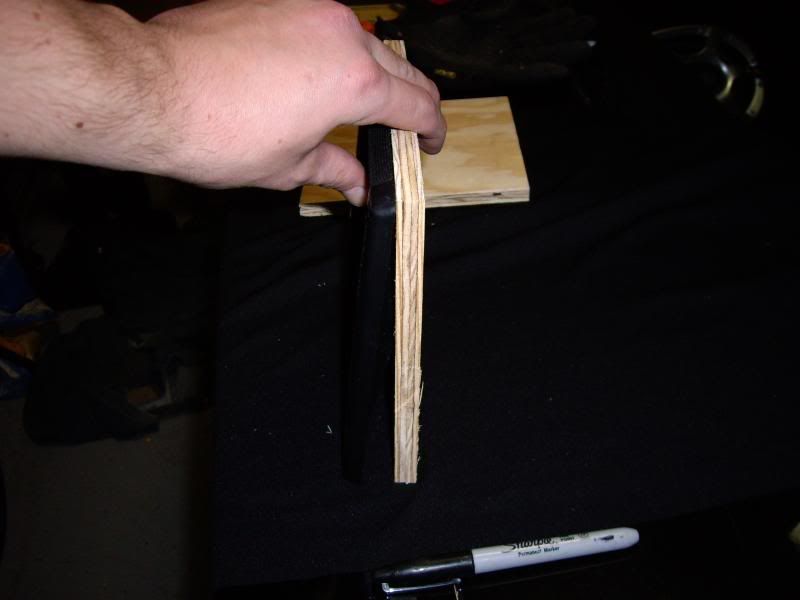 Layed out. 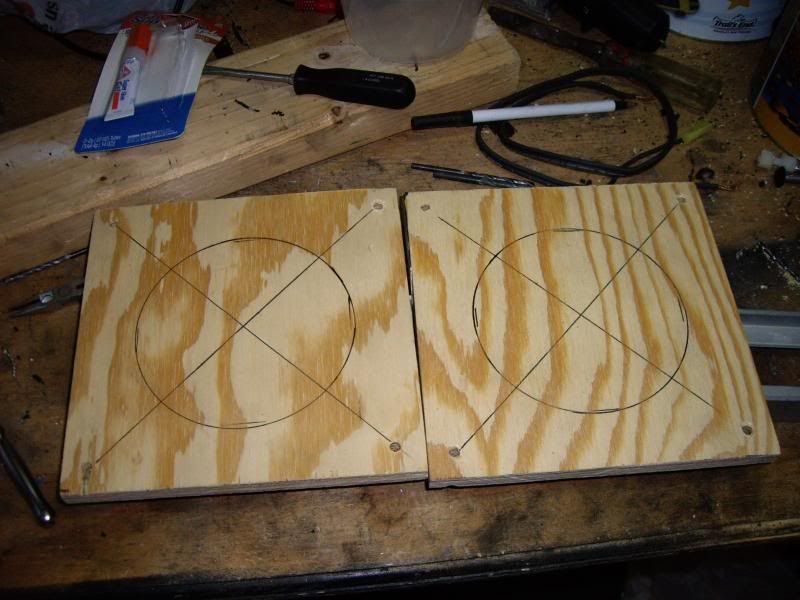 Cut out with a quick coat of spray paint to help blend. 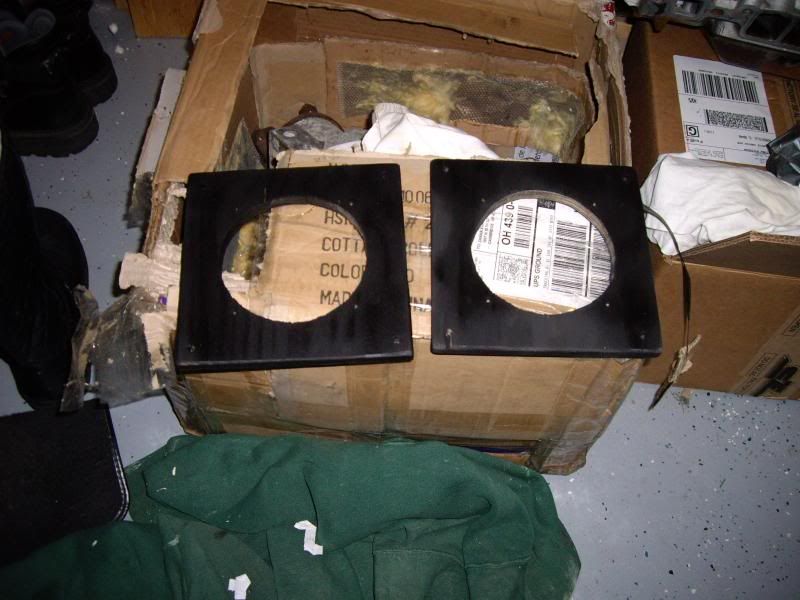 Covered with fabric. 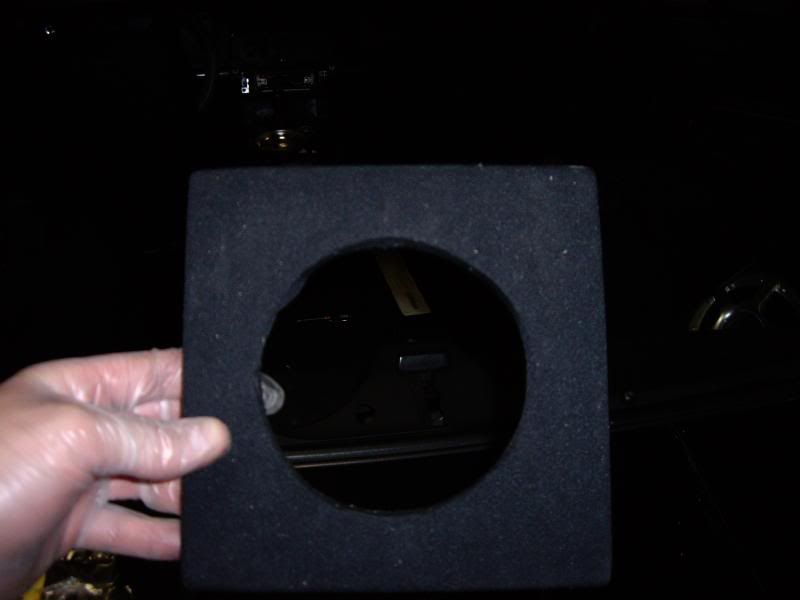 Test fit in door. 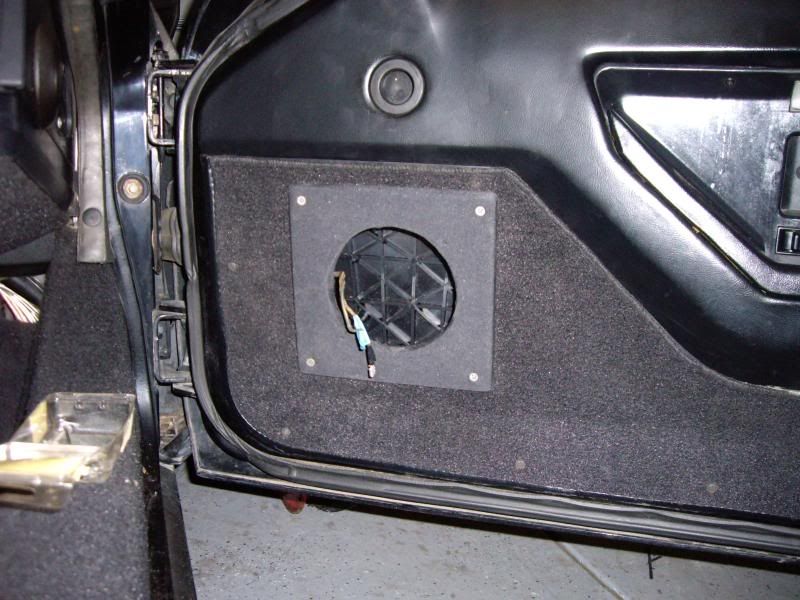 Speakers wired in (soldered) and mounted to plywood. 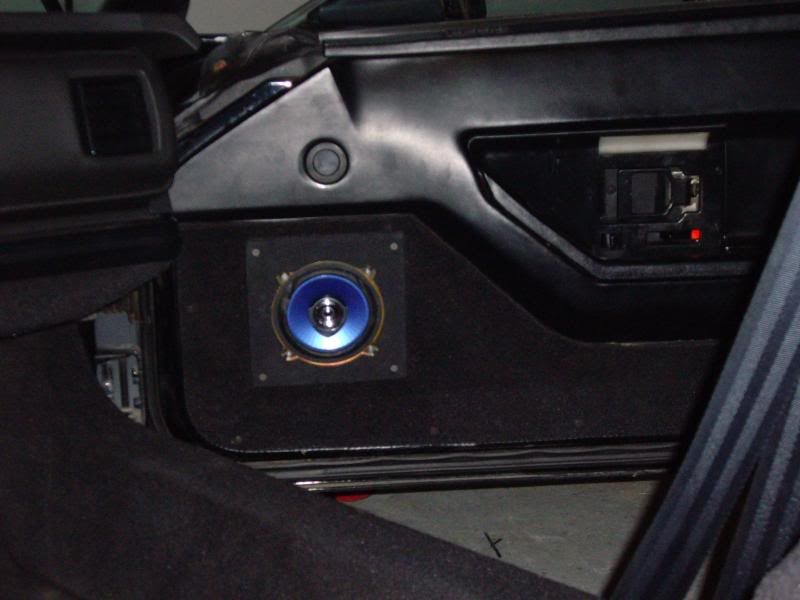 Wish I had some speaker covers on, but I don't have any. These should be temporary speakers if I have my way, but they'll do for now. It's what I had. Sounds pretty good, too! Overall, I'm happy. Matthew |
||
Posted on: 2009/1/29 11:41
|
|||
|
_________________
2002 EBM convertible, Magnusson supercharger, cam, headers, etc. 1989 Corvette...RIP |
|||
 Transfer Transfer
|
|||
| Epimax | Re: 89 stereo/speaker replacement (caution lots of pics) | ||
|
Elite Guru
 
|
Wow!
Great Job!!! I'd be scared to tackle that myself!  |
||
Posted on: 2009/1/29 15:26
|
|||
 Transfer Transfer
|
|||
| Matatk | Re: 89 stereo/speaker replacement (caution lots of pics) | ||
|
Webmaster
 
|
Thanks, Dave. It's not that hard, really. It is kinda funny how people will rip out an engine and put it back together but think running speaker wire is tough. Just time consuming.
This project was a long one. But that's what winter is for in Chicago! Let me know if you have any questions. Matthew |
||
Posted on: 2009/1/30 0:24
|
|||
|
_________________
2002 EBM convertible, Magnusson supercharger, cam, headers, etc. 1989 Corvette...RIP |
|||
 Transfer Transfer
|
|||
| 1987c4red | Re: 89 stereo/speaker replacement (caution lots of pics) | ||
|
Guru Newb
 
|
for some reason the pics could not been seen. As you know they are worth a thousand words.
|
||
Posted on: 2009/3/26 20:32
|
|||
 Transfer Transfer
|
|||
| Matatk | Re: 89 stereo/speaker replacement (caution lots of pics) | ||
|
Webmaster
 
|
Quote:
??? Could be your browser, they work fine for me. Try again later maybe it will work. Matthew |
||
Posted on: 2009/3/26 22:11
|
|||
|
_________________
2002 EBM convertible, Magnusson supercharger, cam, headers, etc. 1989 Corvette...RIP |
|||
 Transfer Transfer
|
|||
You can view topic.
You cannot start a new topic.
You cannot reply to posts.
You cannot edit your posts.
You cannot delete your posts.
You cannot add new polls.
You cannot vote in polls.
You cannot attach files to posts.
You cannot post without approval.
|
|


