


|
|
Register To Post |

| PLRX | SPC Upper Control Arms (UCA) Installation | ||
|
Senior Guru
 
|
First, I'd like to thank Brian Cinnungham for his help on this project.[IMG]http://i567.photobucket.com/albums/ss111/quigonjinn1/thumbup1.gif[/IMG]
About a year ago I bought the SPC's Upper Control Arms. Few days ago I finally decided to remove them from the living room and get them installed. Lift Vette, place jackstands, remove tires, remove dust shield and remove upper ball joint [IMG]http://i275.photobucket.com/albums/jj290/plrx/PLRX%20LT4/SPCUCA/SPCUCA.jpg[/IMG] Cleaned the ball joint [IMG]http://i275.photobucket.com/albums/jj290/plrx/PLRX%20LT4/SPCUCA/SPCUCA1.jpg[/IMG] Remove the UPC [IMG]http://i275.photobucket.com/albums/jj290/plrx/PLRX%20LT4/SPCUCA/SPCUCA2.jpg[/IMG] Test the new BJ bolts. [IMG]http://i275.photobucket.com/albums/jj290/plrx/PLRX%20LT4/SPCUCA/SPCUCA3.jpg[/IMG] Match to fit the new UPC with the old one. [IMG]http://i275.photobucket.com/albums/jj290/plrx/PLRX%20LT4/SPCUCA/SPCUCA4.jpg[/IMG] Using 1/8" shims, match the size of shims and spacers. [IMG]http://i275.photobucket.com/albums/jj290/plrx/PLRX%20LT4/SPCUCA/SPCUCA5.jpg[/IMG] I used krazy glue to keep shims together. [IMG]http://i275.photobucket.com/albums/jj290/plrx/PLRX%20LT4/SPCUCA/SPCUCA6.jpg[/IMG] Test to fit, Check- [IMG]http://i275.photobucket.com/albums/jj290/plrx/PLRX%20LT4/SPCUCA/SPCUCA7.jpg[/IMG] Installed shims, Torque UPC bolts to 40 lbs-ft. [IMG]http://i275.photobucket.com/albums/jj290/plrx/PLRX%20LT4/SPCUCA/SPCUCA8.jpg[/IMG] Torque BJ bolts to 13 lbs-ft [IMG]http://i275.photobucket.com/albums/jj290/plrx/PLRX%20LT4/SPCUCA/SPCUCA9.jpg[/IMG] Torque the three pivot bolts to 60 lbs-ftf. [IMG]http://i275.photobucket.com/albums/jj290/plrx/PLRX%20LT4/SPCUCA/SPCUCA10.jpg[/IMG] Grease up the UPC. [IMG]http://i275.photobucket.com/albums/jj290/plrx/PLRX%20LT4/SPCUCA/SPCUCA11.jpg[/IMG] Torque the upper BJ between 50~88 lbs-ft or until the cotter pin hole aligns. [IMG]http://i275.photobucket.com/albums/jj290/plrx/PLRX%20LT4/SPCUCA/SPCUCA12.jpg[/IMG] Drove around the neighborhood for about a mile to get things down. Quick but, not official alignment. Good enough at "-0.50" Camber to make it to the alignment shop. [IMG]http://i275.photobucket.com/albums/jj290/plrx/PLRX%20LT4/SPCUCA/SPCUCA13.jpg[/IMG] Very easy to make adjustments [IMG]http://i275.photobucket.com/albums/jj290/plrx/PLRX%20LT4/SPCUCA/SPCUCA14.jpg[/IMG] |
||
Posted on: 2011/2/9 4:19
|
|||
 Transfer Transfer
|
 
|
||

| TommyT-Bone | Re: SPC Upper Control Arms (UCA) Installation | ||
|
Chair-man of the bored
 
|
Very nice write up. It's always nice to have someone to bounce ideas off of. Nice job to both you and Brian for his input.
|
||
Posted on: 2011/2/9 4:25
|
|||
|
Transfer
|
|
||
| bogus | Re: SPC Upper Control Arms (UCA) Installation | ||
|
Grand Imperial Pooh-Bah
 
|
Sweet! Any difference in drive feel?
|
||
Posted on: 2011/2/9 5:06
|
|||
|
_________________
The single biggest problem with communication is the illusion that it has taken place. - George Bernard Shaw Education is the best tool to overcome irrational fear. - me |
|||
|
Transfer
|
|
||
| pianoguy | Re: SPC Upper Control Arms (UCA) Installation | ||
|
Guru Emeritus
 
|
Excellent!
|
||
Posted on: 2011/2/9 13:16
|
|||
|
_________________
1996 LT4 �Before you criticize someone, you should walk a mile in their shoes. That way when you criticize them, you are a mile away from them and you have their shoes.�- Jack Handey |
|||
|
Transfer
|
|
||
| Bronze85 | Re: SPC Upper Control Arms (UCA) Installation | ||
|
Guru Newb
 
|
Interesting!
|
||
Posted on: 2011/2/9 17:12
|
|||
|
Transfer
|
|
||
| NelsonV | Re: SPC Upper Control Arms (UCA) Installation | ||
|
Senior Guru

|
I'm curious as to why you used shims with the adjustable uppers. I mean the purpose is to do away with shims for adjustment right?
One idea that was suggested to me (that I never did): 1) Do your baseline alignment, for everyday driving, using only the adjustable UCAs. 2) Then you can do a secondary, "performance" alignment for added negative camber using shims. This allows you to quickly change between street and track camber settings by removing/replacing the shims and not having to adjust the turnbuckles on the UCAs. Edit: I may have steps 1 and 2 reversed depending on whether the crossbar is mounted inboard or outboard of the frame mount, but I think you get the idea. By the way, I made new CrMo sleeves for my UCAs. Pics are here: http://www.chevelles.com/forums/showthread.php?t=231383 And further explanation why is here (in post #12): http://www.corvette-guru.com/modules/ ... t_id=46980#forumpost46980 |
||
Posted on: 2011/2/9 19:19
|
|||
|
Transfer
|
|
||
| PLRX | Re: SPC Upper Control Arms (UCA) Installation | ||
|
Senior Guru
|
You can not expand the UCA's thread longer than an inch. I calculated the size and alignment and installed 9-1/8" shims. Thats why I had to use shims without shims the UCA would expand longer than an inch.
They come without instructions but, I searched and found them. |
||
Posted on: 2011/2/10 1:24
|
|||
|
Transfer
|
|
||
| NelsonV | Re: SPC Upper Control Arms (UCA) Installation | ||
|
Senior Guru
|
Quote:
Oh, now I see. Yeah I had a similar issue. Two of my sleeves were a little too short for my application, so I made my own. (Who did you buy the UCAs from? My vendor would have supplied any length sleeve needed.) Also, I can't really tolerate a stack of shims in my car. In the Chevelle, the UCA cross-shaft is mounted in-board of the frame perch and would interfere with me headers. 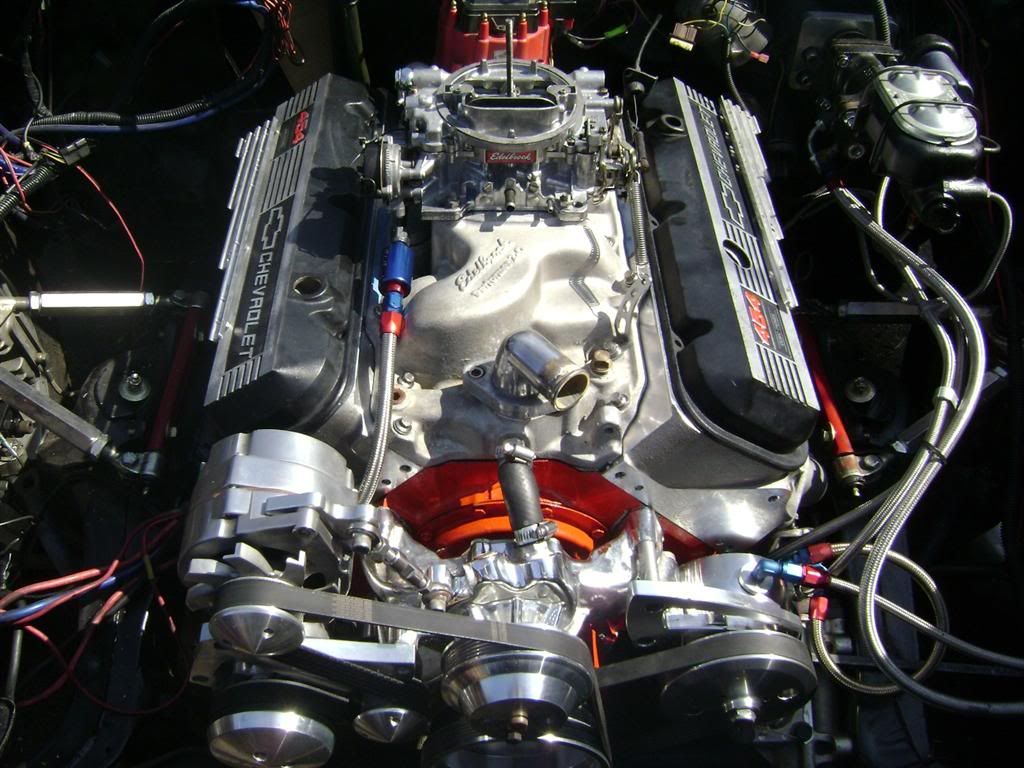 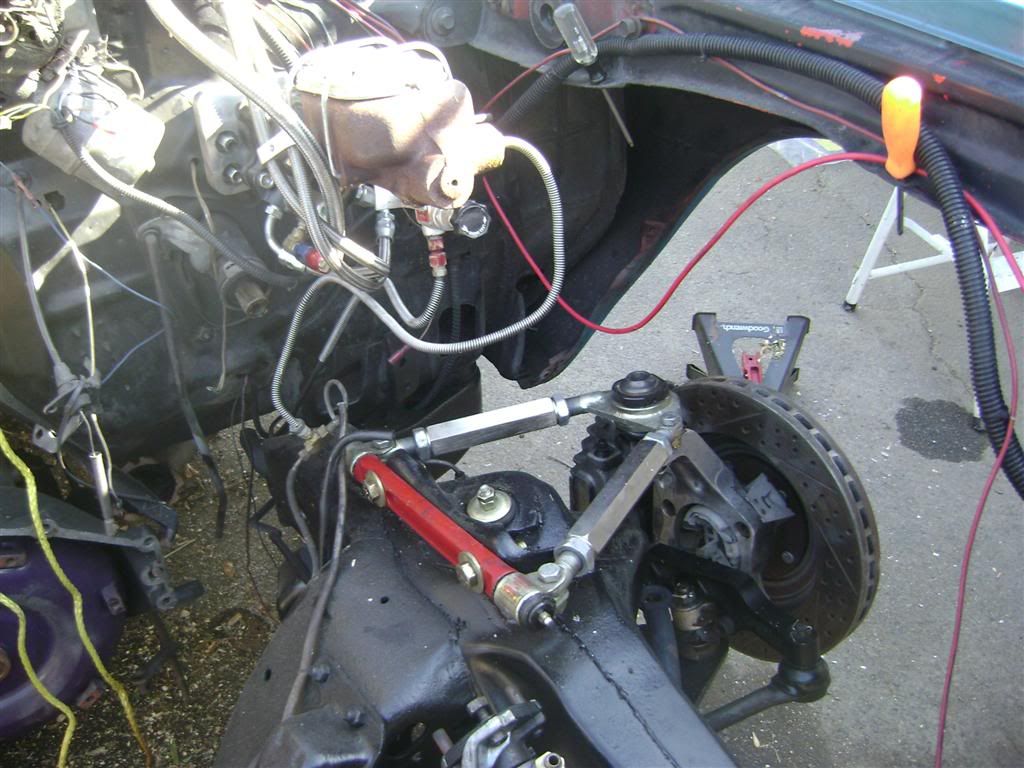 |
||
Posted on: 2011/2/10 2:11
|
|||
|
Transfer
|
|
||
You can view topic.
You cannot start a new topic.
You cannot reply to posts.
You cannot edit your posts.
You cannot delete your posts.
You cannot add new polls.
You cannot vote in polls.
You cannot attach files to posts.
You cannot post without approval.
|
|