|
|
Register To Post |
| dstaley | My Rear Differential and Suspension Rebuild Chronicles | ||
|
Guru
 
|
OK guys, I like seeing photo journals of other people's projects (especially when I'm considering doing the same thing) so I figured I'd post up some progress shots as I go through my rear suspension.
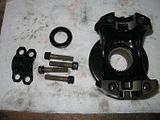
I pulled the original 52,000 mile, 180hp L48 350 last fall and replaced it with a freshly built 409 SBC. Simulations suggest I can expect about 415hp, 485 ft-lbs torque from the new engine. This won't happen until I upgrade the exhaust (basic local muffler shop dual 2" crimp bent tubing and stock type mufflers) with a new Magnaflow stainless steel 2-1/2" mandrel bent system with X-pipe. I didn't want to install the new exhaust until I've put to bed any concerns with the rear differential. With the new engine but old exhaust, there's a strong vibration at WOT and signs that the U-joints are binding. Time to take care of it before I am replacing broken parts. Once the new engine was installed, I asked Gary what concerns I should have about the rear suspension and differential while I replace the U-joints and he suggested that I might check a few things like side yoke end play. I'm replacing the rear spring (original 9-leaf for new VB&P 330 lb/in composite), new shocks all the way around (matching Bilstein Sport), new gears, differential bearings, solid U-joints, H/D halfshaft yoke conversion, new camber (strut) rods made from chromoly tubing and spherical rod ends, and I'll make a billet aluminum center strut rod bracket. That's when all the "fun" began. First, pull the old parts: 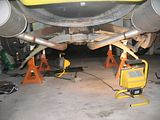 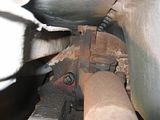 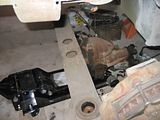 Once it was out, it was time to make an adapter so that I could comfortably mount the differential housing to the engine stand. 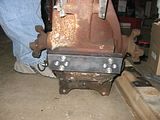 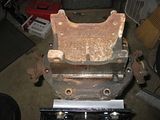 Now, to check end play on the side yokes: 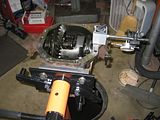 Uh-oh, way over spec: 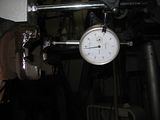 Once I pulled the crosspin, it was easy to see that it wasn't only the yokes that are bad. 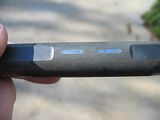 This car has had an easy life, and is fairly low in miles- these things were just plain inadequate by design. Fortunately, Gary (GTR1999) knows exactly what to do. Next, I had to make a spanner wrench to get the yoke loose. I made one out of some scrap 3/8 x 2" bar stock I had lying around plus an old smallblock piston wrist pin. 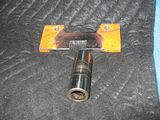 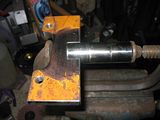 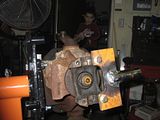 |
||
Posted on: 2009/5/8 2:38
|
|||
 Transfer Transfer
|
|||
| dstaley | Re: My Rear Differential and Suspension Rebuild Chronicles | ||
|
Guru
 
|
Add a few feet of pipe and the pinion nut doesn't stand a chance.
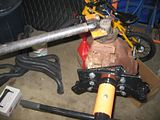 Once I got the guts out of the housing, I sent the case to a machine shop so that they could degrease it in their tank. While they had it, I had them face the gasket surface since GM upset it pretty badly when they stamped the codes on the bottom of the rear flange. Here's what it looked like when I got it back: 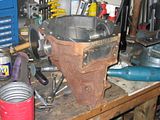 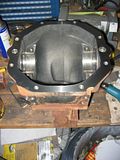 The edges still needed deburred, so I did this and chamfered all the bolt holes. 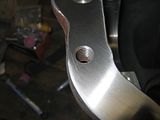 I masked all of the machined surfaces that accept either seals or bearing races in preparation for sandblasting. 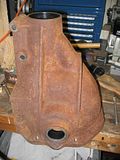 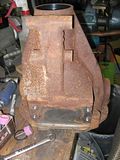 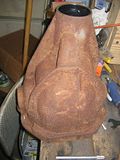 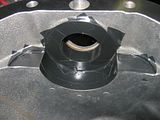 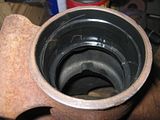 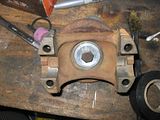 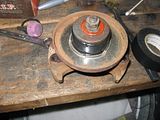 |
||
Posted on: 2009/5/8 2:57
|
|||
 Transfer Transfer
|
|||
| dstaley | Re: My Rear Differential and Suspension Rebuild Chronicles | ||
|
Guru
 
|
Powder coating is absolutely magical!
 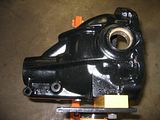 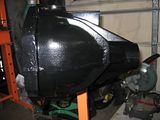 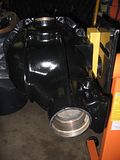 Just like when building an engine, and especially after sandblasting, it's crucial to clean the housing thoroughly before any further assembly or work with the other clean parts. 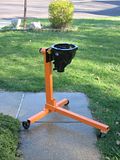 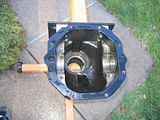 Also, this is a good time to drill and tap the drain plug hole. 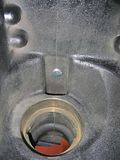 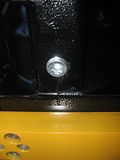 Now, at about this time I spent two or three days polishing the differential carrier inside and out for fatigue resistance. Unfortunately, only after this was finished Gary noticed a significant ridge in the crosspin bore- my original case was toast. 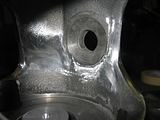 |
||
Posted on: 2009/5/8 3:16
|
|||
 Transfer Transfer
|
|||
| dstaley | Re: My Rear Differential and Suspension Rebuild Chronicles | ||
|
Guru
 
|
So, I ordered a new case. In the mean time, I ordered threaded tubes suitable for camber rods from Speedway, spherical rod ends from Summit, and misc. hardware (including two very large stainless steel nuts) from McMaster-Carr. I bored out the nuts just large enough to slip over the threaded tubes so that the alignment shop has something to grab onto that won't rust when it gets scarred up.
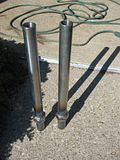 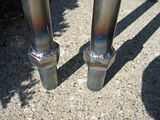 I'll powder coat these at my next opportunity. Next, as Gary instructs I shaved the heads off of five of my ring gear bolts and made dowels out of them. 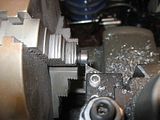 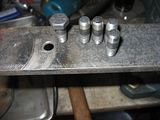 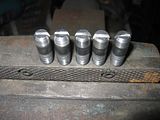 This was also a good time to finish up the halfshafts, with a nice black powder coat and new solid U-joints. 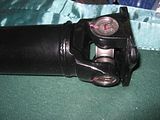 It also seemed like a good time to clean up the crossmember, give it a coat of Rust Bullet (my favorite, somewhat like POR-15), a coat of semigloss Rust-Oleum paint, and new bushings. 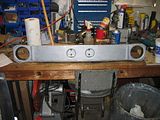 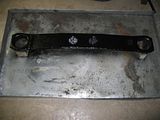 |
||
Posted on: 2009/5/8 3:32
|
|||
 Transfer Transfer
|
|||
| dstaley | Re: My Rear Differential and Suspension Rebuild Chronicles | ||
|
Guru
 
|
Once the new posi carrier arrived, the polishing- round two- could commence. They have certainly improved their processes in the last 30 years. The casting was much cleaner, and it was obvious they had made a few changes to the mold designs as the parting lines had moved.
Before polishing: 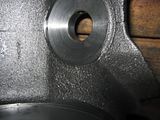 After: 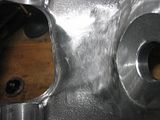 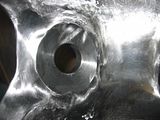 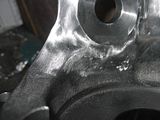 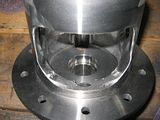 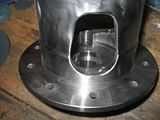 A spanner wrench-like tool is needed to rotate the case. I made another one using another surplus piston pin and some more 3/8 x 2" bar stock. 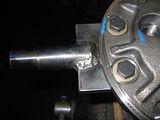 Next, I spent 2-3 days trying to tune the clutches, including trying to do it "by feel" (I never really figured out what I was looking/feeling for) and then by measuring the lash between the side gears and the carrier spider gears with the clutches compressed by a screwdriver wedged between the side gear and the crosspin. 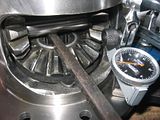 The resulting shim thickness range I kept coming up with, using both methods- between .050 and .055- seemed far too much to Gary, so I gave up and shipped it to him. He knows what to look for and I must have been missing something. That brings me up to today. I've about finished the design of my center mounting bracket, so I'll post up some Pro/E model images soon. |
||
Posted on: 2009/5/8 3:55
|
|||
 Transfer Transfer
|
|||
| BillH | Re: My Rear Differential and Suspension Rebuild Chronicles | ||
|
The Stig Moderator
 |
Nice job, Doug. It's tough when you do all that work and then find a problem but, it's better to have good parts. I did that on a block but luckliy, found a crack while I was doing the initial prep and only lost 2 hours of my time.
I'm curious as to why you bought tubes from Speedway and rodents from Summit instead of Speedway. Speedway's catalog has a lot of stuff but the lack of specs (like rodend specs) bugs me. |
||
Posted on: 2009/5/8 13:35
|
|||
|
_________________
Every man dies but not every man lives. |
|||
 Transfer Transfer
|
|||
| dstaley | Re: My Rear Differential and Suspension Rebuild Chronicles | ||
|
Guru
 
|
Thanks a ton, Bill.
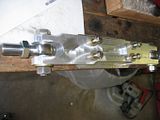
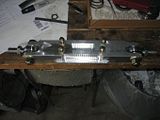
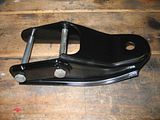
The rear end work is a pre-emptive action on my part, as it hadn't really totally failed yet but I'd sure like to have non-broken parts when I do this rather than have to buy all new. At least I'm able to use my old housing, pinion yoke, spider gears, and crosspin retention bolt. Apparently that's about it. EDIT: Sorry, I forgot to answer your questions! I found the spherical rod ends cheaper at Summit, and they are Competition Engineering- more of a name brand than the ones at Speedway, and I've heard a few rumblings about the ones Speedway carrying being offshore made without much history on quality control. QA1 rod ends aren't what they once were, the finish on the outside has changed somewhat at the same time as quality problems have crept up, possibly signaling a change in supplier or process, and I couldn't justify the cost of Aurora ends without trying these first. These were only about $22 each. Now that you mention it, I think I bought the tubes from Coleman Racing rather than Speedway. The guy that gave me the info I needed to get started bought his stuff from Speedway, so that's where I started shopping, but now that I think about it I'm almost postive I got them from Coleman Racing. Here's a preview of the new center bracket for the camber (strut) rods. 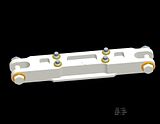 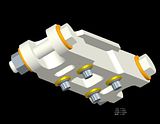 |
||
Posted on: 2009/5/8 17:26
|
|||
 Transfer Transfer
|
|||
| Matatk | Re: My Rear Differential and Suspension Rebuild Chronicles | ||
|
Webmaster
 
|
These are great pics and details! Keep up the good work.
Matthew |
||
Posted on: 2009/5/9 0:07
|
|||
|
_________________
2002 EBM convertible, Magnusson supercharger, cam, headers, etc. 1989 Corvette...RIP |
|||
 Transfer Transfer
|
|||
| BillH | Re: My Rear Differential and Suspension Rebuild Chronicles | ||
|
The Stig Moderator
 |
I use Aurora mostly but that's on racecars. The Comp Eng's are probably good quality.
The center bracket looks good. Are you making any pivot location changes to play with the camber curve or bumpsteer? |
||
Posted on: 2009/5/9 0:13
|
|||
|
_________________
Every man dies but not every man lives. |
|||
 Transfer Transfer
|
|||
| dstaley | Re: My Rear Differential and Suspension Rebuild Chronicles | ||
|
Guru
 
|
Yes, it's about 1/2" lower than stock.
It occurred to me that my bracket- or even the stock one- could be shimmed with a machined block to lower the pivot positions. Using this idea all this work I did may have been over-the-top, but the machined part sure looks cool. It's almost done. I'll post pictures soon. |
||
Posted on: 2009/5/9 15:22
|
|||
 Transfer Transfer
|
|||
| dstaley | Re: My Rear Differential and Suspension Rebuild Chronicles | ||
|
Guru
 
|
|||
Posted on: 2009/5/11 2:59
|
|||
 Transfer Transfer
|
|||
| dstaley | Re: My Rear Differential and Suspension Rebuild Chronicles | ||
|
Guru
 
|
I've been steadily working on this projects for a few weeks and I finally have some tangible progress.
After 22 iterations, I was finally able to zero in on a final acceptable pattern with backlash within acceptable parameters. 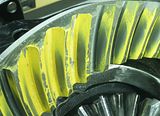 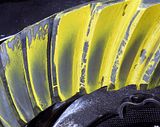 The final fill-up and leak was an exciting event for me. I left it like this for about 24 hours. No leaks!!! 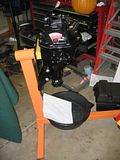 A few days later, I took it back out to the car and it became very comfortable in its new home. Lots of new parts, almost like bling: 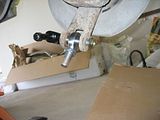 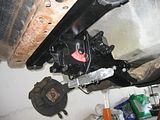 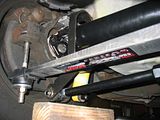 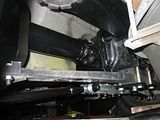 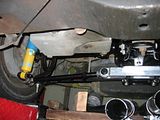 The big challenge now is making the new exhaust kit from Magnaflow fit my car with the drive shaft safety loop, headers, and new rear suspension. The safety loop and winding around the transmission seem to be the biggest obstacles. More soon... |
||
Posted on: 2009/6/9 19:33
|
|||
 Transfer Transfer
|
|||
| BrianCunningham | Re: My Rear Differential and Suspension Rebuild Chronicles | ||
|
Senior Guru
 
|
nice custom work there
|
||
Posted on: 2009/6/9 19:50
|
|||
|
_________________
Polo Green 95 LT1 6-spd http://mysite.verizon.net/vzevcp74/ 383 LT1/Vortech Supercharger/AFR heads/Rod end suspension/Penske-Hardbar dual rate coilovers/Wilwood 6pot brakes NCCC Governor: http://BayStateCorvetteClub.com |
|||
 Transfer Transfer
|
|||
| 400hp427vette | Re: My Rear Differential and Suspension Rebuild Chronicles | ||
|
Senior Guru
 
|
wow thats great work.
|
||
Posted on: 2009/6/10 0:12
|
|||
 Transfer Transfer
|
|||
| Matatk | Re: My Rear Differential and Suspension Rebuild Chronicles | ||
|
Webmaster
 
|
Looks great - like a whole new car. Now you know why a rebuilt diff is like $800!
Matthew |
||
Posted on: 2009/6/10 0:57
|
|||
|
_________________
2002 EBM convertible, Magnusson supercharger, cam, headers, etc. 1989 Corvette...RIP |
|||
 Transfer Transfer
|
|||
| dstaley | Re: My Rear Differential and Suspension Rebuild Chronicles | ||
|
Guru
 
|
Thanks, guys. Yeah, no question that what Gary gets for these things is 100% earned.
I have well over $1000 just in parts, so whoever is buying them for $800 isn't getting the best parts, and that rebuilder has got to be leaving a lot of things to chance. For example, my left (ring gear side) bearing cap had 0.0035" gap between the bearing race and the cap, so the race was totally unsupported. A rebuilder may or may not have taken the pains to get the best possible pattern, but then again they have far more experience than I and could have done it much more quickly. Nothing but 100% USA-made Timken bearings in this differential. Most rebuilders would have thrown the original bolts back in instead of researching to find much better bolts in every location. The tuned posi is a major advantage, and Gary points out that none he is aware of except him and Mike bother to even check side yoke end play, let alone precision grind them to a tight permissible range. Of course, for $800 you'll never get a polished carrier either. Last, this one is now powder coated- a step that none of the rebuilders I'm aware of offer as standard. I'm glad I went through it myself but at the same time I'm sure glad it's done. I thought building engines was tedious with all the careful hand-fitting (and it is), but these should be just as carefully prepared. They're nothing like a 9" Ford that are tough enough to stand up without all the careful prep with just a quick set of quality bearings, proper gear setup, and good lube. |
||
Posted on: 2009/6/10 2:16
|
|||
 Transfer Transfer
|
|||
| dstaley | Re: My Rear Differential and Suspension Rebuild Chronicles | ||
|
Guru
 
|
Well, I wrapped up the last few details on this today. The crappy french locks I bought from a restoration vendor just twisted into pretzels when I torqued them to spec, so I replaced then with some outstanding stainless steel ones from Gary. No problems whatsoever. The exhaust has been fabricated- starting with a Magnaflow kit originally for a '74 big block car with stock manifolds. I need to get pictures while it's on a lift, but until then here are a few while on jackstands in front of my house:
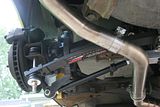 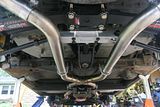 I took it in for an alignment, and the alignment tech said my lower ball joints needed replaced. He was right, they were bad. So, I gave the front end the full treatment: New springs New Bilstein sport shocks (match the rear) New upper and lower ball joints New upper and lower control arm bushings New sway bar end links with polyurethane bushings While I was in there I cleaned up the tie rod ends and took care of an issue with the power steering control valve. Here's an "after" shot: 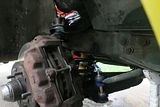 The technician had no trouble with the alignment after all that was done. He was quite complimentary about the car, which is quite a statement since he does the alignments for all of the local autocross racers. I've been marching down my to-do list quickly lately. I've fixed the horn, installed new tires, and a ton of little stuff. I still have to tune the carburetor and build a mount for the amplifier, and I'd like to replace the carpet and seat covers, but otherwise the car is just the way I'd like to keep it. |
||
Posted on: 2009/8/2 2:14
|
|||
 Transfer Transfer
|
|||
| Durango_Boy | Re: My Rear Differential and Suspension Rebuild Chronicles | ||
|
Elite Guru
 
|
Looks super fantastic Doug, can't wait to see that car in person. Still planning on driving it down this way?
|
||
Posted on: 2009/8/2 3:00
|
|||
 Transfer Transfer
|
|||
| dstaley | Re: My Rear Differential and Suspension Rebuild Chronicles | ||
|
Guru
 
|
Yep, on Thursday- depending on the weather forecast. Phillip and I are coming for a few days of fishing with his grandpa if the weather forecast looks clear. It'll be a rare day trip- will you be available in the afternoon?
It has already been postponed once, so we'll see... |
||
Posted on: 2009/8/2 4:34
|
|||
 Transfer Transfer
|
|||
| Durango_Boy | Re: My Rear Differential and Suspension Rebuild Chronicles | ||
|
Elite Guru
 
|
Quote:
Yeah, ironically Thursday is my weekday that I have off, so just give me a call when you're getting close. |
||
Posted on: 2009/8/2 5:05
|
|||
 Transfer Transfer
|
|||
| Matatk | Re: My Rear Differential and Suspension Rebuild Chronicles | ||
|
Webmaster
 
|
Gee, is there anything you *haven't* replaced on that? It looks great, BTW!
Matthew |
||
Posted on: 2009/8/2 11:32
|
|||
|
_________________
2002 EBM convertible, Magnusson supercharger, cam, headers, etc. 1989 Corvette...RIP |
|||
 Transfer Transfer
|
|||
| dstaley | Re: My Rear Differential and Suspension Rebuild Chronicles | ||
|
Guru
 
|
Ha, sometimes it seems like I haven't.
Yeah, there are quite a few things I haven't disturbed. Headlights, fuel tank, body mounts, windshield wipers, interior is mostly unchanged (other than fixing the horn and the stereo install). I'm still running the stock wheels, and for the most part the external surfaces are all unchanged. Thank you for the compliments guys, I just hope this thread is helpful to someone in some way. |
||
Posted on: 2009/8/2 13:26
|
|||
 Transfer Transfer
|
|||
| pianoguy | Re: My Rear Differential and Suspension Rebuild Chronicles | ||
|
Guru Emeritus
 
|
Fantastic job, man!!
|
||
Posted on: 2009/8/2 13:28
|
|||
|
_________________
1996 LT4 �Before you criticize someone, you should walk a mile in their shoes. That way when you criticize them, you are a mile away from them and you have their shoes.�- Jack Handey |
|||
 Transfer Transfer
|
|||
You can view topic.
You cannot start a new topic.
You cannot reply to posts.
You cannot edit your posts.
You cannot delete your posts.
You cannot add new polls.
You cannot vote in polls.
You cannot attach files to posts.
You cannot post without approval.
|
|


